xTool M1 Laser Engraving Projects and Rotary Tool
Learn how to make DIY projects with a rotary engraving tool. This video tutorial and project ideas show how xTool’s M1 Rotary Attachment can help you create endless craft projects. Keep reading and watch the video to see this xTool M1 Rotary Tool Tutorial and Engraving Projects.
In case you’re in a hurry…
This is a sponsored post. All opinions are always 100% mine and I don’t partner with any product or company that I don’t use and love. I received a gifted xTool M1 Cutting Machine and in this tutorial, I share unboxing the machine, setting it up, and I’ll make a few projects so you can see how I use this machine in my craft room.
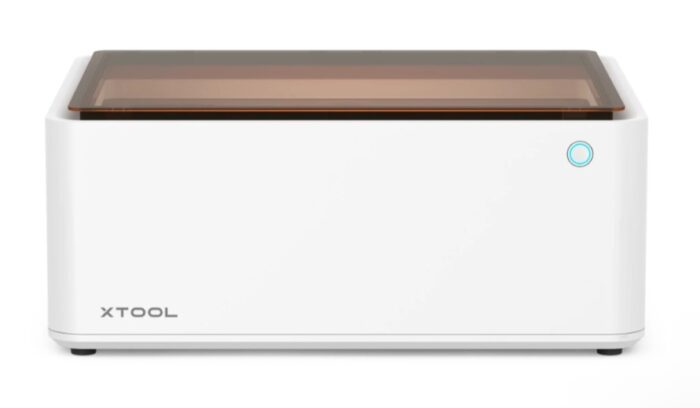
What is the xTool M1 Machine?
The xTool M1 machine is the world’s first machine with both laser and blade-cutting abilities. Some of the features of this machine are the smart camera inside, the 3-in-1 laser cutting, engraving, and blade cutting. It has a safe enclosed design and comes with free design software.
You can learn more about the xTool M1 Machine in this post.
You can cut 500+ Materials with Endless Creation Ideas! In this tutorial, I share how I used the rotary tool and laser engraving feature to create unique items to give as gifts or sell!
RA2 Rotary Attachment
In this video and tutorial, I unboxed the RA2 Rotary attachment and accessories for the xTool M1 machine.
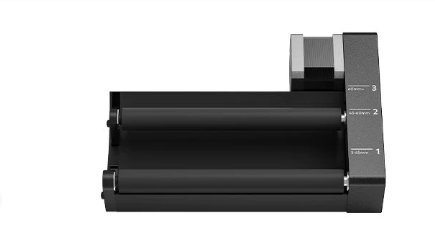
You can engrave glass, tumblers, and other cylindrical objects when using the rotary attachment. The removable bottom plate also supports engraving an unlimited height of materials. It is a perfect gift-making machine for birthdays/holidays/weddings/families/pets/decorations or small business items.
The RA2 Pro is suitable for use on most cylinders and spheres. You can make unique wedding wine glasses for custom jewelry. Please see xTool’s website for safety precautions when cutting different materials.
Jaw Chuck Attachment
Just a heads up that I did not use the jaw chuck attachment in this video. I hope to have another video using that soon.
To be honest, I was a little intimidated by all the little pieces that came with the RA2, so I started by taking everything out of the box and sitting on my craft table.
I followed a tutorial found on xTool’s YouTube page that I’ll link in the description. They also have a handy screenshot with labels for all the parts.
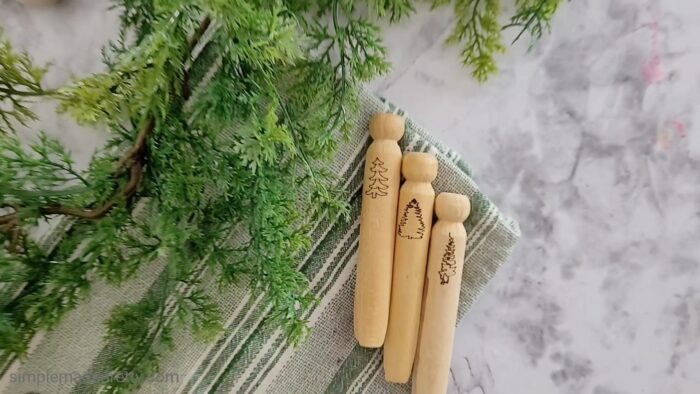
Engraved Antique Wooden Clothespins
I started with something small for my first rotary project and used an antique wooden clothespin. Since the clothespin was small, I adjusted the rollers by using the small screwdriver and unscrewing one roller, and bringing it as close as possible to the other roller.
I removed the bottom of the machine, as the instructions list to do when using the rotary attachment. I also added the height blocks under the machine. These steps make it possible to attach the power cord for the rotary attachment. I placed the rotary and the item directly under the laser light then I started designing in Creative Space.
You might notice I added some tape to the sides of the clothespin. Adding the tape made it easier to see where to place the image. I just used pink washi tape but blue painter’s tape works as well.
I set the image as Laser Cylindrical and it totally changes the view of the item and has a yellow line with half the screen. The image should not cross over that yellow line and it took a little back and forth to get the placement just right. This is why the tape was helpful to use as a guide to knowing where the image boundaries were.
I used a Tree SVG image and did auto-measure for the distance. xTool has a tutorial on how to manually measure the distance which involves cutting a wood ruler image but thankfully mine is auto-measured. I’ll probably make the ruler when I have more time later.
For my first cut, I accidentally forgot to set the power to 70 so it wasn’t very dark. I did a 2nd cut though with the power at 70 and tried a few other tree images to create this set of antique clothespins.
Engraving Wooden Beads with xTool M1
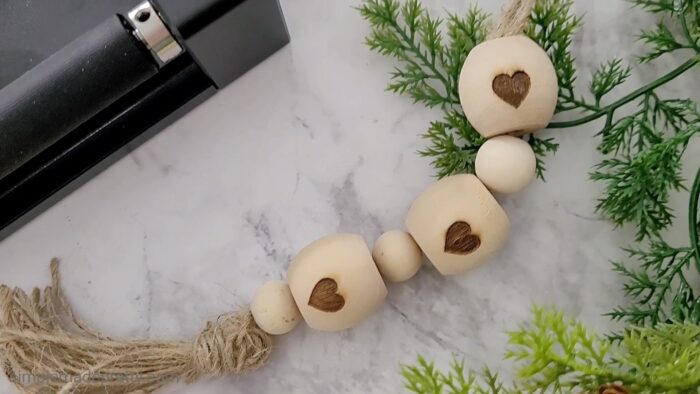
For my next rotary project, I tried engraving on some wooden beads. I kept my design very simple and used a heart image in Creative Space.
I sized each heart to fit on the beads and I did not use any tape this time. I used the auto-measurement feature and set it to cut at a power of 70 and a speed of 80.
The cut time was around a minute and the beads looked great. I used some twine to create a beaded tassel ornament charm.
That was all I’ve made with the rotary tool so far but I did make a few other fun xTool crafts in this video. I wanted to share how I organized all of the pieces for the RA2 attachment. I have these durable organizing bags and I just placed everything inside.
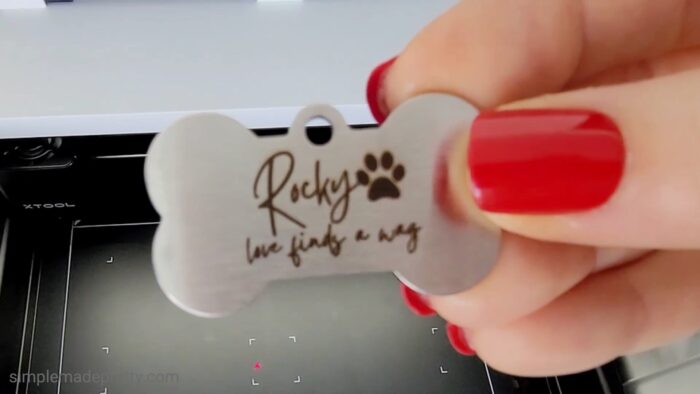
DIY Engraved Dog Tag
This Dog Tag came in the premium material package available here.
I put the bottom of the machine back in and made a quick dog tag. I designed an image to use and uploaded it to Creative Space. I used the cut settings that are already entered for you and the engraving turned out amazing. I wiped any residue off the dog tag and it looked perfect.
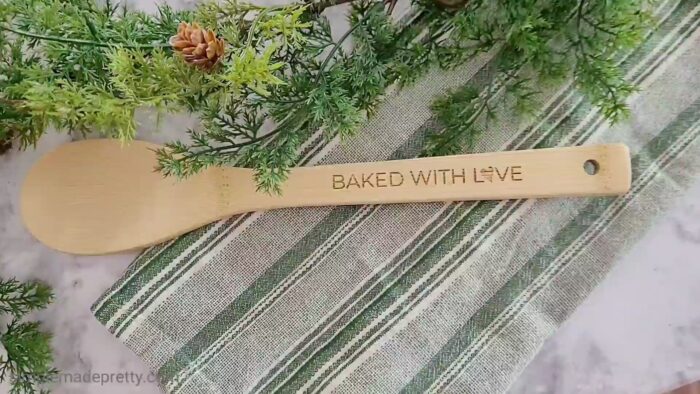
Engrave a Wooden Spoon with xTool M1
I decided to engrave a wooden spoon next. I used Canva to create an image that can be downloaded as a PNG or SVG and used in Creative Space.
I added the images to XCS and placed them on the wooden spoon. I used the auto-measure button and used 70 for the power setting and 80 for the speed setting.
And when the cut finished, I realized I should’ve used tape on the spoon to help determine the placement and probably should have made the text smaller. You can see the laser messed up where the spoon started to curve.
So I went back in and decided to try engraving the handle only, added tape to the spoon, and made the image smaller. I used the same cut settings (70 for the power and 80 for the speed).
I was very happy with the result of this cut and I envision making more of these to give as personalization gifts or even to sell.
Engraving Rock Coasters Using the xTool M1 Machine
For my final project featured in this video & tutorial, I engraved the rock coaster that was in the premium material package.
I designed another image in Canva and uploaded it to XCS. This was another easy project because the cut setting is already entered for you, just choose the Rock Coaster as your material.
When the machine finished the engraved coaster was perfect. After every project, I made sure to wipe down the surface with a damp cloth and wipe down the bottom of the machine as well. I think these would make great wedding favor or gifts that you can easily personalize.

Final Thoughts on the XTool M1 Machine Rotary Tool and Engraving
I was happy with everything that I made in this tutorial. It’s been fun trying different materials in the m1 machine and seeing different ways to use the features. I would still like to use the jaw chuck rotary attachment to engrave Yeti cups, mugs, and rings so look for a video from me in the near future with that tutorial.
Don’t forget…
Watch the xTool M1 Rotary Tool & Engraving Video:
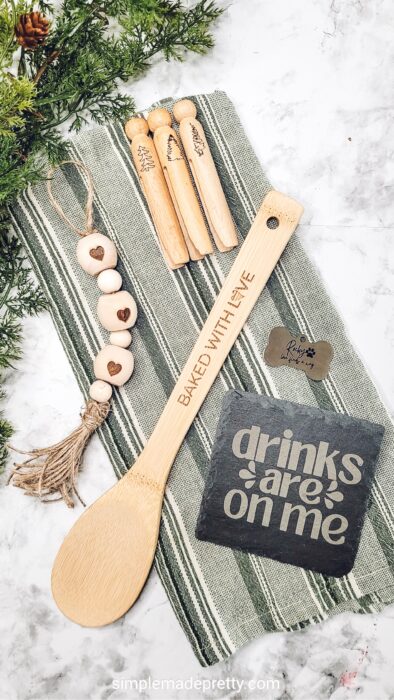
Pin this post to your favorite Pinterest Board
You Might Also Like…
Cricut Craft Room Organization Ideas: Cheap And Space Saving
Psssssttt…Right now I’m offering FREE access to our Digital Resource Library to all of our newsletter subscribers. Your private access includes dozens of free printable crafts, home decor and organization guides. Hurry up and grab your freebies here! (Access instructions are sent after subscribing).
Disclaimer: This post may contain affiliate links or a sponsored post. All opinions are always 100% mine and I don’t partner with any product or company that I don’t use and love. Please see our Full Disclosure for more information.
 Mystery Box Challenge: Amazing Dollar Tree Christmas Decor Crafts