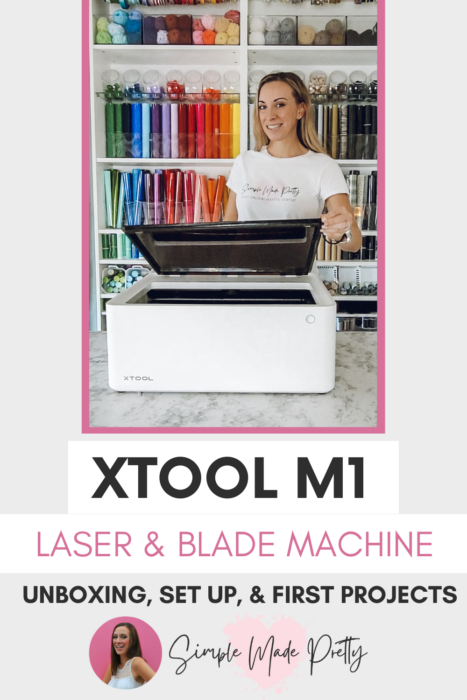
xTool M1 Laser And Blade Cutting Machine Review Value For Money
If you’re looking for an affordable laser & bade cutting machine, this post is for you! This xTool M1 laser and blade-cutting machine is capable of working with a variety of materials, including acrylic, wood, and vinyl. The xTool M1 laser and blade cutting machine is designed to make precision cuts. Find out more in this post and watch the video below to see this xTool M1 Machine Unboxing, Set Up, and First Projects.
In case you’re in a hurry…
This is a sponsored post. All opinions are always 100% mine and I don’t partner with any product or company that I don’t use and love. I received a gifted xTool M1 Cutting Machine and in this tutorial, I share unboxing the machine, setting it up, and I’ll make a few projects so you can see how I use this machine in my craft room.
🔽 WATCH ON YOUTUBE 🔽
🎥 Watch the 11-minute video above — then scroll for more freebies, links & resources below!
What is the xTool M1 Machine?
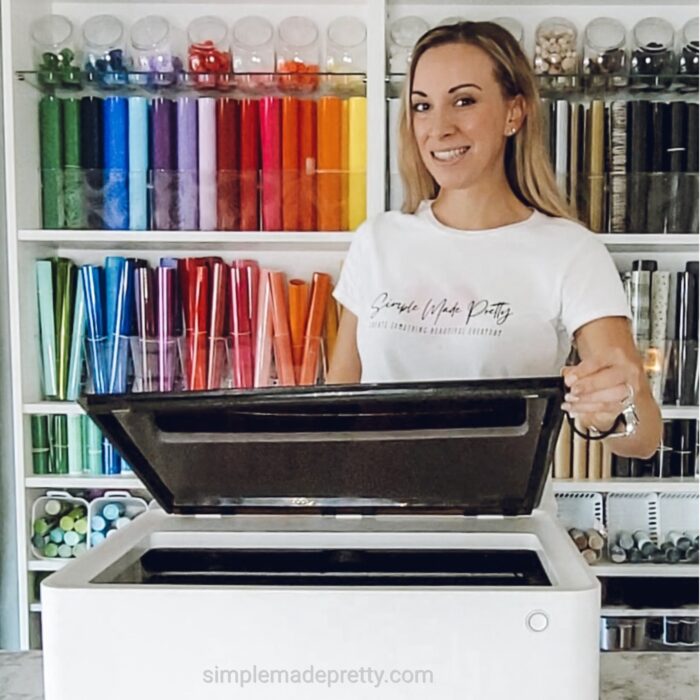
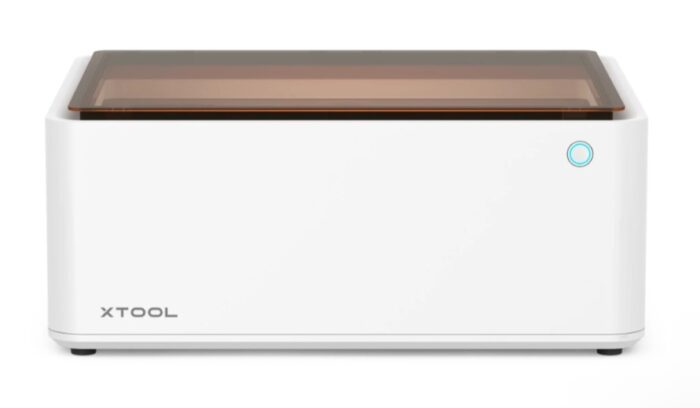
The xTool M1 machine is the world’s first machine with both laser and blade-cutting abilities. Some of the features of this machine are the smart camera inside, the 3-in-1 laser cutting, engraving, and blade cutting. It has a safe enclosed design and comes with free design software.
You can cut 500+ Materials with Endless Creation Ideas! I’m looking forward to using this machine for wood projects and engraving projects.
xTool M1 Unboxing
It only takes a few steps to set it up so let’s get started and see how that goes. I share the full unboxing of the M1 machine, although you can find an unboxing video on their website, it’s always better to see what the “real” process looks like.
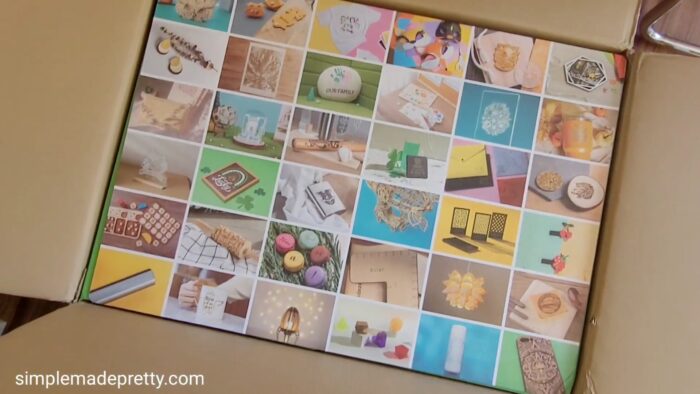
The box is cumbersome and the machine box takes up the entire shipping box. So I unpacked everything while in the shipping box. It’s protected very well and it’s not too heavy.
The mats were right on top and on the sides were the risers for the rotary tool projects, the rotary Accessory kit, the premium material kit, and the rotary tool.
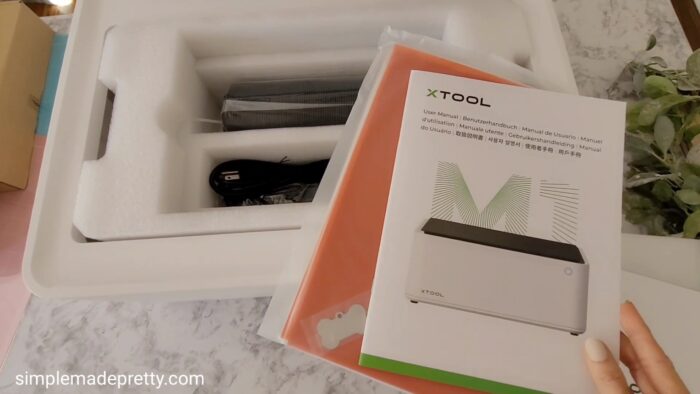
Inside the xTool M1 Machine
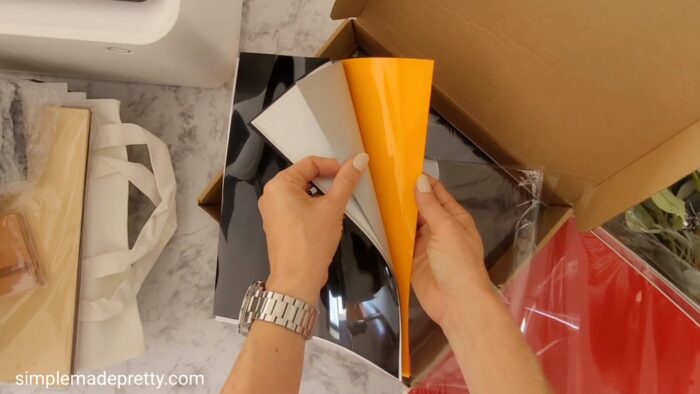
The lid cover has a protective film on the top and the underside that you need to remove.
And inside there are more things…
- User manual
- Sample materials
- A dog tag
- White sticker paper
- PU leather
- Basswood
- 5 extra blades
- The power cord
- USB cord
- The exhaust hose and parts to attach the exhaust hose
- Triangular prisms (you use these in the machine under certain material for laser cutting)
- Another pink and blu mat
I don’t want to go into too much detail about the rotary tool and accessories, I plan to post another video and blog post sharing that setup with projects.
However, I want to share the premium material package because it contains some really cool items and a helpful laminated cheat sheet with the cutting instructions. This came in handy especially if you are not familiar with all the materials the machine can cut.
Premium Material Package for the xTool M1
–>>Get the Premium Material Package here.
Here’s what was included in the Premium Material Package:
- Canvas tote
- Dark wood
- Basswood
- Clear and colorful PVC
- Wood tags
- Wood coasters
- Wood phone stand
- Slate coasters
- Metal card case
- Several charms
- White Sticker paper
- PU Leather in 3 different colors
- Laser marking paper
- Craft removable vinyl in various colors
- Heat transfer vinyl in various colors
Setting Up the xTool M1 Machine
I recommend taking a look over the manual and starting to set up the machine.
The first step in the instructions is to attach the exhaust hose. This is to push any fumes when cutting certain materials either out the window or the door, so it’s not in your home. It would help if you used this machine in a well-ventilated area when using the laser.
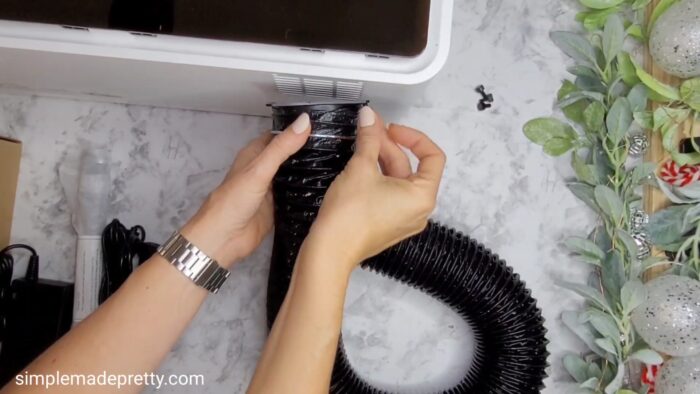
I attached the hose to the plastic piece with the clamp and then attached everything to the machine.
The next step is to install the blade, which is very similar to a Cricut machine blade. It’s very easy to use, just don’t touch the sharp end.
There’s a magnet inside that catches the blade and you have to grab the two ends and twist until the blade hides inside just enough that you see a triangle shape. It should be far enough that the blade won’t cut you when you plop it back in the machine.

The next step is to attach the power cord and USB cord.
Then turn the machine on and you’re ready to start setting up the xTool Creative Space software.
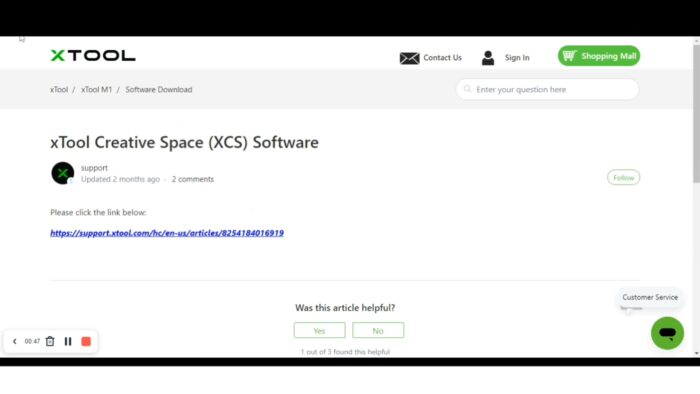
Installing Creative Space Software for the xTool M1
You can find all the instructions on support.xtool.com
I just followed all of the prompts on my computer to install for Windows, however, I did have some issues with 2 drivers that said needed to be installed and I just selected the button to install those. My computer is around 6 years old so newer devices probably won’t have that issue.
xTool M1 Wifi Connection
I installed the wifi connection next because that was a feature I know I will use often. I love that the M1 has a Bluetooth connection so I don’t have to be right next to the machine.
Creating the First Project
Now for the fun part… designing!
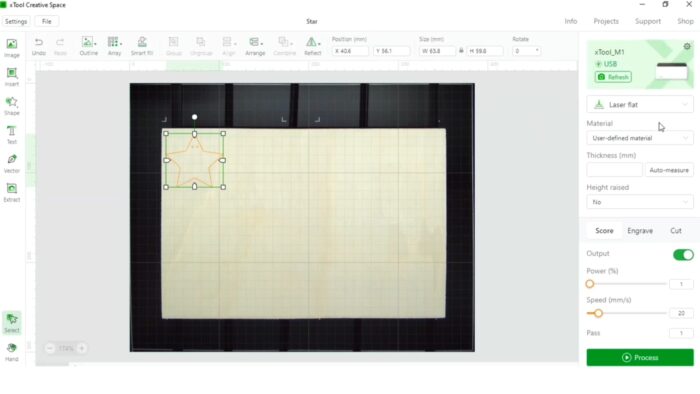
For my first project, I wanted to cut a simple shape on basswood and I decided on a Star. I planned to do a test cut and see how it turned out then proceed with cutting more stars to make a wooden banner.
Creative space is very similar to Cricut Design Space so if you are familiar with it, then this should be easy to use.
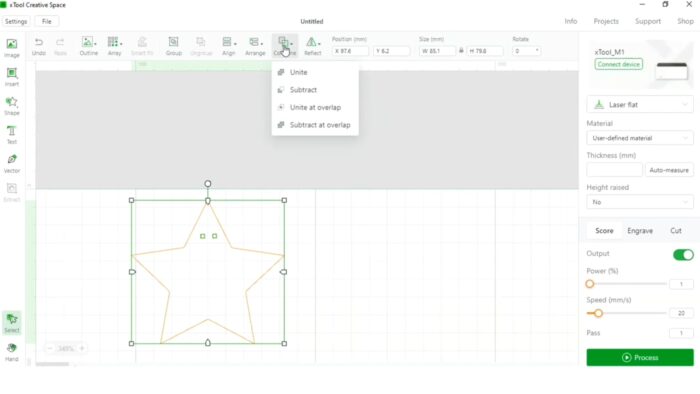
I added circle shapes to my star shape so it cuts a hole so I could string my banner. Once I had them where I wanted, I selected the all images and used the “Unite” feature under the “Combine” drop-down menu.
Placing Material in the Machine
After designing, I was ready to place the basswood in the machine. I used the triangle prisms underneath the basswood and went back to my computer.
The camera inside is awesome! It shows you exactly what’s in the machines so you can reposition the image to cut in the material easily.
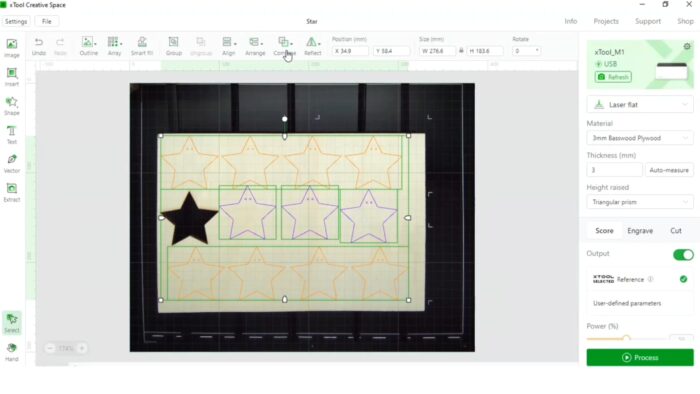
On the right side, you see the cut settings. I chose the Laser Flat, 3 MM basswood material to cut the material. All the settings are already entered for you, however, you can adjust the settings if you select User-defined material.
I love that I can watch the laser cut the image through the protective glass.
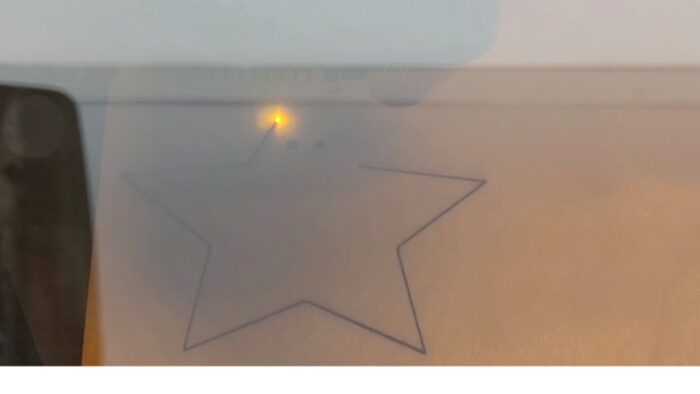
Laser Cutting with the xTool M1 Machine
My first cut turned out really good and was less than a minute so I’m going to put the wood back in the machine and add more stars to my canvas to cut.

I just used the copy and paste key, but I also selected multiple images and you can copy multiple images like that. You can even hold down the shift key and click on each item to “Select All” and then “Combine” and “Unite” them.
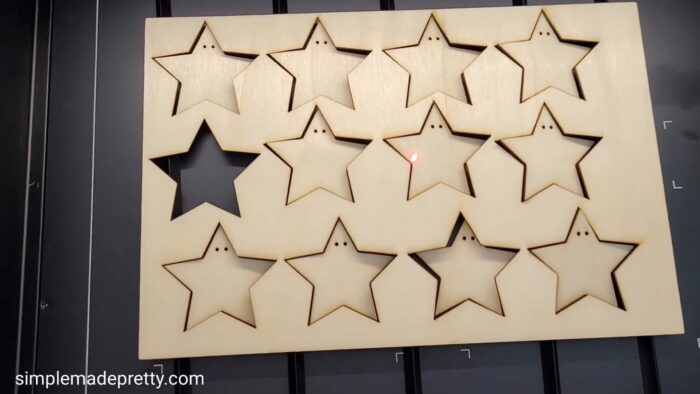
And now we’re going to let the machine work its magic. I didn’t time this cut but it seemed less than 8 minutes cut an entire sheet of basswood.
Cleaning the xTool M1 Machine After Use
The user manual says you should clean debris from the machine after each use to avoid fire hazards, so I’m just using alcohol-free, fragrance-free baby wipes. I use these on my cutting mats to keep them sticky. Then I dried the surface with a paper towel and it’s good as new.
Assembling the Banner
To assemble my banner, I used a fishing line and strung it through the holes. There are so many ways you could dress these up by painting, staining, or adding some glitter, beads, or ribbon.

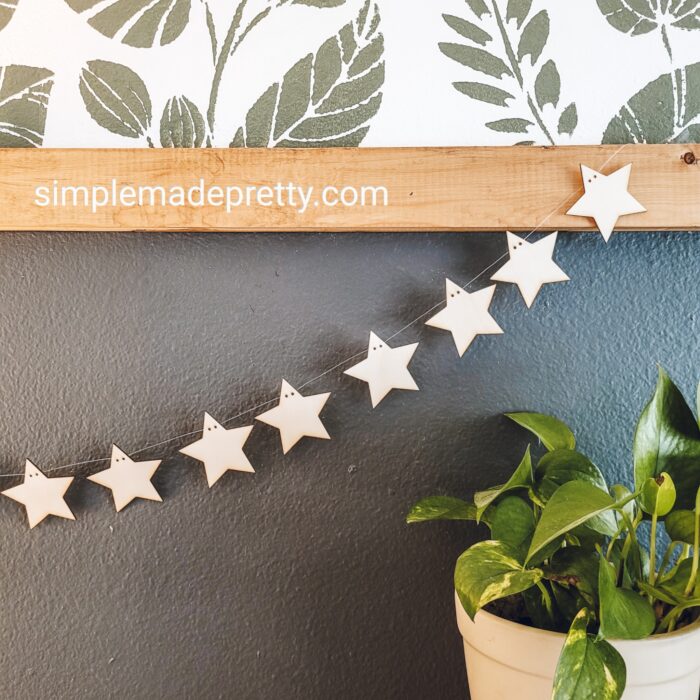
I kept mine natural and hung them in my craft room for now.
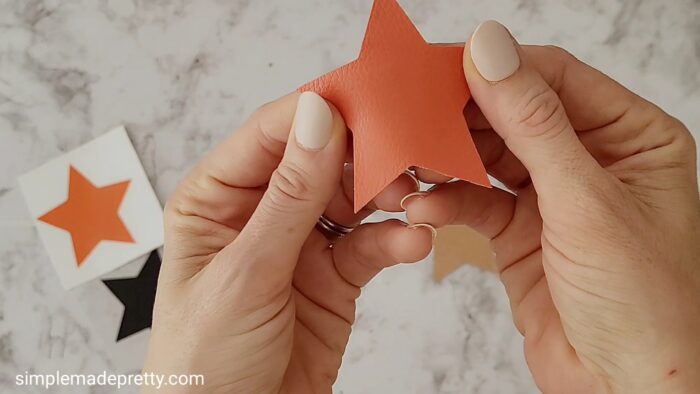
Other Materials I Test Cut
I used a star design to test cut some other materials, including frosted PVC, which could be used as a stencil material.
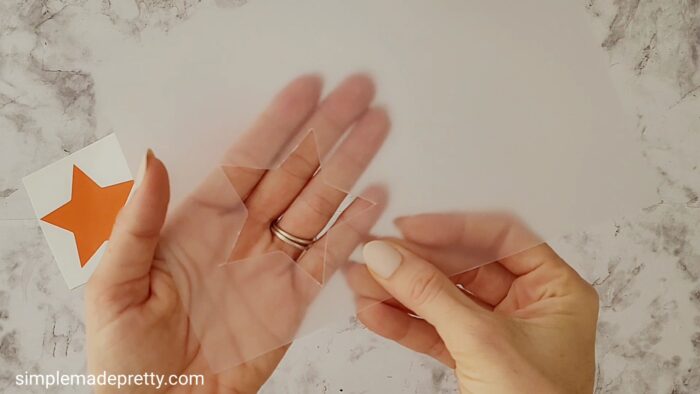
Here’s what I tested:
- Brown craft paper
- Leather
- Craft vinyl
- Heat transfer vinyl
I cut these materials using the recommended settings and they had perfect cuts!
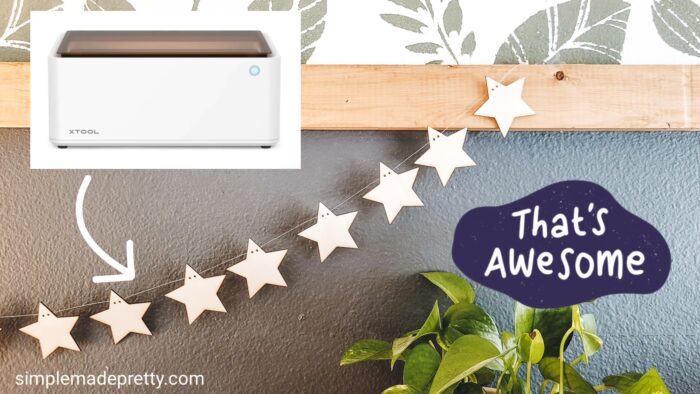
Final Thoughts on the XTool M1 Machine
Overall, I really like the xTool M1 machine. If you are familiar with Cricut, then this machine is fairly easy to start using. If you look at the cost of similar laser machines, this one is very affordable in comparison. I’m excited to add this cutting machine to my craft room and to share future xTool projects with you!
Next Projects
My next video and blog post will show you how to set up the Rotary tool and some project ideas to use this tool with the M1 machine. You can see the post with other xTool projects here.

Don’t forget…
Pin this post to your favorite Pinterest Board
You Might Also Like…
Cricut Craft Room Organization Ideas: Cheap And Space Saving
Psssssttt…Right now I’m offering FREE access to our Digital Resource Library to all of our newsletter subscribers. Your private access includes dozens of free printable crafts, home decor and organization guides. Hurry up and grab your freebies here! (Access instructions are sent after subscribing).
Disclaimer: This post may contain affiliate links or a sponsored post. All opinions are always 100% mine and I don’t partner with any product or company that I don’t use and love. Please see our Full Disclosure for more information.
 20 Free Halloween Monster SVG Files