DIY Built-In China Cabinet
In this tutorial, I share how I updated our DIY Kitchen Banquette with a DIY China Cabinet. This quick cabinet DIY allows storage space for various sizes of plates, bowls, and cups. We now have great kitchen storage for wine glasses and more! The project is simple and inexpensive. Keep reading and watch the video to see our Kitchen Banquette China Cabinet DIY with Pictures!
In case you’re in a hurry…
These custom wood doors are the best quality, wood cabinet doors online!
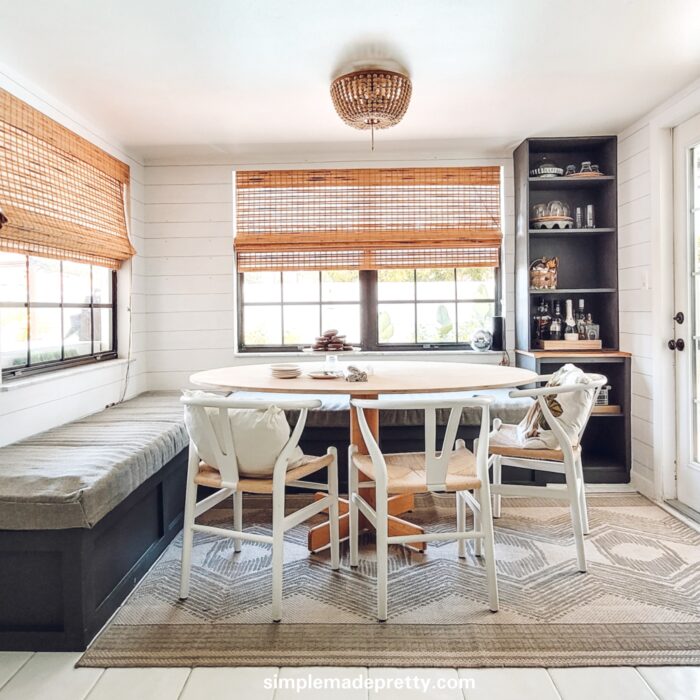
We love this kitchen banquette and use it for work, school, dining, and more! I personally never liked homes that had built-in benches in the kitchen, but after living with one, we see the true benefits. Our eat-in kitchen is in the center of the house and separates the family room from the office, so you can sit at the table and still see each room and TVs!
Shop Our Eat-In Kitchen

You can easily update an outdated or traditional china cabinet with a little paint. You can even update the doors like we did in this post!
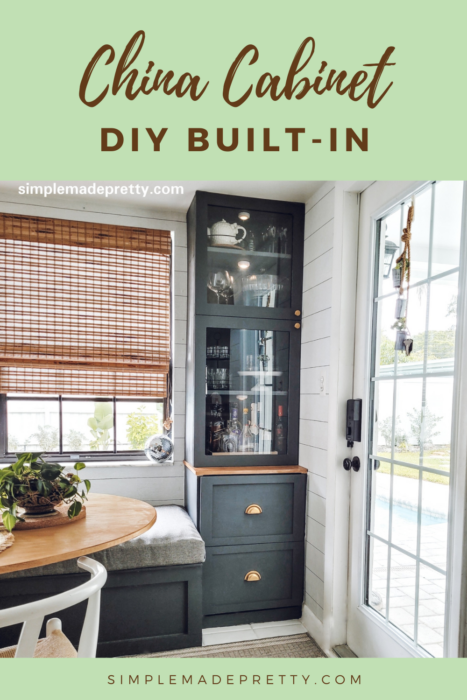
DIY China Cabinet
You can make your own China cabinet out of inexpensive plywood. My hubby built the cabinet and I painted it to match. I ordered doors from Fast Cabinet Doors to finish this custom built-in China Cabinet. I ordered glass shaker doors for the top and shaker drawer fronts for the bottom cabinet.
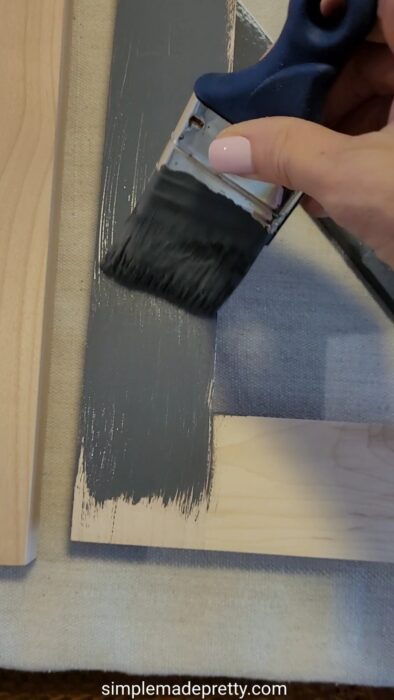
The paint color is Benjamin Moore Gray.
Supplies:
- Plywood
- Table Saw
- Screws
- Paint
- Clear Matte Polyurathane
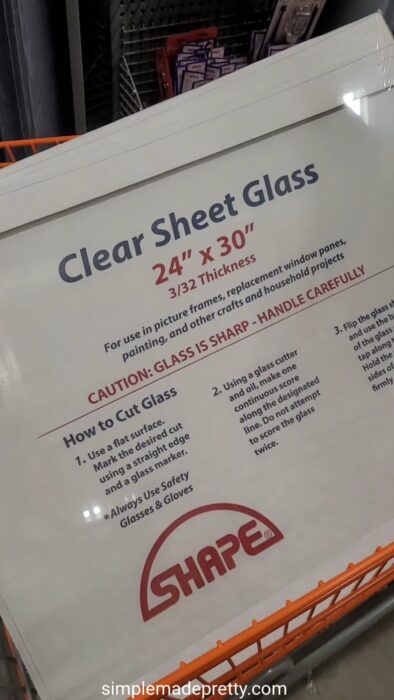
- Glass
- Glass Cutter
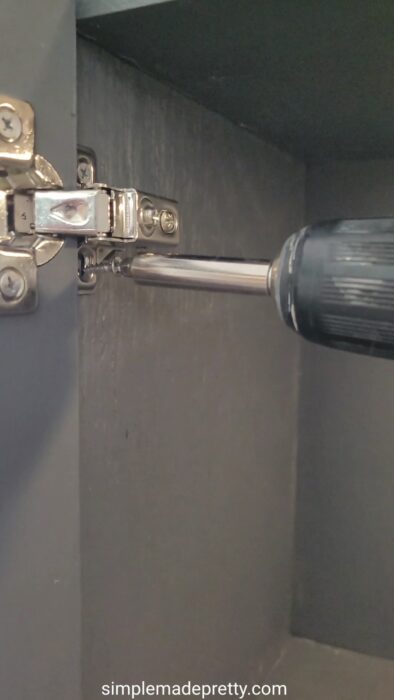
- Soft Closing Hinges
- Soft Closing Drawer Slides
- Cabinet Hardware Drawer Pulls
- Cabinet Door Hardware Gold Knobs
- Cabinet Lights
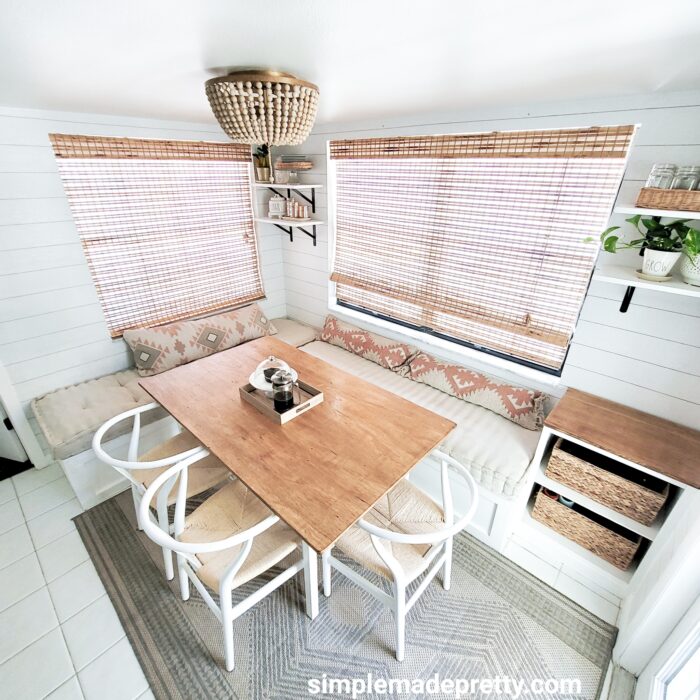
My hubby built the base quickly after building our DIY Banquette bench. I thought it would be nice to have a cabinet off to the side to store extra kitchen items or outdoor items (our back door is right here too!).
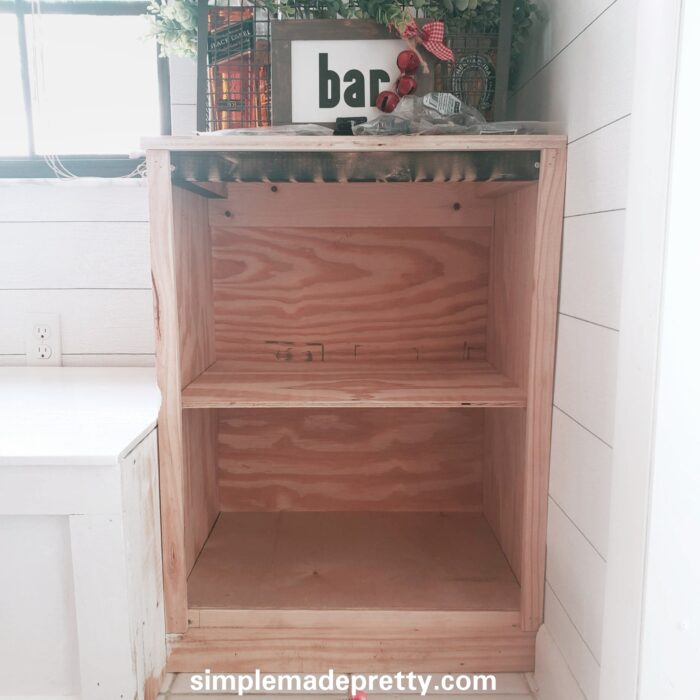
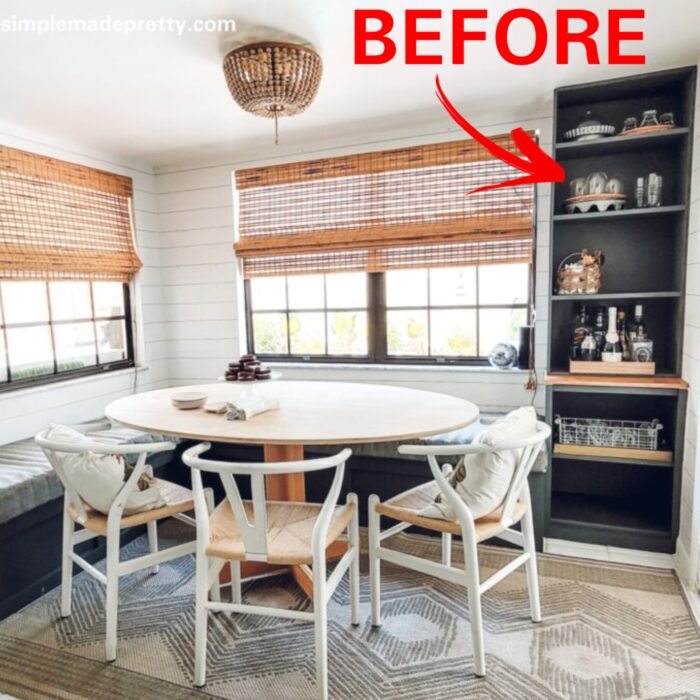
Here’s an overview of what it looked like before…
Then I redid the bench cushions and wanted to paint the banquette in BM Gray and asked the hubby to build a top cabinet at the same time. I wanted something that looked classic and not farmhouse style with the open shelving.
Learn how to make no-sew cushions here.
Learn how to make no-sew rug pillows here.
He used scrap plywood and it turned out great to store my favorite china pieces. The cabinet looked good without doors but I imagined having doors at the bottom and glass doors at the top to really finish it off.
I researched a few custom cabinet door providers and found Fast Cabinet Doors to be one of the best with their affordable doors and great customer service. I ordered custom doors and drawer fronts and they were delivered in under 3 weeks!
I painted the doors to match using a roller and paintbrush. I gave them a coat of clear matte polyurethane so I can easily wipe them down to clean and resist scuff marks.
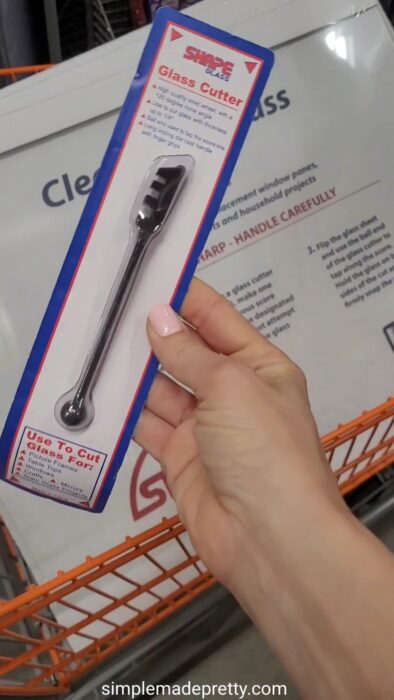
The hubby installed the glass but you can take the glass front doors to a local glass store and have the glass cut to fit. We did break one sheet of glass since these are large glass doors, smaller doors are probably easier to cut glass. You could also try using plexiglass, sold at home improvement stores or Hobby Lobby. I’m not sure how plexiglass will look in the end and I suggested it to my hubby but he preferred a high-end look with real glass.
We used soft closing hinges to attach the doors to the cabinet.
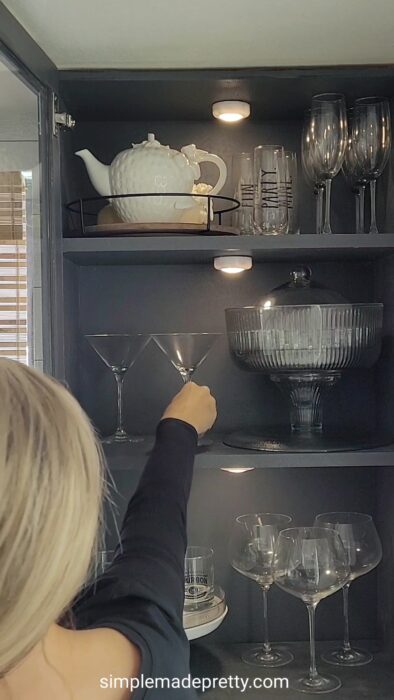
I added some battery-operated, remote-controlled lights to the cabinets since they are glass, it really sets the vibe 🙂
My hubby built 2 drawer boxes for the drawers but you can order custom drawer boxes from Fast Cabinet Doors if you’d like customer drawers. We used soft closing drawer slides to attach the customer drawer boxes and drawer fronts to the cabinet.
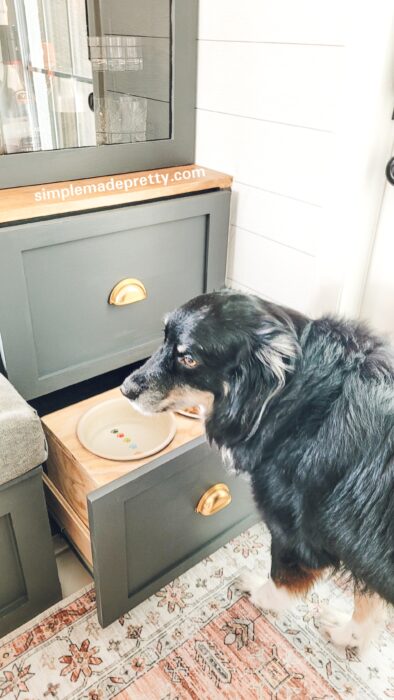
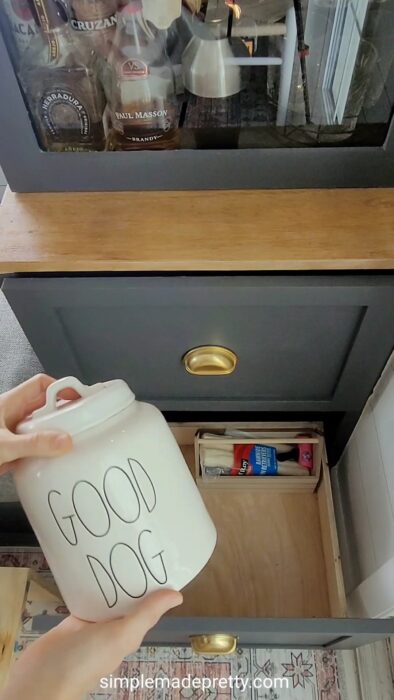
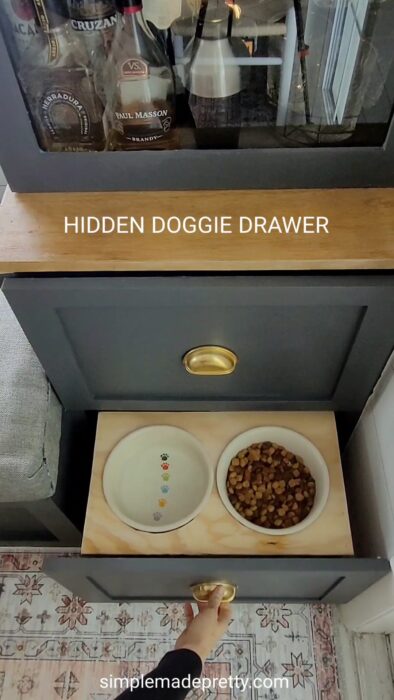
We ended up using the bottom drawer for our dog’s food dishes and pet supplies. It worked out great since we can close the door and hide his food when guests come over, but we typically leave the drawer open so he can eat or drink when he wants.
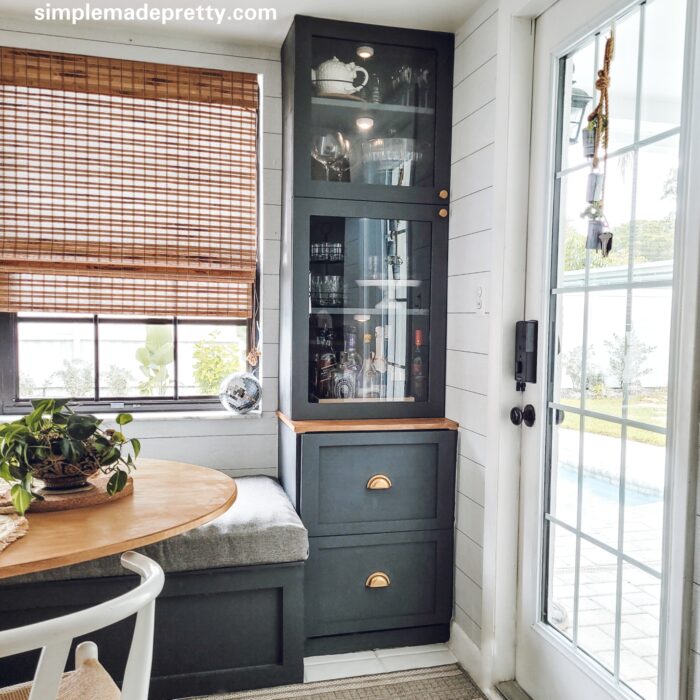
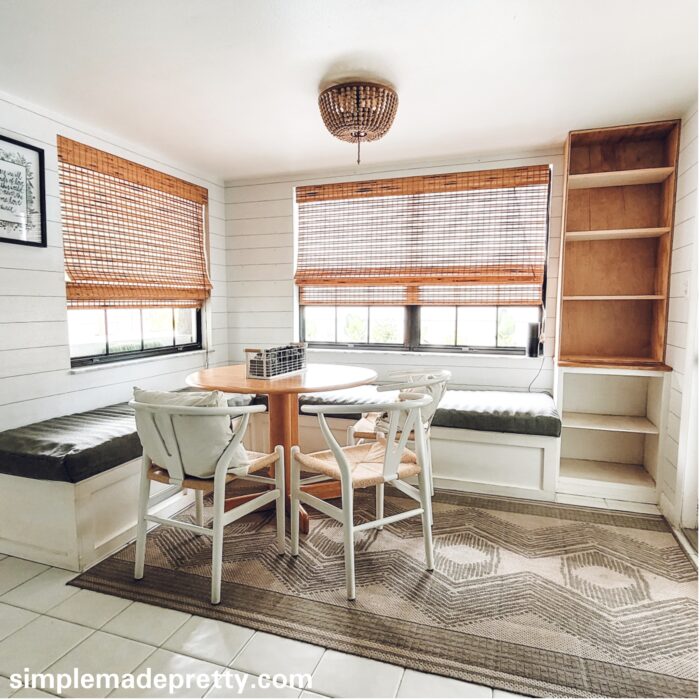
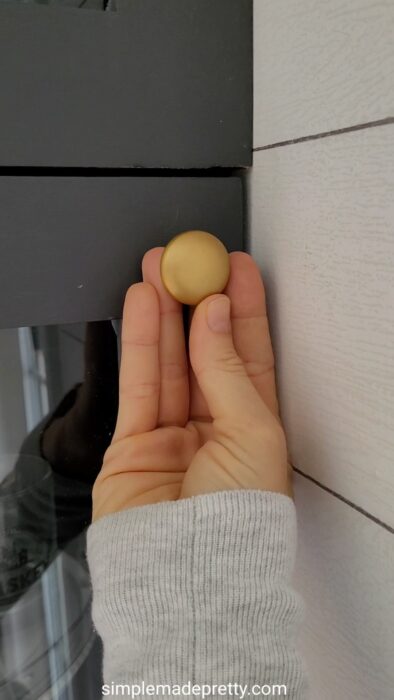
We finished the china cabinet with gold hardware and I organized the inside with our glassware, china tea cups and pot, cake stands, and more!
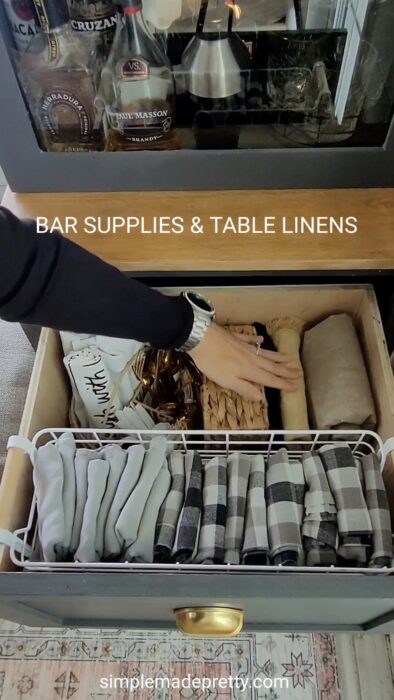
This china cabinet organizes our bar supplies and dining room linens (since this is our dining room too!). We finally have a place to display my favorite china and glassware while keeping our small kitchen and dining area organized. I highly recommend the custom doors we used from Fast Cabinet Doors if you’d like to build your own cabinets.
Wrap up for DIY China Cabinet Makeover
A china cabinet is at the center of almost any dining room or kitchen. But if you live in a small home, where will you put it? Maybe you need a china cabinet that resides in an eat-in kitchen. This project is perfect for a neatly organized kitchen. Build a china cabinet with pictures here to inspire your design.
Links to Products Shown
- Dining Table indoor outdoor rug
- Poly Bark Dining Chairs
- Fast-Cabinet Shaker Glass Doors
- Wood bead light
- Bamboo Blinds (similar)
- Wood tape edging (for the table)
- Polyurethane satin oil-based (for the table)
- Clear Matte Polyurathane (for the cabinets)
- Glass
- Glass Cutter
- Soft Closing Hinges
- Soft Closing Drawer Slides
- Cabinet Hardware Drawer Pulls
- Cabinet Door Hardware Gold Knobs
- Cabinet Lights
- Hot-Glue French Mattress Cushions Tutorial
- DIY Banquette Bench Seating
- DIY Oval Table
Watch the Video for this DIY China Cabinet
Don’t forget…
These custom wood doors are the best quality, wood cabinet doors online!
Shop Our Eat-In Kitchen
Watch me Organize this China Cabinet in an ASMR video
https://youtube.com/shorts/dhu9DtBKu1E?feature=share
Pin this DIY tutorial for later…
Here are More Home Improvement Tips You Might Like…
Easy To Follow DIY Instructions For Painting Two-Toned Kitchen Cabinets
10 Cheap Home Hacks That’ll Make Your House Look So Much Better
Tour Our Homes
Take a Tour of our Second Home here
Psssssttt…Right now I’m offering FREE access to our Digital Resource Library to all of our newsletter subscribers. Your private access includes dozens of free printable crafts, home decor and organization guides. Hurry up and grab your freebies here! (Access instructions are sent after subscribing).
Disclaimer: This post may contain affiliate links or a sponsored post. All opinions are always 100% mine and I don’t partner with any product or company that I don’t use and love. Please see our Full Disclosure for more information.
 Cricut DIY Tire Cover + 19 Free Camping SVG Files