xTool F1 Machine Review
Welcome to our blog post on the xTool F1 Machine! In this article, we will take you through the exciting process of unboxing this powerful machine, setting it up, and using it for your first projects. The xTool F1 Machine is a versatile tool that can be used for a variety of applications, from laser engraving to scoring, and cutting. Whether you are a hobbyist, a DIY enthusiast, or a professional, the xTool F1 Machine is an excellent investment that can take your work to the next level. So, without further ado, let’s get started and explore the xTool F1 Machine together!
In case you’re in a hurry…
This is a sponsored post. All opinions are always 100% mine and I don’t partner with any product or company that I don’t use and love. I received a gifted xTool F1 Cutting Machine and in this tutorial, I share unboxing the machine, setting it up, and I’ll make a few projects so you can see how I use this machine in my craft room.
What is the xTool F1 Machine?
The xTool F1 Machine is a small mini laser engraver that features fast engraving speed and portability. You can use it to engrave at a maximum speed of 4000mm/s.
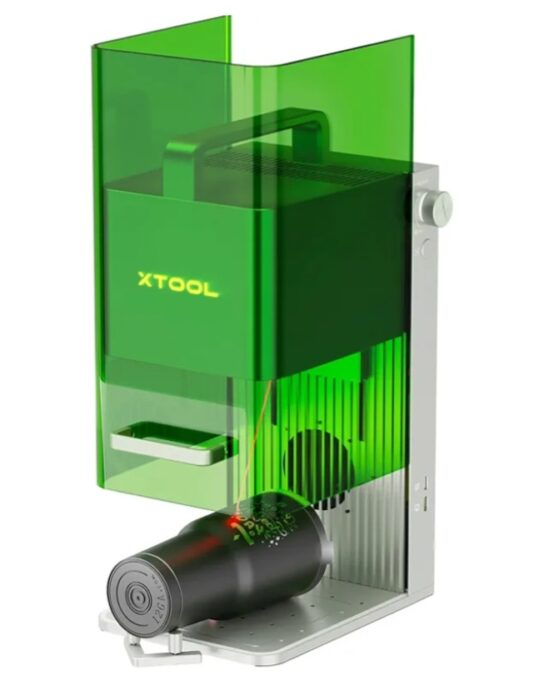
You can cut 300+ Materials with Endless Creation Ideas! I’m looking forward to using this machine for wood projects and engraving projects.
xTool F1 Unboxing
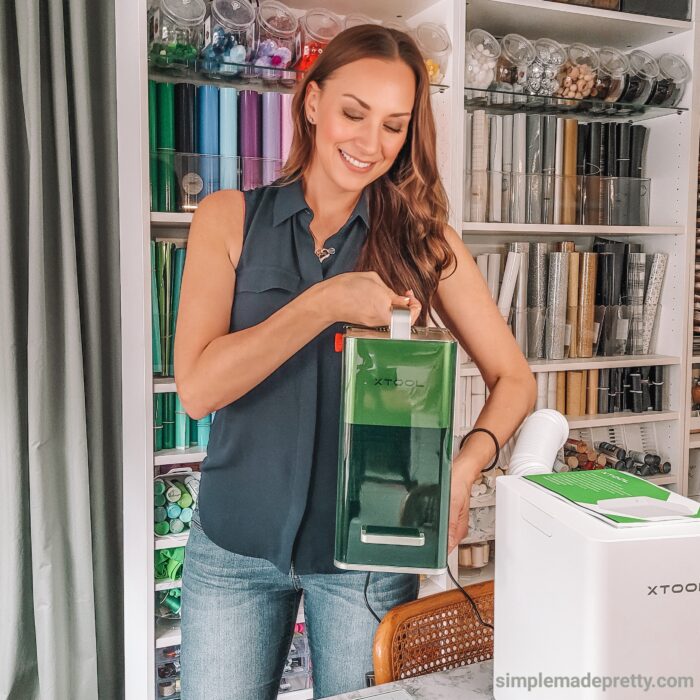
It only takes a few steps to set it up so let’s get started and see how that goes. I share the full unboxing of the F1 machine, although you can find an unboxing video on their website, it’s always better to see what the “real” process looks like.
The box is cumbersome and the machine box takes up the entire shipping box. So I unpacked everything while in the shipping box. It’s protected very well and it’s not too heavy.
Inside the xTool F1 Machine
The lid cover has protective tape on the top and the sides that you need to remove before using.
And inside there are more things…
- User manual
- Sample materials
- The power cord
- USB cord
- The exhaust Pipe
- Triangular prism Panel (you use these in the machine under certain material for laser cutting)
- L-Shape Positioning Piece
- Key
- Grease
- Lint-Free Cloth
- Removable Base Plate
- xTool F1 Machine
Setting Up the xTool F1 Machine
I recommend taking a look over the manual and watching THIS VIDEO before getting started.
- The first step in the instructions is to attach the exhaust hose. This is to push any fumes when cutting certain materials either out the window or the door, so it’s not in your home. It would help if you used this machine in a well-ventilated area when using the laser OR purchase the smoke purifier (which I highly recommend!).
- The next step is to attach the power cord and USB cord to your device. There is another USB cord to attach to the smoke purifier if you have that.
- Then turn the machine on and you’re ready to start setting up the xTool Creative Space software.
Installing Creative Space Software for the xTool M1
You can find all the instructions on support.xtool.com
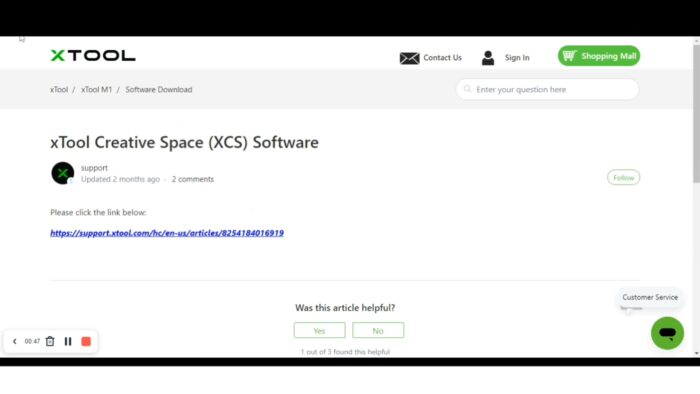
I just followed all of the prompts on my computer to install for Windows, however, I did have some issues with 2 drivers that said needed to be installed and I just selected the button to install those. Then I restarted my computer and all was set up.
xTool F1 Wifi Connection
I installed the wifi connection next because that was a feature I know I would use often. I love that the F1 has a Bluetooth connection so I don’t have to be right next to the machine.
Laser Cutting with the xTool F1 Machine
I have the smoke purifier set on United Mode so that it turns on automatically when the F1 is working. On the back side, you’ll see there are several cords. This is the USB cord to plug into your computer. This is the USB cord that plugs into the Smoke Purifier. And this is the power cord. This is the control for the 3 levels of power on the smoke purifier. The high level is for blue rays and infrared rays use a low or medium level.
xTool F1 Engraved Leather Bracelet Project
Now I’m ready to start my first project. I’m using this scrap piece of leather which is real leather. So I set it on the base plate and manually adjusted the laser so the red and blue lights were together. If you forget to do this step then your project might turn out faded or not cut at all.
- I’m going over to Creative Space which is very similar to Cricut Design Space. So if you are familiar with that, then XCS will be very easy for you.
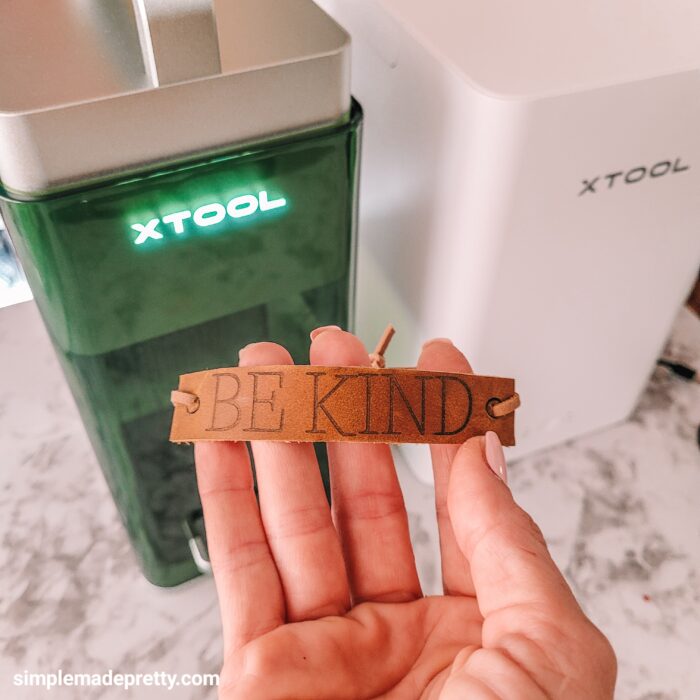
- I just added a text box and typed in Be Kind, choose a font, and set it to engrave.
- Then I searched for Leather and they only had artificial leather listed so I just went with that.
- Then I selected the framing button to see if I needed to adjust the image size or move the material. And you can see it shows a rectangle of where it’s going to be engraved.
- Once that is fixed, I decided to add some circles to the sides to mark where I want the holes to go. Then I hit the process button in Creative Space, closed the protective cover, and pressed the power button in the machine.
- My smoke purifier turned on at the same time and the engraving was done in seconds!
- It looked great and I decided to turn this leather strap into a bracelet so I poked holes through those circles and tied some faux sued to create a bracelet.
With just a few materials and a bit of creativity, you can create a unique and stylish bracelet that reflects your personality and style using the F1 machine.
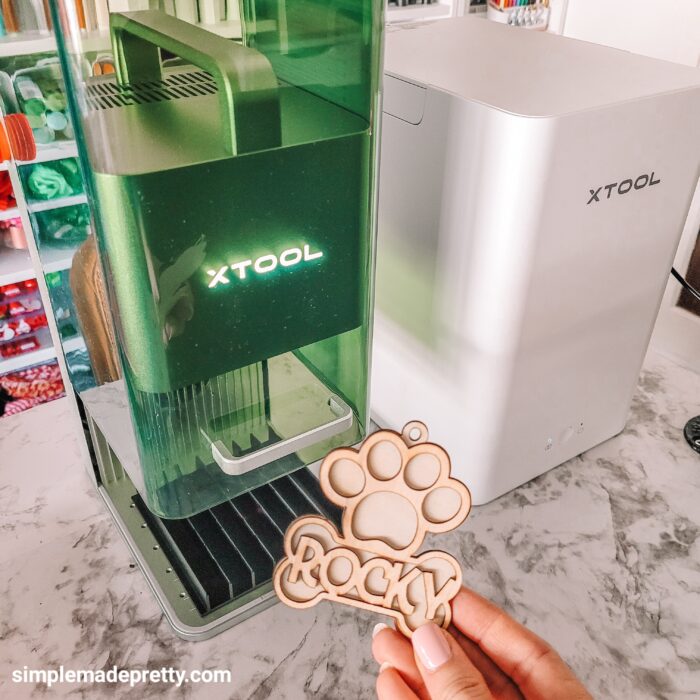
DIY Personalized Dog Ornament using the xTool F1
The next project I created is a Personalized Dog Ornament. I designed this SVG that you can purchase in my shop.
- I uploaded the SVG file and added a text box with our dog’s name.
- Then I welded the text together (using the option that shows up when you click on the text).
- Next, I placed the text inside the bone and used the uniting feature to combine the images.
- I set the image to cut using basswood.
- I placed a piece of basswood in the machine and adjusted the laser lights together, did the framing to place it in the correct position, closed the cover, and hit the process and start button.
- You can see how quickly and precise the cut was.
- After I cut this image, I realized I wanted to add a back with a hole to the ornament so I went back to my design, added a same-size offset image, deleted the original image, and I selected a circle that I united to the top, then selected another circle and united that to create the ornament hole to hang it.
- If you get the SVG file, I’ve already done all this for you so you can just upload the front and back designs and cut.
- Next, I set the image to cut following all of the same steps to create the back piece.
The xTool F1 machine is perfect for personalizing pet gifts like this handmade ornament. You can paint it and glue the pieces together, and add some pretty ribbon with a bow to finish the look.
Engraving Macaron Cookies with the xTool F1 Machine
In the promotional video for xTool F1, they showed engraving Macaron cookies so I had to give it a try on my machine.

- I used boxed macarons on the triangle prisms (although you probably can sit it on the base), then in Creative Space, I added some text to spell a personalized message (maybe it’s someone’s Birthday and you want to surprise them with cookies).
- I set the engrave setting to Leather since there wasn’t a setting for macarons. Make sure to adjust the lasers, close the cover, and start engraving.
This project was super fast and a fun project. Although I probably won’t use my laser on food, xTool states that it’s safe.
xTool Laser Engraved Charms
For this next project, I’m engraving one of the silver charms that came in the material kit.
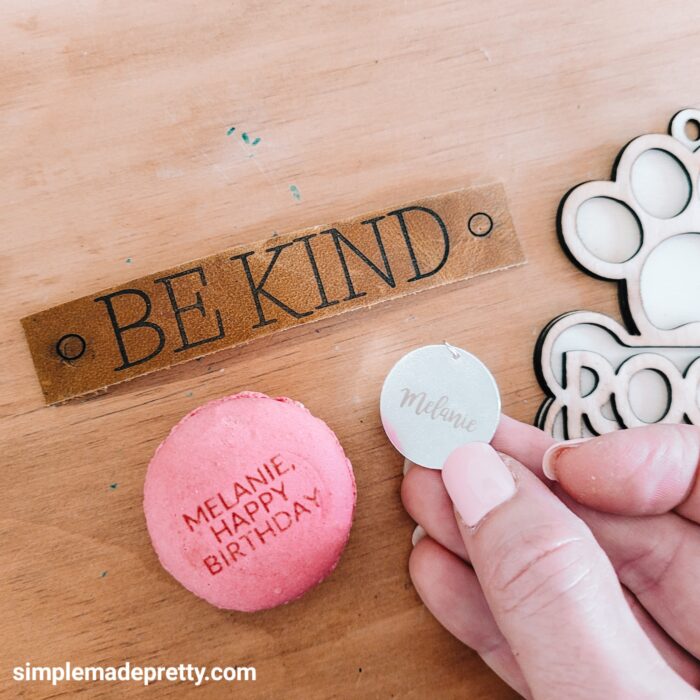
- I added a text box with my name and a pretty font.
- I sized it to fit on the charm and followed the same steps as the other projects.
This charm can be added to a bracelet, necklace, keychain, or ornament and is a great gift idea.
Cleaning the xTool F1 Machine After Use
The user manual says you should clean debris from the machine after each use to avoid fire hazards, so I use alcohol-free, fragrance-free baby wipes.
Final Thoughts on the xTool F1 Machine
So is the F1 Machine worth it? ABSOLUTELY! The F1 machine is my new favorite machine. I’m blown away by the possible creations I can make with this machine. If you are familiar with Cricut, then this machine is fairly easy to start using. If you look at the cost of similar laser machines, this one is very affordable in comparison and I love that it’s compact so I can take it on the go. I’m excited to add the F1 machine to my craft room and can’t wait to share more xTool projects with you!

Don’t forget…
Watch the xTool F1 Video (unboxing, set up, first projects):
Pin this post to your favorite Pinterest Board

You Might Also Like…
Cricut Craft Room Organization Ideas: Cheap And Space Saving
Psssssttt…Right now I’m offering FREE access to our Digital Resource Library to all of our newsletter subscribers. Your private access includes dozens of free printable crafts, home decor and organization guides. Hurry up and grab your freebies here! (Access instructions are sent after subscribing).
Disclaimer: This post may contain affiliate links or a sponsored post. All opinions are always 100% mine and I don’t partner with any product or company that I don’t use and love. Please see our Full Disclosure for more information.
 17 Free Astronomy Space-Themed SVG Files – The Sky’s The Limit Free SVG