DIY Backyard Patio Cheap
Want to add a patio to your backyard but find the cost is crazy expensive? I hear ya! Hiring a paving or concrete company can be expensive but there are many ways to create a DIY Patio on a Budget. In fact, we created a few patio areas and walkways in our yard that were all cheap DIY projects. I’ll share how we created a cheap backyard patio in this post with my tips on what I would do differently too!
How Do I Build a Patio Myself?
If you are lucky enough to find some patio paver to DIY a patio project, then a DIY stone patio will be even more affordable! We had a huge oak tree taken out of our yard and during that process we uncovered a TON of 12-inch square pavers just hiding underground. It was unbelievable!
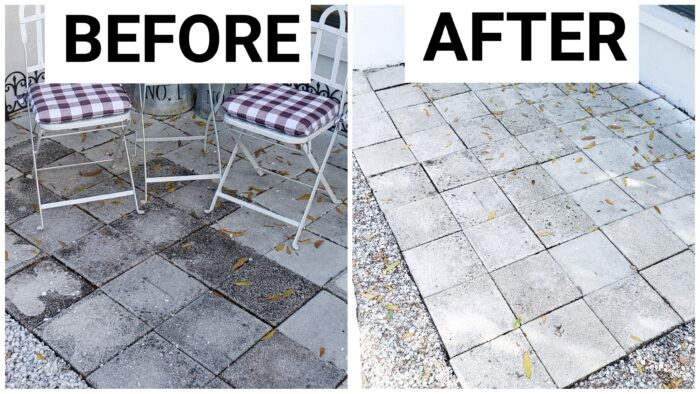
Since the pavers we uncovered were pretty dirty and grungy, we used a pressure washer to clean them off so they looked like new!
What’s the Cheapest Material to Build a Patio?
If you can find pavers on Facebook Marketplace, Craiglist, local yard sale, or a neighbor, then go with the cheapest rock, stones, etc. that you can get your hands on! Our friends bought a house that had flagstone pavers and they didn’t want them in their yard so we gladly took them for FREE!
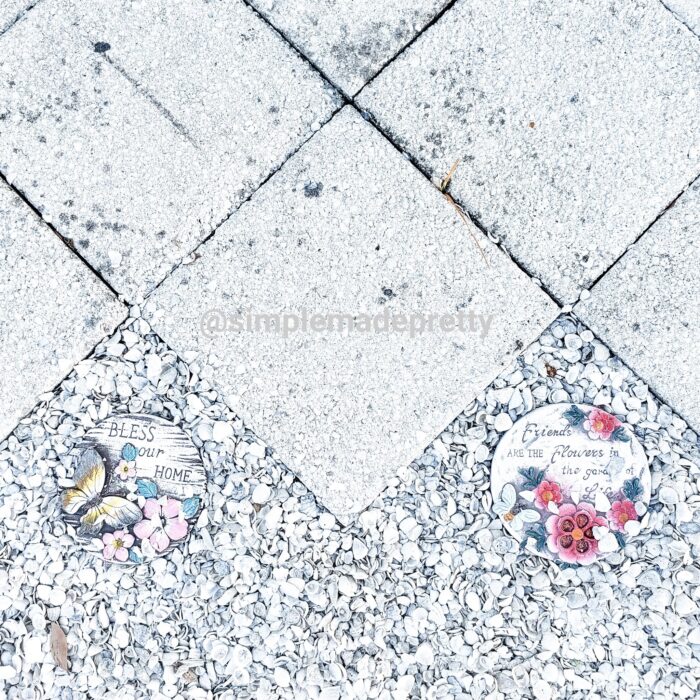
We used crushed seashells in our backyard as an alternative to pavers or rocks. I’ve seen many backyards with sand or pebbles also!

How Do You Make an Inexpensive Patio?
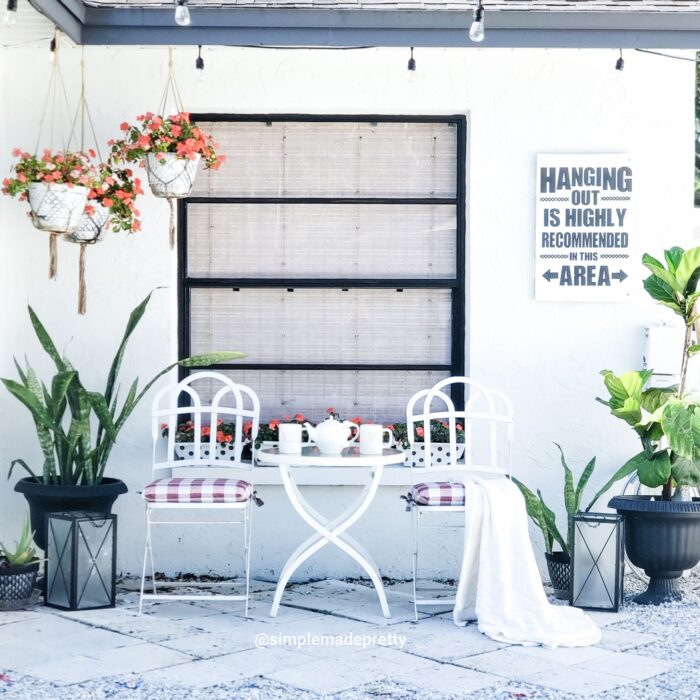
You can use a variety of materials to create a beautiful inexpensive patio. The trick is to make sure the ground is level and to create a pattern (if you can) with the materials you are using.
What’s the Easiest DIY Patio?
The easiest DIY patio would be one with large pavers and a flat, level surface. If you have a somewhat small budget, I suggest checking out the pavers available at your local Home Depot or Lowe’s. Home Depot carries large square pavers that will easily fill up a space to create a patio in 15 minutes or less (as long as the ground is level).
Supplies:
- Pavers
- Leveling Sand
- Rubber Mallet
- Garden Rake
- Garden Shovel
- Level
Directions:
- Shovel the entire area where you wish to create the patio space.
- Use a rake to level the surface as flat as possible.
- Use a level to make sure the ground is level.
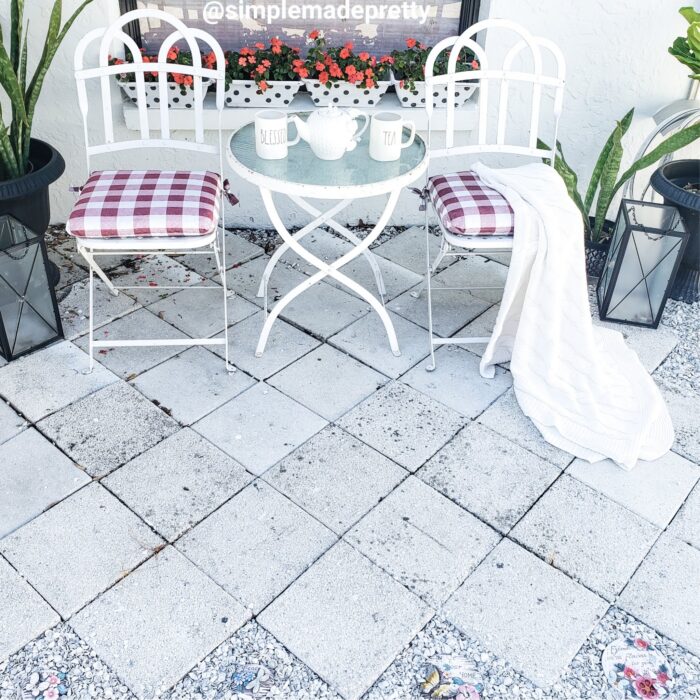
- Begin placing the pavers in the ground in your desired pattern. The prettier the pattern, the better the pavers will look. We went with a diamond pattern for this patio after starting with a side-by-side pattern. We placed the pavers right next to each other, however, if you leave some space between the pavers, this also looks good (we did this for our DIY paver walkways).
- You can use a pressure washer to clean your pavers if you are using old pavers as we did.

- Use a level to make sure the pavers are the same level when placing into the ground. Use a rubber mallet to tap the pavers into place in the dirt ground so they do no shift.
- Once all the pavers have been placed in the ground and are level, pour sand over the pavers and sweep the sand into the cracks until the pavers are cleaned of sand.
- Use a paver sealer to seal everything into place (follow the instructions on the sealer you use). You will need to add more sand over time to your paved patio for upkeep.
I hope you found this tutorial useful and are inspired to try your own DIY patio using pavers. You can easily create a beautiful backyard space by adding your own paved patio.

Here are More Home Improvement Tips You Might Like…
How to pick the right paint colors
Have you ever had trouble picking the right paint colors for your home? Choosing the right paint colors for your home can be overwhelming. There are so many different “whites” and “grays” these days, how can anyone know they are making the right paint color choice?
That’s why I put together the best tips on How to Choose Interior Paint Colors in this post.
Every home is different… the entryway in our first home was much different than the entryway in our second home, and both of those were very different from the entryway in our third home! So I chose a different paint color for each entryway in all three of our homes. Not to mention, from the time that we bought our first home, to the time that we bought our third home, home paint color trends changed drastically. The colors that I used back then are no longer a trendy color and well, I just didn’t like the brown-ish tan that was in our first home, haha.
So if you need help choosing paint colors for the rest of your home, head on over to this post to see my paint-picking tips and what has worked for me in all three of our homes 🙂 My post with how to choose paint colors for your home is one of my most popular posts and readers have benefited from reading it before heading to the store to buy paint that ends up not working out.
I also have some ideas for choosing paint color combinations for bedrooms (with themes!)
Paint Versus Peel & Stick Wallpaper
Peel and stick wallpaper has become very popular recently since not everyone has access to tools to build their own Shiplap walls (thanks Chip and Joanna) or wants to tile an entire wall with subway tile. I love tiling but if I could slap up some wallpaper and call it a day, that would make me, the hubby, and my wallet happy!
You can find peel and stick wallpaper online at Target, Amazon, Home Depot, and more! I’ve linked my favorite peel and stick wallpaper and the ones I’ve used personally below.
How To Paint Kitchen Cabinets Without Sanding
If you love white farmhouse kitchens and want to paint your kitchen white, then you will love this post that teaches you How To Paint Kitchen Cabinets White Without Sanding! I’ll show you how to paint old kitchen cabinets and answer how much does it cost to paint kitchen cabinets (it’s much cheaper than you think!). I also have lots of pictures of painting kitchen cabinets before and after!
You don’t have to worry about how to paint kitchen cabinets without brush strokes because I have a secret in this post that reveals a step-by-step DIY tutorial with how to paint kitchen cabinets like a pro.
–>> Learn how to Paint Kitchen Cabinets without Sanding here!
Cheap Home Hacks that’ll Increase Value
Renovating a home can come with a high price tag if you’re not budgeting and deciding which updates bring the best return on investment. After selling our updated first home in just 4 years, we bought an even bigger house that needed a lot of updating. We sold our second home after 4 years while doing the much-needed work to produce a profit by following the same strategies we did in our first home.
If you enjoy updating your home, want to increase your home value or just want your home to look better, you should check out thee 10 Cheap Home Hacks That’ll Make Your House Look So Much Better.
Tour Our Homes
Take a Tour of our Second Home here
Psssssttt…Right now I’m offering FREE access to our Digital Resource Library to all of our newsletter subscribers. Your private access includes dozens of free printable crafts, home decor and organization guides. Hurry up and grab your freebies here! (Access instructions are sent after subscribing).
Disclaimer: This post may contain affiliate links or a sponsored post. All opinions are always 100% mine and I don’t partner with any product or company that I don’t use and love. Please see our Full Disclosure for more information.
 No-Sew Rug Pillows