Make Your Own Advent Calendar
It’s that time of year again when we count down to Christmas by going around the 25th of December in a clockwise direction. This advent calendar is a great craft project for kids. Invented by a teacher in the Netherlands, the advent calendar is a creative way to countdown to Christmas. Learn more about how to make a DIY advent calendar in this article. Keep reading and watch the video to see how to make this DIY Wall Advent Calendar!
In case you are in a hurry…
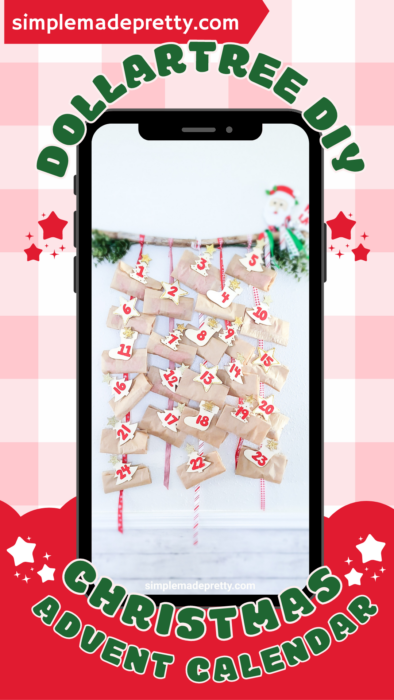
Everything you need to make these Dollar Tree DIY Christmas Advent Calendar can be found at Dollar Tree!
Want to see my latest DIY videos in Real-Time? Follow me on Instagram and YouTube!
–>>You can follow me on Instagram here
So if you want to be the first to know about my latest and greatest DIY’s and more, I highly encourage you to follow me on Instagram. If you don’t have an Instagram account, it’s really easy to set one up and in my opinion, it’s easier to use than Facebook.
How do I make my own Advent calendar?
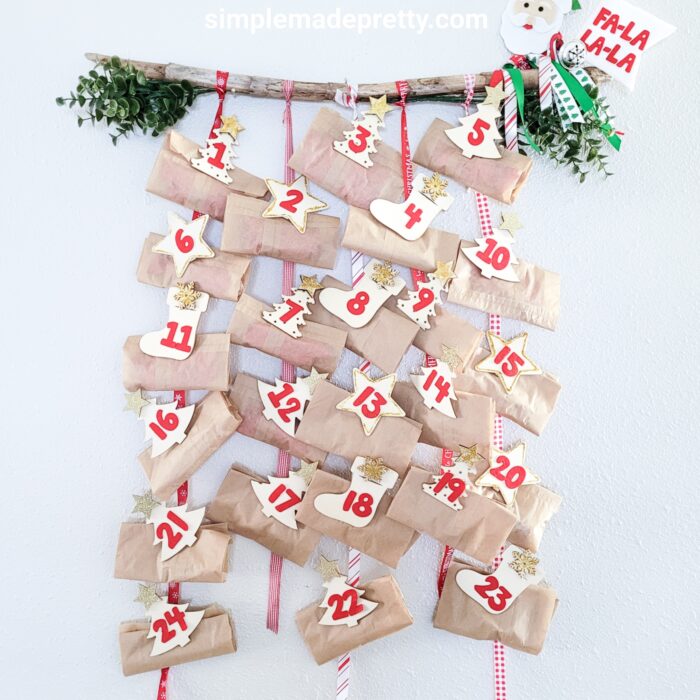
You can make an Advent Calendar out of many materials. I used hanging ribbon and bags with goodies clipped to the ribbon. Create a simple Advent calendar or make it extravagant!
What do you put in a homemade Advent calendar?
I used leftover Halloween candy in our homemade advent calendar. You can use small gifts, toys, or non-perishable food items in an advent calendar.
Advent Calendar + Christmas Card Display
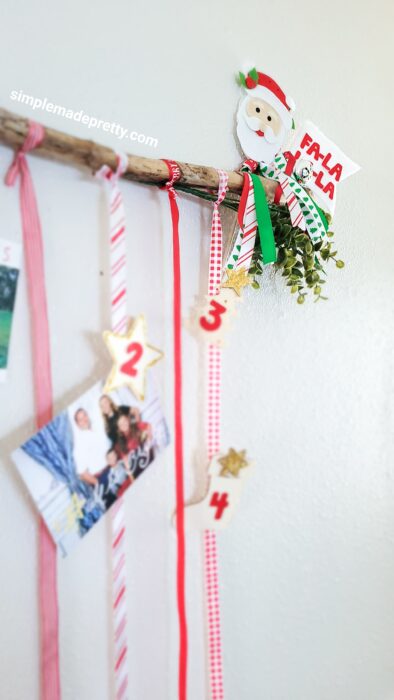
This Advent Calendar also serves as a Christmas card display! As you start to remove the gift bags, you can add Christmas cards that you receive from friends and family and display the cards using the same clips and ribbon.
Make Your Own Advent Calendar :
‘Tis the season for holiday decoration. We show you how to create your own Advent calendar to start this Christmas season.
Supplies:
- Color Your Own Wood Ornaments
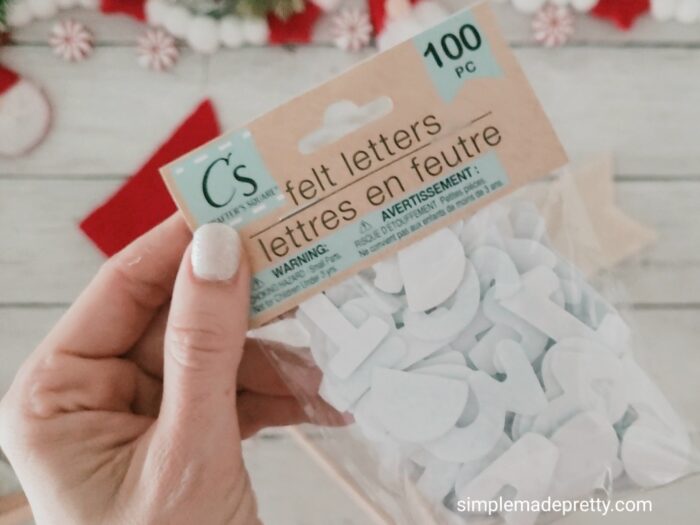
- Felt Alphabet Stickers
- Wood Clothespins
- Aleene’s Fast Grab Tacky Glue
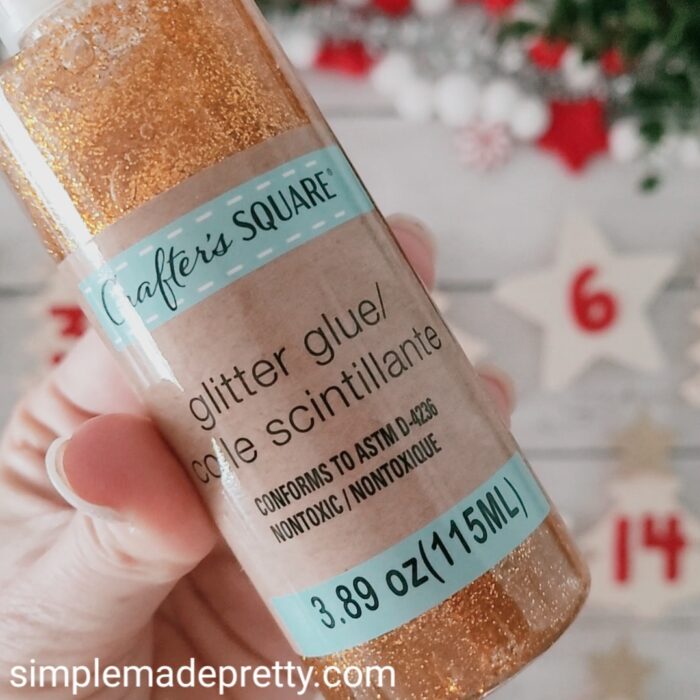
- Glitter Glue/Glitter (optional)
- Ribbon
Directions:
-
- Gather Supplies. Watch the video below for more instructions.

- The felt numbers are the hero of this project. Try to grab a few packages, otherwise, you can cut some numbers to create extra “1’s” and “2’s.”

- Start adding the felt number stickers to the wood ornaments.
- I added a gold glitter star to the top of the wood tree ornaments and gold glitter glue to some of the other wood ornaments. Have fun being creative!
- Use Tacky glue to attach a wood clothespin to the back of the wood ornament and let dry.
- I used a variety of wood ornaments.
- If you run out of numbers, just cut the extra numbers into 1’s and 2’s.
- Use a wood stick, branch, or large dowel to tie 5 strands of ribbon in carrying lengths.
- Attach the number clips with bags of goodies to the ribbons.
- As you start to remove the baggies, you can reuse the clips to hang Christmas cards that you receive during the holiday season 🙂

- Gather Supplies. Watch the video below for more instructions.


Wrap Up about the Dollar Tree DIY Advent Calendar
Advent calendars featuring chocolate and toys are more traditional than DIY calendars. But those calendars might miss the mark for many families. Consider a fun DIY calendar instead. Decorate your room for the holiday season with an advent calendar. Follow these tips to create your own.
Don’t forget…
Print the Instructions and Watch the video to make the Dollar Tree DIY Advent Calendar

Supplies
- Color Your Own Wood Ornaments
- Felt Alphabet Stickers
- Wood Clothespins
- Aleene's Fast Grab Tacky Glue
- Glitter Glue/Glitter (optional)
- Ribbon
Instructions
- Gather Supplies. Watch the video below for more instructions.
- The felt numbers are the hero of this project. Try to grab a few packages, otherwise, you can cut some numbers to create extra "1's" and "2's."
- Start adding the felt number stickers to the wood ornaments.
- I added a gold glitter star to the top of the wood tree ornaments and gold glitter glue to some of the other wood ornaments. Have fun being creative!
- Use Tacky glue to attach a wood clothespin to the back of the wood ornament and let dry.
- I used a variety of wood ornaments.
- If you run out of numbers, just cut the extra numbers into 1's and 2's.
- Use a wood stick, branch, or large dowel to tie 5 strands of ribbon in carrying lengths.
- Attach the number clips with bags of goodies to the ribbons.
- As you start to remove the baggies, you can reuse the clips to hang Christmas cards that you receive during the holiday season 🙂
Video
Pin this post with DIY Advent Calendar for later…
Here are more Christmas Articles that you might enjoy 🙂
Psssssttt…Right now I’m offering FREE access to our Digital Resource Library to all of our newsletter subscribers. Your private access includes dozens of free printable crafts, home decor and organization guides. Hurry up and grab your freebies here! (Access instructions are sent after subscribing).
Disclaimer: This post may contain affiliate links or a sponsored post. All opinions are always 100% mine and I don’t partner with any product or company that I don’t use and love. Please see our Full Disclosure for more information.
 Easy And Simple DIY Christmas Wands