
How to Organize a Pantry like Martha Stewart
DIY pantry organization is crucial to keep food organized on a regular basis… food illnesses are no joke! There is also the issue of food waste, buying unnecessary items because you already had it in your pantry but forgot about it or it’s pushed to the back and expired. According to World Food Day “In the USA, 30-40% of the food supply is wasted, equaling more than 20 pounds of food per person per month.” Let’s try to reduce our food waste by eliminating food items we do not eat or care for. Keep reading to learn How to Organize the Kitchen Pantry.

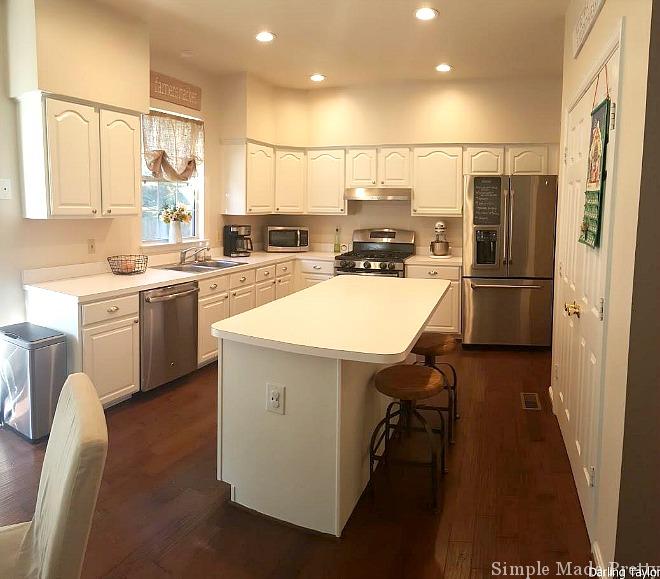
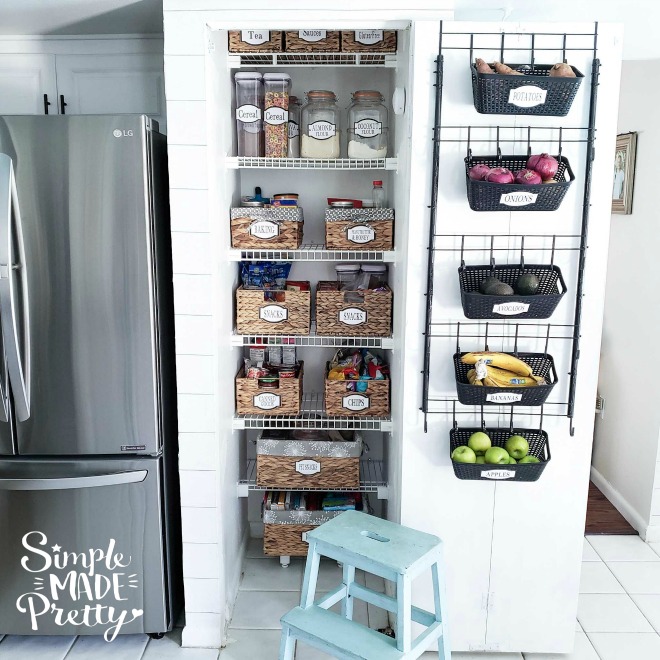
Our pantry is located behind the kitchen island (double doors pictured below) It’s a fairly large pantry so we are able to keep all our dry-good in this space. We don’t stockpile food (like extreme couponers) because honestly, it’s just wasteful. Sure somethings have long expiration dates, but it adds more clutter to your home, and most of the time, those stockpiled items do go to waste 🙁
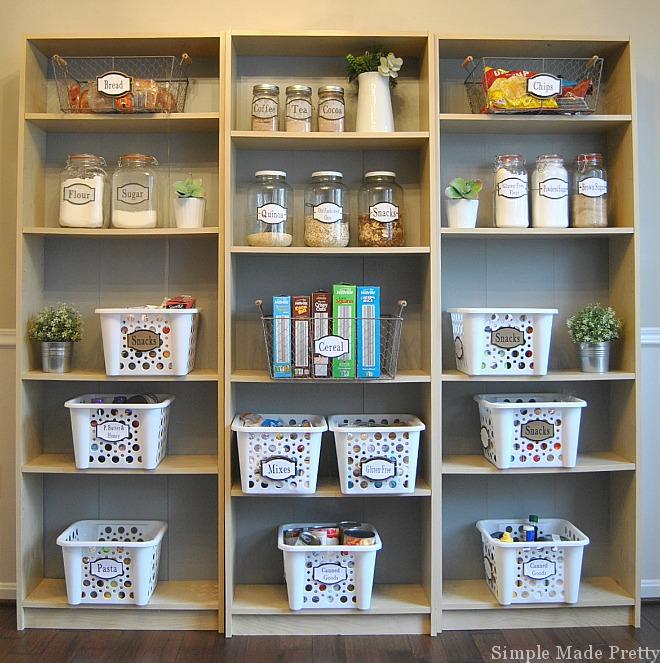
If you don’t have a dedicated pantry, consider placing 2 to 3 bookcases together to create an open pantry like the one pictured below.
Supplies Needed to Organize Your Pantry:

Large Jars (I used old pickle jars from Costco)


Acrylic shelves (for spices or canned goods)

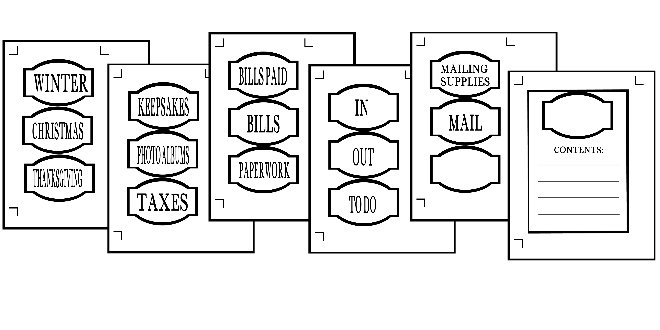
Printable Labels
How to Organize Pantry Cabinets:
- Remove everything from your pantry. This step is crucial. You must take everything out of the pantry before putting goods back in.
- Sort through items, keeping like items together (keep baking goods together, canned goods together, cereal together, dry goods together, snacks together, etc.)
- Donate unexpired/unopened items to your local food bank or church. Consider not buying items that you know you will not eat or your family may not eat. I’ve found that sticking with the same great meals that our family enjoys cuts back on food waste, time, energy, and money
- Place unwanted items in the designated area (donate, sell, recycle, trash)
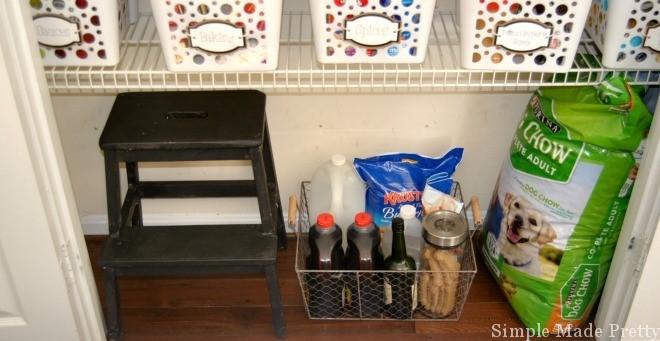
- Our pantry has a dedicated space for pet items – consider a space for your fur baby as well 🙂
- You might have space in your pantry for non-food items (paper goods, etc.) … I like to keep food items only but if you have the space, designate a non-food items section
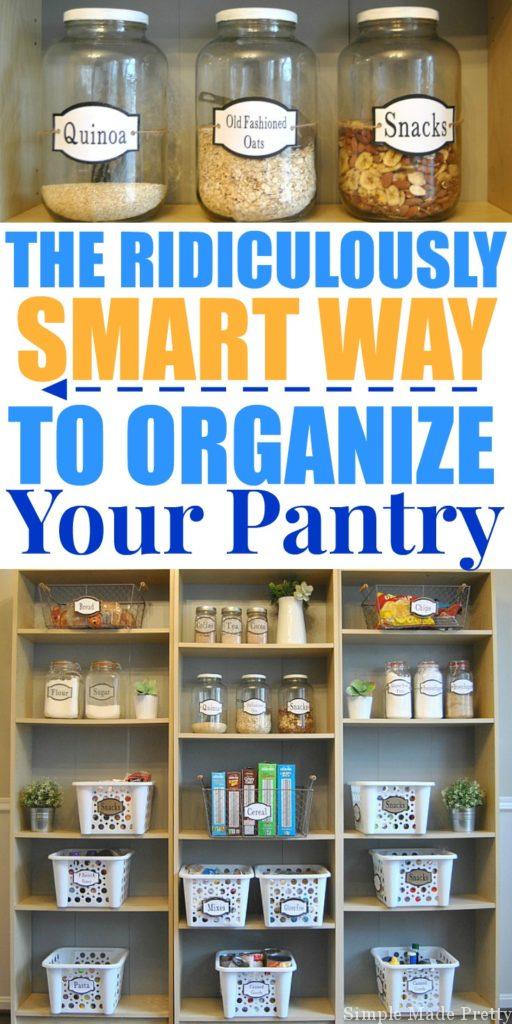
- Place everything back into your pantry keeping like items together. Consider making labels for items. A basket system keeps our pantry organized without having to search for an item behind other items. You can download and print my pantry labels here. I also reuse large glass pickle jars to store some of our dry goods 🙂
- TIP: I go through my pantry once a month to see if there are unopened items that we have yet to eat and if so, I put them in a bag to donate to our church (they take any food donation).
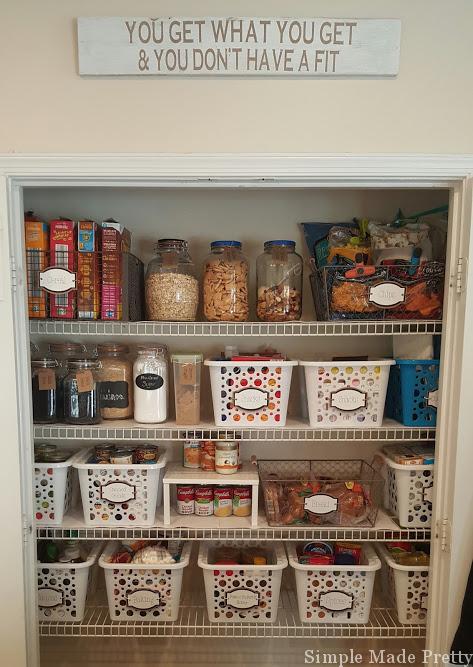
The bottom portion of our pantry is used to store dog food (lol, because everyone buys the big bags like we do, right?), a step stool and a wire bin with larger miscellaneous items.
One day I will find the perfect container to hold the dog food, but throwing the bag in here is working for now 🙂
Now that you’ve organized the space, you need to one more crucial step when organizing: add labels! I did all the hard work for you designing every pantry label you could ever need, ready for you to print and cut right here 🙂
These pantry labels were one of the last projects that I designed for the CutCardStock.blog using my Cricut Explore Machine BUT I also created a printable version so you can organize your pantry like a pro too!
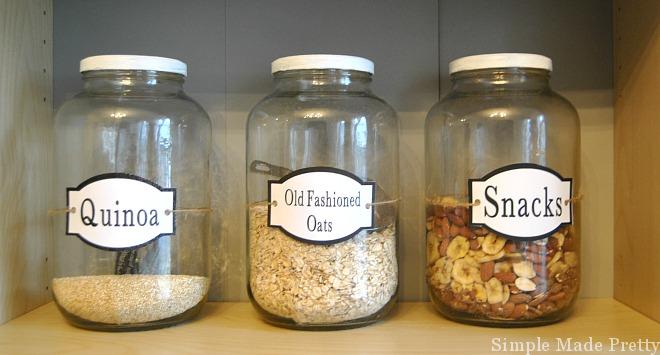
These printable pantry labels are perfect to use in any home. The design, shape, and color can work with any home.
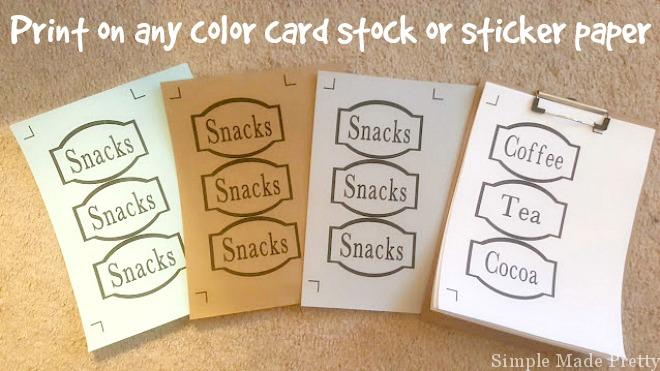
Print on white card stock, full sheet white labels, printable clear sticker paper or full sheet clear labels for a clean look or print on your preferred colored card stock to match the decor of your home.
The labels can be adhered to baskets/bins/wire shelves using glue dots, glue, or 3M adhesive (if printing on cardstock) OR print on full sheet white labels or full sheet clear labels OR hole punch the sides and string ribbon/yarn/twine to tie to baskets/bins/wire shelves (if printing on cardstock)
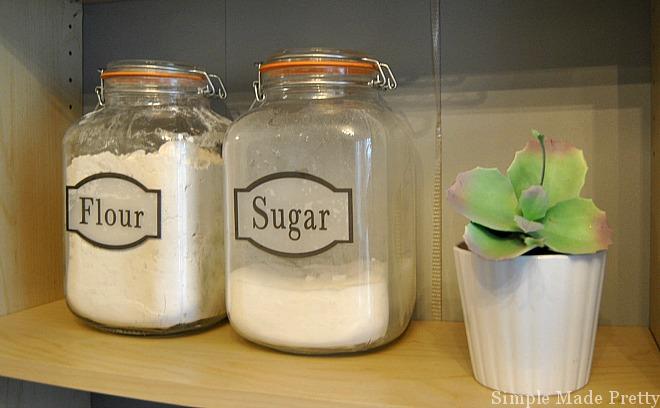
Print as many as you like after downloading the file and use it over and over! I recommend printing on white cardstock 65 lbs or heavier (110 lb card stock is recommended for best durability).
Supplies to make pantry labels:
- Ribbon, twine, or yarn
- Hole puncher
- Scissors
- Mugs
- Printable Labels (get them HERE)
- White card stock, Colored Card Stock, Sticker Paper, Clear Sticker Paper (to print the PDF on)
Directions:
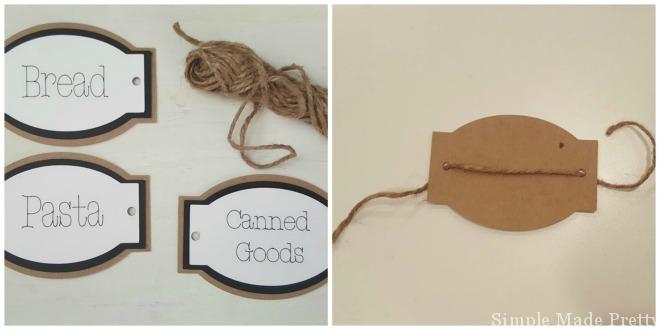
- Cut each label around the black border
- Hole punch sides to tie to baskets/bins/wire shelves using twine OR
- Use 3M double-sided tape or glue dots to adhere to the back if you prefer not to hole punch
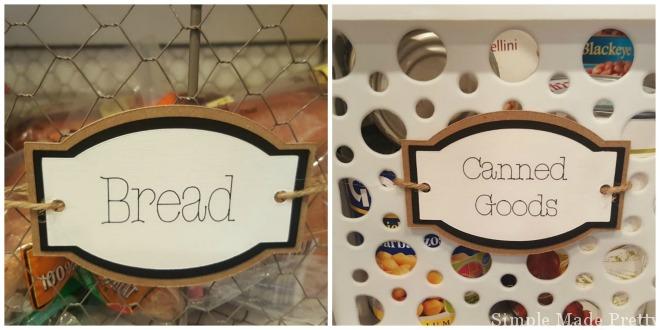
The baskets in my pantry have holes to make it easy to attach these labels.
The Pantry Labels PDF File Includes (3 labels per page on 15 pages = 45 total labels):
– COFFEE label (1)
– TEA label (1)
– COCOA label (1)
– SAUCES label (1)
– CANNED GOODS label (2)
– WHOLE WHEAT FLOUR label (1)
– GLUTEN-FREE FLOUR label (1)
– GLUTEN FREE label (1)
– MIXES label (1)
– PANCAKE MIX label (1)
– P.BUTTER & HONEY label (1)
– BLACK BEANS label (1)
– RED BEANS label (1)
– WHITE BEANS label (1)
– BEANS label (1)
– PASTA label (1)
– LENTILS label (1)
– SNACKS label (3)
– QUINOA label (1)
– BROWN RICE label (1)
– RICE label (1)
– QUICK OATS label (1)
– OLD FASHIONED OATS label (1)
– OATS label (1)
– FRUIT label (1)
– POTATOES label (1)
– ONIONS label (1)
– CEREAL label (1)
– BREAD label (1)
– CHIPS label (1)
– BROWN SUGAR label (1)
– POWDERED SUGAR label (1)
– SUGAR SUBSTITUTE label (1)
– FLOUR label (1)
– SUGAR label (1)
– SPICES label (2)
– COOKBOOKS label (1)
– SALT & PEPPER label (1)
– BAKING SPICES label (1)
– BAKING GOODS label (1)
– Blank Label – write whatever you want (1)
You will love how these labels help complete your organized pantry! Go HERE to download the labels 🙂
For more suggestions on how to organize your entire home, go here.
How to Organize Your Home Fast
Get ready to have your mind blown. This method to organize house clutter quickly is not a new method or secret hack. Do you think the organizing pros have been keeping this secret method with how to declutter your home fast all to themselves? I think my mother used this “secret” strategy to quickly organize the house with 6 kids in the 1980’s… it’s definitely not a new way to clean a house fast… but it’s so easy that anyone with a laundry basket can do it.
My friends and family always asked me how to declutter fast because our house looks like a model home (not to brag). So I shared my secret with how to declutter a house fast with my friends and family and then they started doing this trick to quickly organize house declutter.
I bet you are dying to know how I organize my house fast with a family of 4 and a dog…
–>>Go here to learn my secret to Declutter Your Home Fast!
How to Organize Your Personal Life (Free Printable Bullet Journal Pages)
I had no clue what a bullet journal was until I did some research and found a bullet journal description to be a combined day planner/journal/diary/sketchbook/to-do list. But what I found most interesting when I started designing my bullet journal pages was that I could make each page anything I wanted it to be.
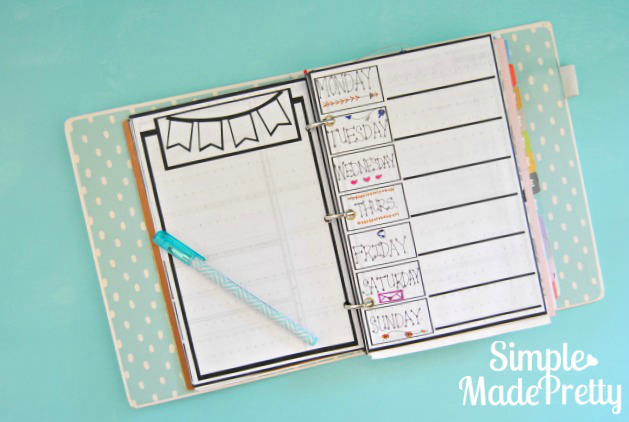
You see, there are A LOT of different planners and journals out there. Like a blogging planner, business planner, mom planner, meal planner or a gratitude journal, meditation journal, travel journal… and the list goes on and on!
I’m making it super easy for you to try bullet journalling for FREE and if you love it, then maybe you keep printing the free printable bullet journal pages or maybe you invest in a really cool journal and start posting pics of your beautiful pages on Instagram 🙂 If you could just mention that my free printables were your inspiration, that would be great 😉
–>>Go here to see (and download) the Free Printable Bullet Journal Pages!
6 Questions to Help You Organize Your Life and Get Rid of Clutter
Getting rid of the things you’ve collected during your life can be an emotional and physically draining process. Make the process easier by asking yourself 6 Questions to Help You Organize Your Life and Get Rid of Clutter.
Learn how to Organize Your Life and Get Rid of Clutter with these 6 simple questions and #getorganized for good!
If you don’t know how to declutter and simplify your home, this post with a simple 6 question checklist for decluttering your home can help. These questions can help you with organizing your life and getting rid of clutter. Getting rid of sentimental clutter is the hardest part for most individuals and these questions can help declutter your home fast. In fact, many of my readers have used this tool to learn how to clean and declutter their home in 30 days.
–>>Go here to see the full list with the 6 Questions to ask to get rid of clutter.
How to Get Rid of Unnecessary Possessions and Live the Life You Want
Stuff overload. Negative energy in your home and surroundings. Sound familiar? Are your materialistic items taking over your life? Do you want to know how to get rid of unnecessary possessions and live the life you want? I want that too… I mean, I really want to share how you can get the life you want by only keeping yourself surrounded with what matters most.
I know there are people (like you) that need REAL help getting their lives back and are stuck spinning their wheels because of the (bad) advice they find online. I’m sure you’ve seen the organizing “hacks” I’m talking about that don’t really help you eliminate things, but suggest that you need to add more things in your life in order to organize your current things.
If you organize things a certain way, that will reduce the clutter in your life, right? Wrong.
The only way to organize clutter is to get rid of it. Period.
–>>Read more about How to Get Rid of Unnecessary Possessions and Live the Life You Want here.
10 Items You Need to Organize Your Home Like a Pro
The best way to organize clutter is to get rid of the clutter right? I agree that it doesn’t make sense to spend money buying more stuff in order to get organized, but there are certain organizing items that can help create a functional, simplified home.
I’m a firm believer that it’s best to re-purpose many items around your home FIRST before investing in more stuff. Take a look around your home to see if you have similar items that you can use in place of these items (shoe boxes, plastic food containers, etc).
If you don’t find anything in your home that will help you create the organizing systems that you need, spending a few dollars on these useful organizing supplies will be worth the investment in the long run!
–>>Go Here to see the FULL list of 10 Items You Need To Organize Your Home Like a Pro!
Printable Labels to Organize Every Room in Your Home
You can organize the heck out of your home but truth is, Your Home is not completely organized until you add labels!
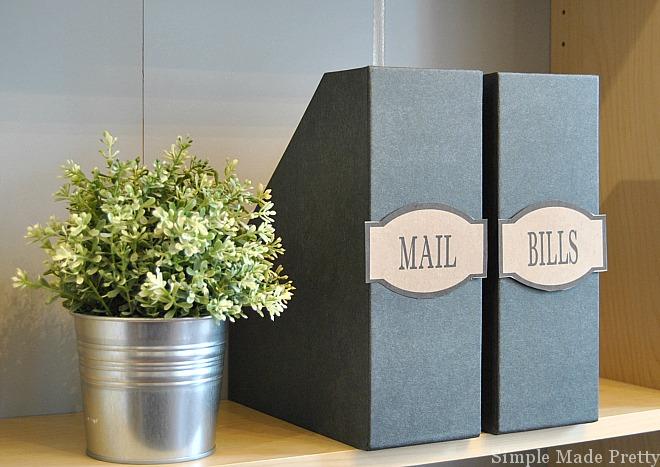
I’ve done the hard work for you and made every label for every space in your home.
If there is a label that you don’t see available below (for common household items), please let me know in the comments and I will add it!
–>>Go Here to Print These Labels to Organize Your Home now!
Printable Home Organizing Cheat Sheets
Need help getting your family organized? Want to learn how to declutter your home fast with kids? Do you need help simplifying all the “stuff” in your home?
Let me help with my Cheat Sheet Bundle to Simplify Your Home in 30 Days!
Right now, you can get the Simplify Your Digital Life Cheat Sheet Plus 20 more pages of printable forms, cheat sheets, and checklists to help you FINALLY get organized!
Here’s what’s included in this bundle:
- Organize Your Home in 30 Days Calendar (also available separately here*)
- Simplify Your Home in 30 Days Checklist
- 6 Questions To Ask Yourself When Decluttering Cheat Sheet
- 7 Steps To Get Your Family Organized Cheat Sheet
- 15 Steps To Get Rid Of Paper Clutter Cheat Sheet
- Simplify Your Digital Life Checklist
- Declutter Your Home Fast (The Laundry Basket Method) Cheat Sheet
- Weekly (Detailed) Meal Planning Form (also in the meal planning bundle here*)
- Weekly (Simple) Meal Planning Form (also in the meal planning bundle here*)
- Sorting Signs (ONE of each): Trash, Recycle, Shred, Sentimental
- 30 Blank Printable Home Organization Labels in SIX Different Shapes (5 labels per page) and Transparent (can be printed on ANY color cardstock)**
–>>Download the Simplify Your Home in 30 Days CHEAT SHEET bundle here!
32 Home Management Printables that REALLY Work!
No one should have to feel overwhelmed by homemaking because it costs too much or they can’t get the help they need.
When it comes to homemaking, do you ever struggle with everything on your to-do list? The cleaning, the cooking, the laundry, the organizing, the home projects… shall I keep going?
You are not alone.
Maybe you can relate to these statements:
- “I can never find the time to clean and organize”
- “I’m tired of feeding my family take-out for dinner”
- “I have no idea why we are always broke!”
- “I’m not sure how to start so I just keeping reading stuff & doing nothing”
- “I struggle with doing “all the stuff” to create a perfect home”
I’ve said all of these before by the way.
Almost all homemakers struggle with these points – whether you work outside the home or not, whether you have 0 kids or 12. Since I was struggling in these areas (and thought you might be as well), I created some encouraging and useful resources to overcome the most common homemaking struggles.
Everything you need to take your homemaking strategy to the next level is included in the Homemaking Printable Pack. I’ve been using the goodies included in the printable pack and the resources have significantly changed my home management strategy.
–>>Go here to get your copy of the Homemaking Printable Pack today!
Free Organizing Resources…
–>>Want more tips to de-clutter your life? Check out Your Home Made Simple in 30 days.
Not sure if you’re ready to commit 30 days? Try my FREE 3- day course to organize your kitchen here!
–>>Want freebies to help you get organized? Sign up to get access to my private digital library here!
Get a full list of top organizing resources HERE.
Make the Most of Every Day With the Ultimate Productivity Bundle
Are you ready to be more productive? Get 46 eBooks, eCourses, and printables on conquering your to-do list, reaching your goals, and freeing up more time with the Ultimate Productivity Bundle.

Life’s too short to waste! Why not learn how to streamline your routines and use productivity tools to your advantage – all so you can free up the time to do more of what you love? That’s exactly what the Ultimate Productivity Bundle is all about: 46 eBooks, eCourses, and printables to find more margin, reach your goals, and rock your to-do list.
—>>Get the Ultimate Productivity Bundle here
Pin it for later…
Related articles you might also like…
Psssssttt…Right now I’m offering a FREE 3-Day Course to Organize your Kitchen FOR GOOD! The free course includes instructions, tips and pictures for how to de-clutter, simplify and organize your kitchen in only 3-days! Hurry up and sign up here! (Course instructions will be sent after subscribing)
Disclaimer: This post may contain affiliate links or a sponsored post. All opinions are always 100% mine and I don’t partner with any product or company that I don’t use and love. Please see our Full Disclosure for more information.



Lovely labels and very impressive project. Thank you so much for sharing your motivation with us. I am inspired! Bloggie Love
These labels are so cute and perfect for organization in a pantry! BL
cute ideas… thanks for sharing BL
Cute labels and I love that organized pantry! Thanks for sharing! -BL
Love the labels! Great tips for an organized pantry.
Thanks Tina!
Wondering where you got the white plastic bins/baskets for this project? I am organizing my pantry and already had some large jars etc. I think the glass jars and white bins look very clean. Thanks
Hi Vickey, The white plastic bins are from the Dollar Tree 🙂