How To Make Scented Soy Candles
When I started using essential oils in 2016, I rid my home of all the toxins! I started diffusing Fall scents instead. But I still missed the comfort of the burning candle, so this year I decided to try making my own non-toxic candles using soy and essential oils. Keep reading to learn How To Make Soy Candles With Essential Oils!
I don’t know what it is about Fall that makes me want to light a few candles around the house. Maybe it’s because we’re inside more and the comfort os burning and smelling seasonal scents are nostalgic. Every Fall and Winter I find myself wanting to purchase those big, fragrant Pumpkin or Apple-Cider scented candles… but I don’t, for fear that they are full of toxins.
Disclaimer: This post is an extension of my own personal research and experience. It is not to be used in place of medical advice. The author disclaims all liability in relation to the use of this information. The statements made in this post have not been evaluated by the FDA (U.S. Food & Drug Administration). The information in this post is not intended to diagnose, treat, cure, or prevent any disease. The information provided in this post is not a substitute for a face-to-face consultation with your physician, and should not be construed as medical advice. See my full disclaimer here.
If you want to learn more about essential oils and in-depth information about using them, be sure to check out my post, 12 Details You Need to Know Before You Start Using Essential Oils.
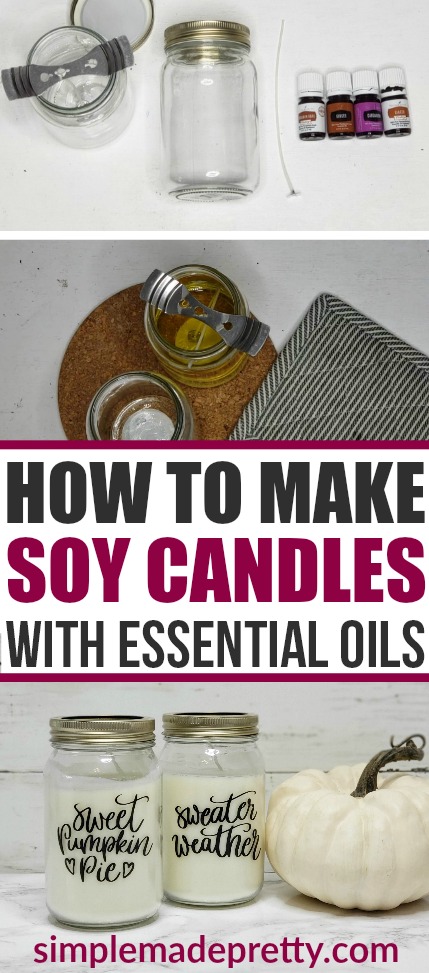
How To Make Soy Candles With Essential Oils
The cost to make one candle depends on the essential oils that you use. For example, I made an 8-ounce candle using Christmas Spirit Essential Oils which is 10 cents per drop so the total cost is around $4.50 per candle.
However, if you use a less expensive essential oil, like Lemongrass, the cost is around $3 per candle since Lemongrass comes in a 15 ml bottle and is essentially 4 cents per drop.
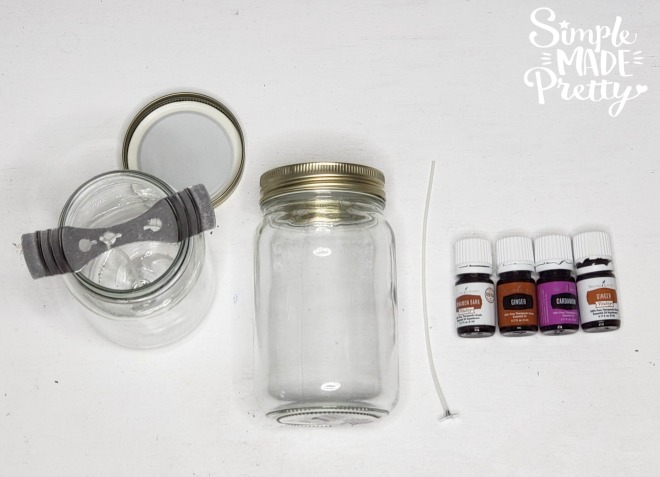
Supplies:
- Soy Candle Wax (this is the best Soy Candle Wax that I’ve used. It comes in flakes which makes it easier to melt!)
- Glass Jars (I used these 16 oz. jars for only $1 each! Use one jar to heat the wax on the microwave, and use the other jars to prep and place your wick inside)
- Essential Oils (I only use these essential oils which are free from toxins)
- Candle wicks (the soy wax mentioned above comes with 100 wicks and wick holders)
- A heating source (I used a microwave but you could use a double boiler and stove top)
Directions:
- Gather supplies and watch the video below for more info. A good rule of thumb to determine how much essential oils you need is you need 50 drops of essential oils per 16 ounces of soy. This soy candles wax was a great deal online and it comes with 100 wicks and wick holders.

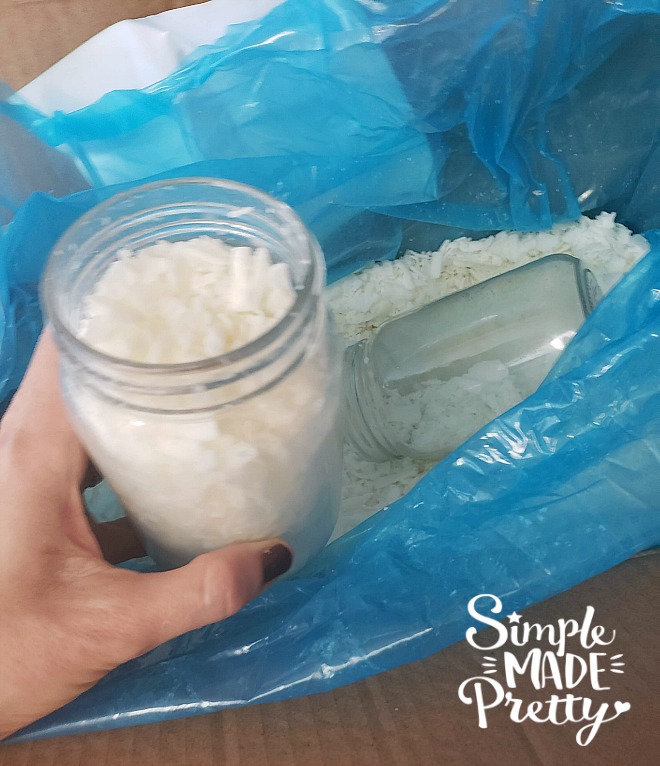
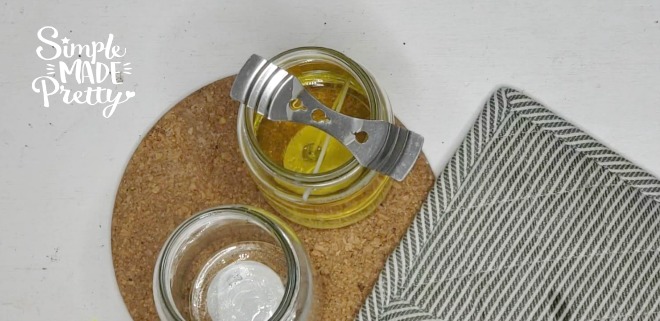
- I used 1 glass jar to scoop the contents into another jar that I used in the microwave. Then I prepped my other jars with wicks and wick holders.

- When you fill this size jar with soy wax flakes after melting is around 8 ounces, which fit perfectly into the smaller glass jars at Dollar Tree. If you use the smaller jars, you will need 8 ounces of wax and 25 drops of essential oils. If you are using the larger jars, you will need 16 ounces of wax and 50 drops of essential oils.

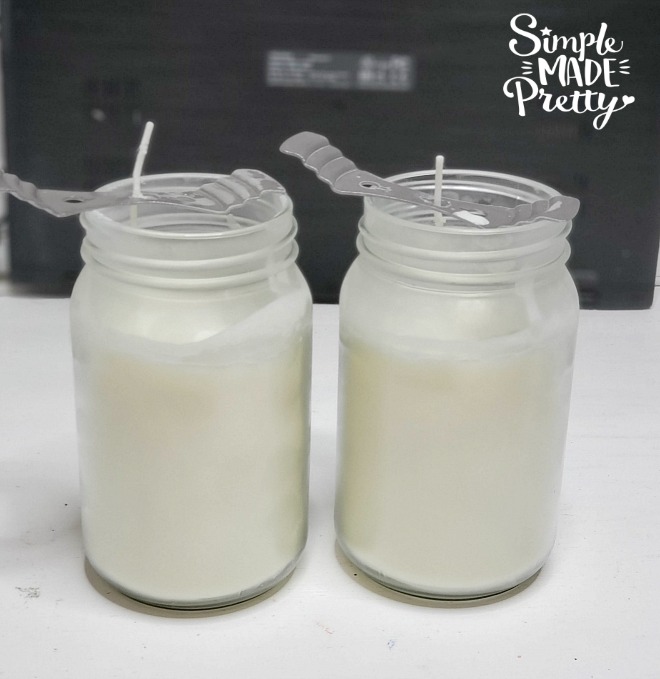
- I melted the wax in the microwave in 1-minute increments. After each minute, I would add more wax to the jar to fill it up until I reached the desired amount. I filled my jars all the way to the top!
- Once the wax is completely melted, carefully remove the jar from the microwave (use potholders!) and sit the jar on a protected surface (I used a cork trivet).
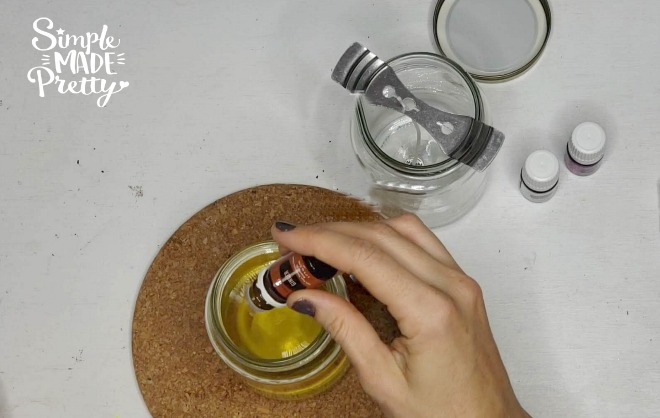
- Let the jars cool slightly before adding essential oils. You don’t want to “cook” the essential oils by adding too soon. You will see and feel your jar start to cool down after 5-8 minutes, depending on how long you left the jar in the microwave.
- Add your favorite essential oils. For these candles, I used the ingredients and amounts listed below. You might need to adjust depending on what oils you have on-hand and the size of your jar. Keep in mind that the amounts I used still may not be as fragrant as some candles that you are used to.

- Once you add the essential oils, you could stir the oil or just give it a swirl to combine the oils and the wax without spilling. Pour the wax into your prepared jar with the wick in place and that will also help combine the oils and the wax.

- Let the jar sit and solidify for 48 hours (or more) before burning. Be sure to cut the wick down so it’s not sticking out of the jar.

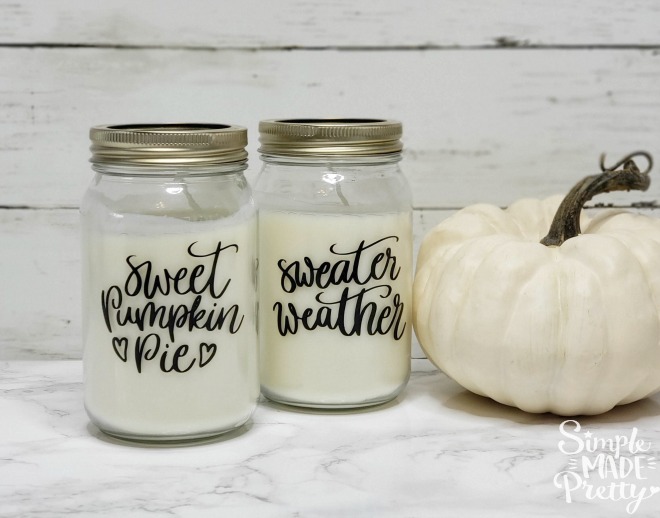
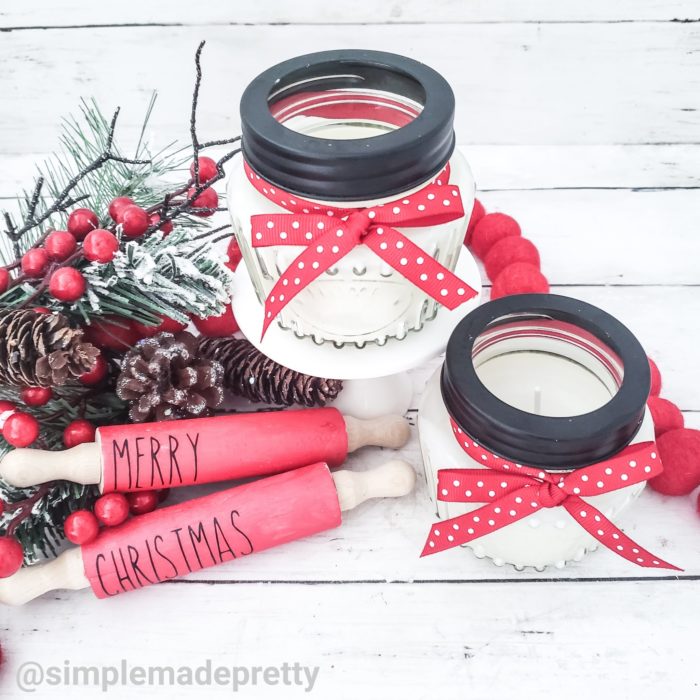
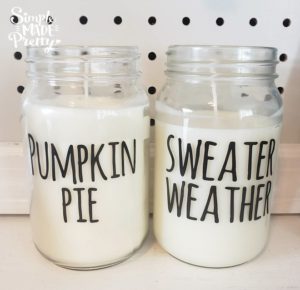
- Add a fun decal or label as I did.

If you like Pumpkin Spice recipes, pumpkin candles, and essential oils then you are going to love making these DIY soy wax candles! This tutorial includes how much essential oils to add to candles, how to make soy candles with essential oils, and information on how to get your young living starter kits!
Here is the recipe I used for a 16 oz jar (you can reduce the amount of oils used if you reduce the size of the jar):
Sweet Pumpkin Pie (16 oz jar):
- 18 drops of Cardamom
- 18 drops of Cinnamon
- 20 drops of Nutmeg
- 18 drops of Ginger
Sweater Weather (16 oz jar):
- 25 drops of Orange
- 20 drops of Thieves
- 20 drops Ginger
I definitly like the smaller jars and think you get more fragrance with smaller jars. You can use whatever glass or ceramic jars, bowls, and mugs you have available to make your own scented soy candles.
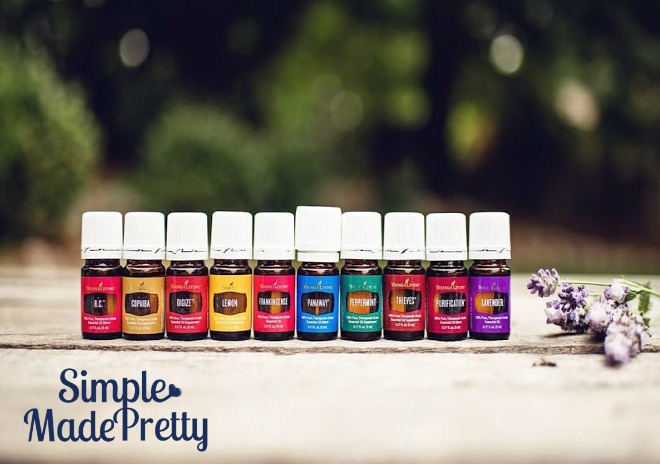
WHERE TO BUY ESSENTIAL OILS
I only use Young Living essential oils because of the quality and their method of distilling produce the best essential oils available on the market today. In fact, Young Living has a Seed to Seal guarantee that surpasses any other oil company’s guarantee of the quality and purity of their oils. Now, I don’t know about you, but I’d rather pay a little more guaranteed quality oils than paying a little less for cheap oils that may or may not provide the same benefit.
Also, Do Not Buy Young Living Essential Oils from Amazon, eBay or other third-party sites.
The reason I only buy oils directly from Young Living is the same reason I wouldn’t buy a designer handbag from the back of a van on a street corner. It’s probably not the real thing or has been tampered with in some way. You wouldn’t want to apply or ingest an “oil” that someone put something strange in or receive a bottle of “water” instead of oil (trust me, this happens all the time!). Please don’t be the one that gets scammed by buying essential oils anywhere other than Young Living!
Now that that’s out of the way, here are few more facts & benefits that Young Living offers:
- YL offers many membership benefits, including monthly essential oils, rewards programs to earn FREE product
- Young Living is also the only essential oil company that is approved by the FDA with a special line of Vitality oils and products
- YL has 22+ years of experience and is the only oil company that owns their own farms
Signing up to become a Young Living Member is really easy!
Here are quick step-by-step instructions on how to sign up for a Young Living account and a few tips & tricks to get your FREE products!
To try Young Living, go here (keep reading for a special gift from me when you sign up through my link!)

Select to become a Member.
I signed up as a member so I could get the starter kit, the discount, and the option to sell the products later. Since I started using oils in March 2016, I have enjoyed tons of FREE products from being a member.
I take advantage of the essential rewards where they basically give you money back to buy more products AND they send you free stuff every few months just for using the essential rewards program.
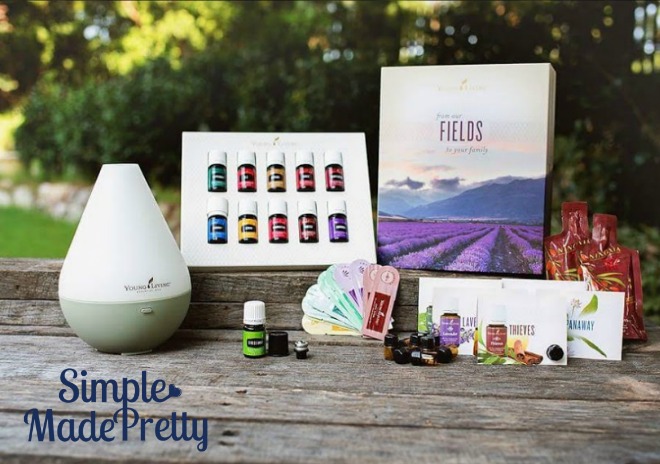
Here’s what the starter kit contains:
- A diffuser of your choice (dewdrop is pictured above and my favorite one)
- 11 different bottles of essential oil (includes their most popular oils!)
- Sample essential oils (to give to friends & family – or just keep selfishly for yourself, hehe)
- 1 roller fitment (pop this on one of the bottles for a fast roller ball bottle!)
- Literature on the oils
A Special Gift From Me
If you go through my link to sign up for a Young Living account (as a member), here’s what you get for FREE from me:
- 50 All-Natural Skin Care Solutions Using Essential Oils EBook ($17.97 value)
- Essential Oils Roller Bottle Recipes Cheat Sheet ($2.97 value)
- Printable Labels for 10ml Roller Bottle Labels for Essential Oils – 31 Printable Labels in Pink, Black, & Teal ($4.97 value)
Get everything above ($27.94 value) for FREE when you sign up through my link below! Once you’ve signed up, just send me an email with the subject line “Claiming my oil freebies” and I will send your freebies!
Let me know in the comments if you are excited to make these candles or if are an essential oils beginner and need more tips 😉
Watch the Video to make the DIY Soy Candles…
Pin it for later…
Related Articles


Psssssttt…Right now I’m offering FREE access to our Digital Resource Library to all of our newsletter subscribers. Your private access includes dozens of free printable crafts, home decor and organization guides. Hurry up and grab your freebies here! (Access instructions are sent after subscribing).
Disclaimer: This post may contain affiliate links or a sponsored post. All opinions are always 100% mine and I don’t partner with any product or company that I don’t use and love. Please see our Full Disclosure for more information.

 15 Dollar Store Thanksgiving Crafts That Kids Can Make
[…] make Gluten-Free Cookies in a Jar courtesy Megan from detoxinista.com, or you can make them into Soy Candles with Essential Oils courtesy of Melanie from simplemadepretty.com, or you can simply wrap up the gift in some recycled […]