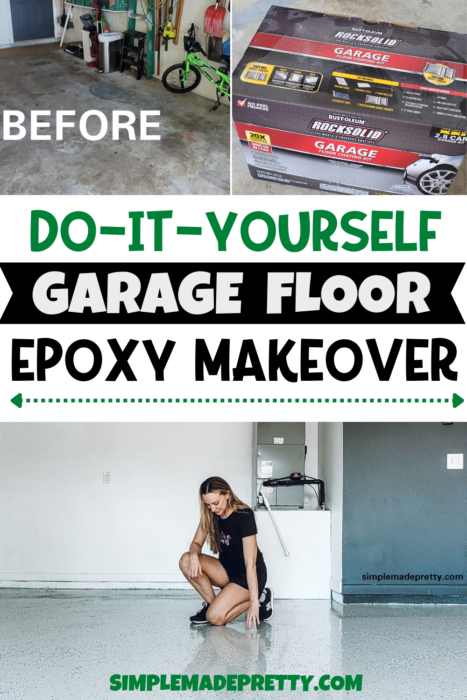
DIY Garage Makeover with Epoxy Floors
If you’re looking for a DIY garage makeover with epoxy floors, you’ve come to the right place! Epoxy floors are a great way to give your garage a new look and make it look more professional. A DIY Garage Floor Makeover can be a great and cost-effective way to upgrade the look of your garage space. It can transform an outdated and dingy-looking space into something more modern and stylish, while also protecting the floor from wear and tear. Keep reading and watch the video to see our DIY Garage Floor Makeover.
In case you’re in a hurry…
Cheap Garage Floor Makeover
I’m going to be upfront before you get into the details about this garage makeover that this was not a “cheap” garage home improvement project. I’ll break down the costs below because your current situation might be different. Maybe you don’t need all the storage solutions that we used or maybe you just want to paint the walls or epoxy the floors. To be honest, we spent more money on this project than I wanted to but it turned it better than I expected so the extra money was well-spent in my opinion. I’d rather spend a little more money and do it right so it looks good for years to come.
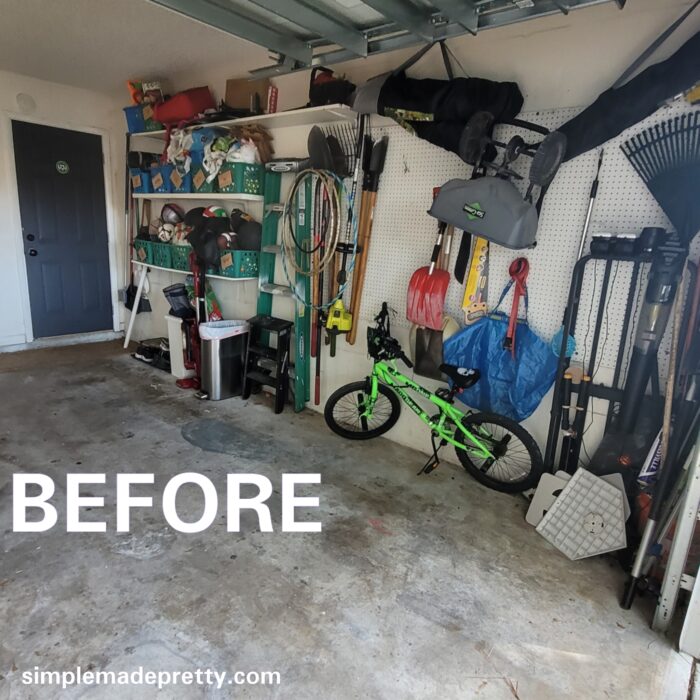
BEFORE
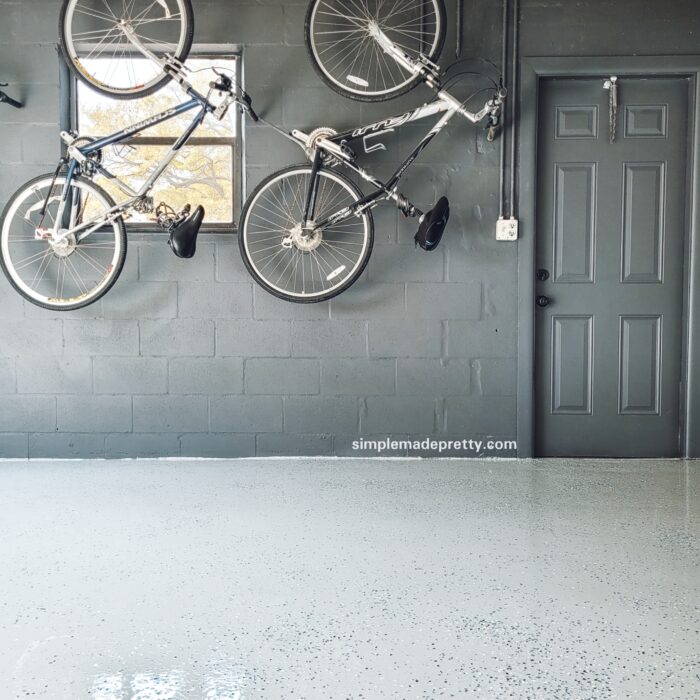
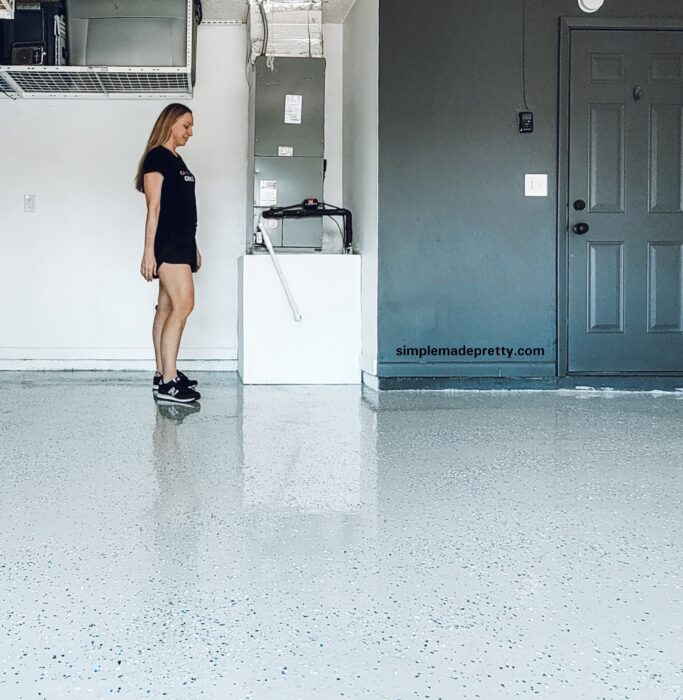
AFTER
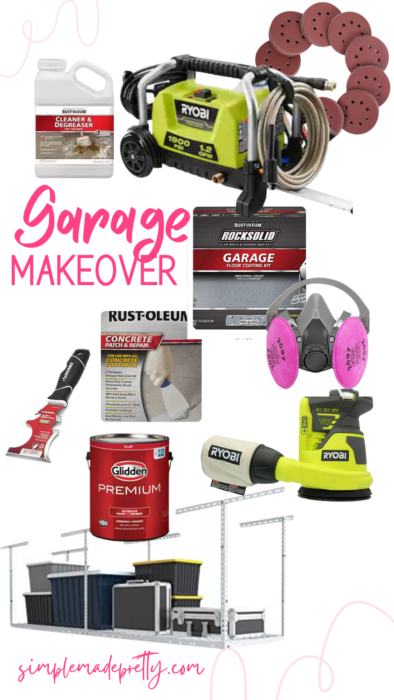
Shop the Items Used in this Garage Makeover

Supplies Used to Redo Our Garage
- Pressure Washer
- Deck Brush
- Degreaser
- Scraping Tools
- Cordless Power Sander
- Sanding Discs
- Grinder
- Grinder Blades (we used this one, and this one)
- Work Masks (this is Mine)
- Gloves
- Concrete Floor Repair Kit
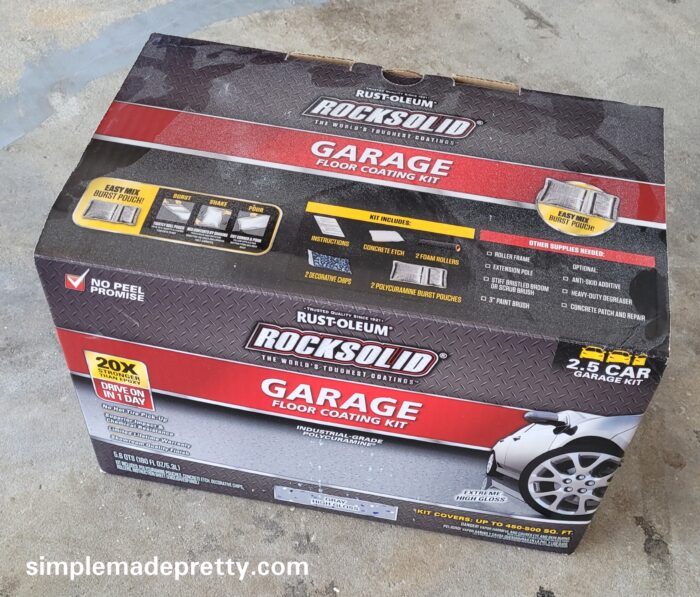
- Rust-Oleum RockSolid Kit (we used the 2.5 car kit)
- Squeegee
- Blower/Vacuum
- Paint Roller Frame (2)
- Paint Roller Extender (2)
- Paint Brushes (2)
- Overhead Rack – we have (1) 2 x 8
- Overhead Rack – we have (1) 4 x 8
- Bike Hooks
- Fishing Rod Holder
- Paint for the Walls (we used 2 cans)
- Rags
How long does Rust-oleum RockSolid take to cure?
Rust-oleum RoskSolid is more expensive than other garage floor kits because it takes less time to cure. We were able to walk on the surface after 8 hours. The instructions say you can drive on it after 24 hours but we waited 36 hours before driving on it.
Does Rustoleum Rock Solid work?
Yep, it works! I love our floors and would recommend this product to others as long as you follow the instructions EXACTLY. If you miss a step, don’t test areas, or don’t do the prep work, there’s no telling how your floors will turn out. The good news is that Rustoleum was very helpful when we experienced an issue and we were able to resolve the issue and fix our floors within a few hours.
Is RockSolid better than epoxy shield?
As mentioned above, we went with RockSolid because the wait time was less. I have not used epoxy shield to compare the two.
Rust-Oleum RockSolid Troubleshooting
If you need help with troubleshooting a Rust-Oleum RockSolid issue, I recommend contacting Rust-Oleum directly. Stop searching for the answer on the Internet and just pick up the phone and call them. They are the most experienced and can answer your specific questions. You can also refer to the instructions, as the answer might have been there all along. Most people skim instructions but this is one project you want to read the instructions 4 or 5 times, plus watch 4-5 videos of the process, haha.
How to Update a Garage Floor with Rust-Oleum RockSolid
These are just basic instructions with my tips. Please refer to the instructions that came with YOUR kit and on Rust-oleum’s website/YouTube channel for detailed instructions.
The kit makes it seem like you’ll have a new floor in 24 hours but the harsh reality is it’s 24 hours AFTER applying the epoxy. It took us 7 days to do all the prep work and let the floors dry completely after each step.
Day 1
- Remove everything from your garage. This took us a day to complete but it could take others longer depending on how much stuff you have in your garage.
- We moved a lot of things into our shed but also purchased these overhead racks to hold our seasonal storage.
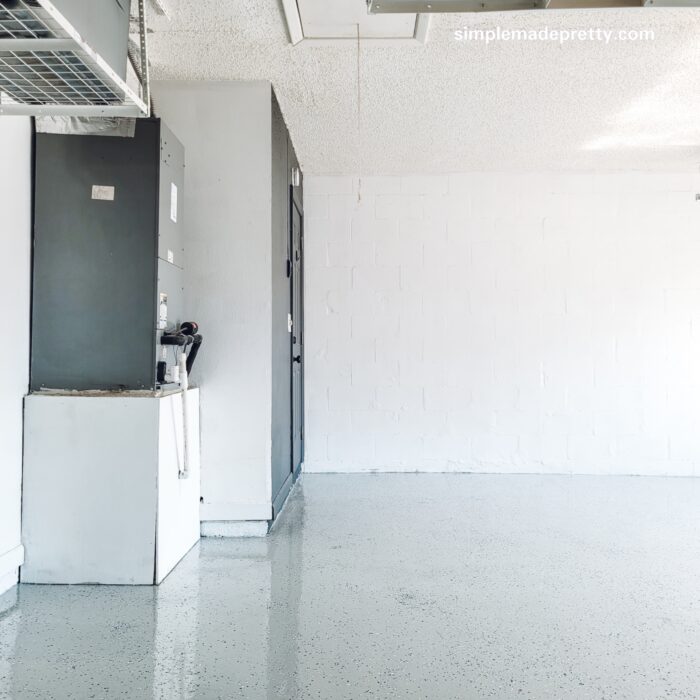
- We left our water heater on the floor because it’s new and we don’t plan on moving/going tankless anytime soon.
- Gather Supplies for the Floor Makeover. Epoxy comes in many colors and textures, so make sure you choose the one that best fits your style.
Day 2
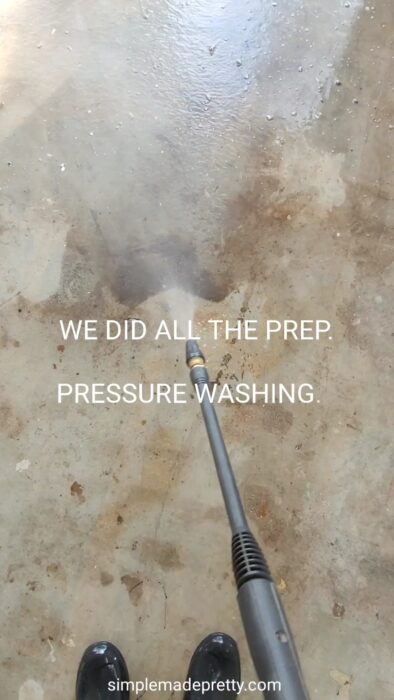
- Pressure wash or use a deck brush to thoroughly clean the floors. If you don’t have a pressure washer, a deck brush, and degreaser should work for cleaning your floor.
- Use a degreaser to remove any oil stains.
- Let the floor dry for 24 hours.
Day 3
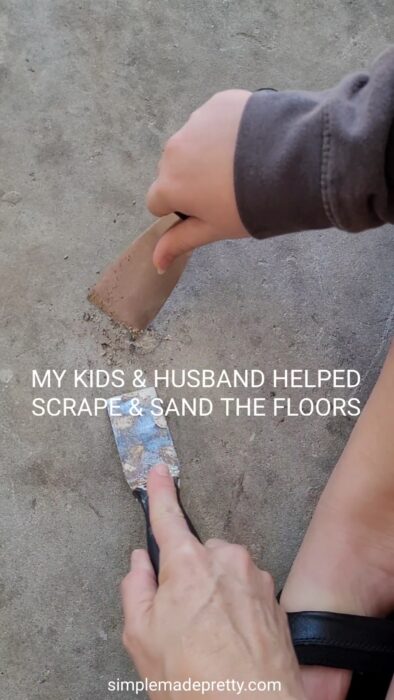
- Scrape, sand, or grind down any raised areas. My kids, husband, and I all did this task. It was a lot of work!
- Use a blower or vacuum to remove any particles from the floor.
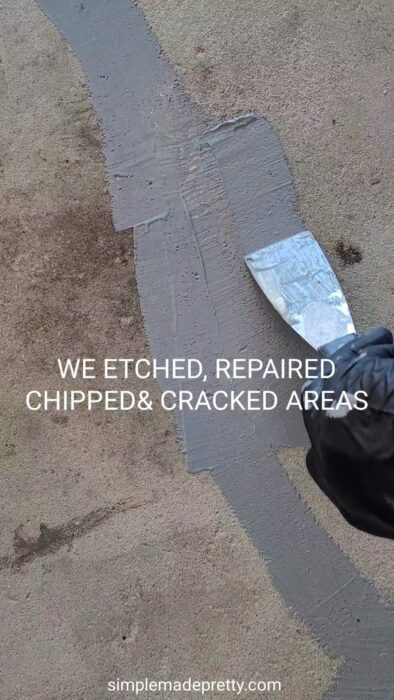
- Follow the steps to use the etching kit to etch the floor and squeegee everything out.
- Let the floor dry for another 24 hours.
Day 4
- Make any repairs on chipped or cracked areas in the floor and let that dry. We let ours sit for 24 hours because of some spots we had to apply it thickly.
Day 5
- Grind the repair spots so they are smooth. My husband did all of this and wore a mask so he didn’t breathe in the dust. This was a lot of work for him because our garage is 35+ years old so we waited to start the epoxy until the next day.
Day 6
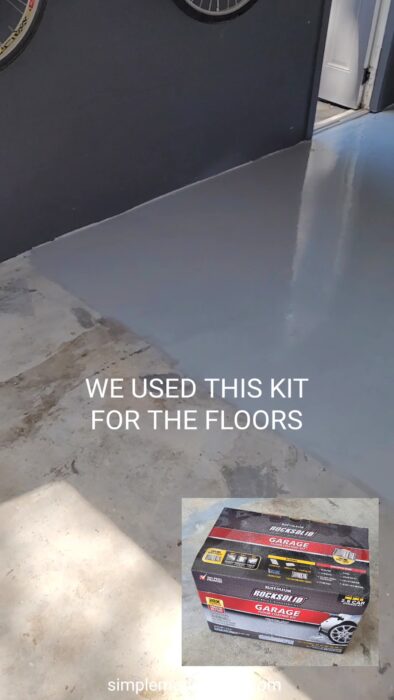
- Now you are ready to apply the RockSolid!
- Make sure you are working in a well-ventilated area and wearing gloves and a mask to protect yourself from fumes.
- We applied ours on a beautiful February day in Florida (75 degrees). The temperature outside will make a difference in the dry time and results so again, plan accordingly and follow the instructions on the Rust-oleum kit.
- We used a 2-car garage kit that had 2 packages. You have to mix the packages a certain way (shaking and spreading the corners for 3 minutes) so make sure you follow those instructions for each pack. You have 45 minutes from activating the packets to apply the epoxy so wear a watch and time yourself.
- We started applying the epoxy in the corners and the sides of the garage as instructed.
- The instructions said to POUR the paint directly from the bag onto the floor. This is a very crucial step so you apply the paint THICK on the floor. Unfortunately, our floor was porous in some areas and ended up splotchy in some areas I think we could’ve applied a thicker coat to avoid this, but I kept reading reviews that said they didn’t have enough epoxy in their kit to cover their floor so I thought we should apply a thin layer (WRONG!). If I had to do this again, I’d buy 2 kits and plan to return the extra kit if we don’t use it (make sure to check the return policy at the retailer).
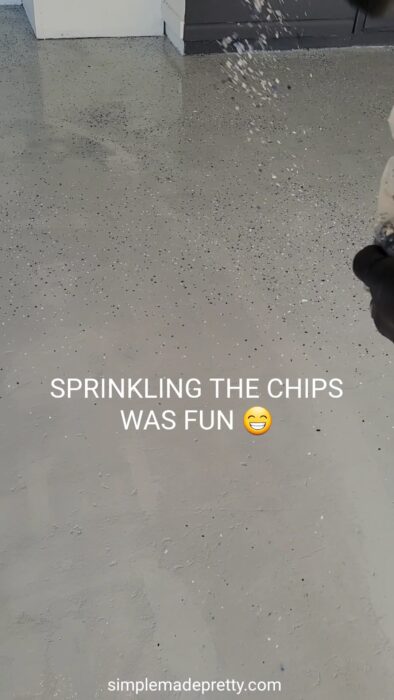
- The instructions say to apply the coats in 4 x 4 sections in your garage and sprinkle the chips before moving to the next area.
- We painted the entire floor in 45 minutes.
- Once you are finished, you can let the floor dry for 24 hours.
Day 7
Your floor should be completely dry after 24 hours and you can walk on it. Our floor, however, was still splotchy so we called Rust-Oleum customer service and they said we have 7 days from the first application to apply another kit and the splotchy spots should go away.
So we grabbed another kit (I was not happy about spending more money on another kit but I’m glad we didn’t leave it the way it was either!) and did a second coat.
We let the second application dry for 24 hours and it looked much better the next day!
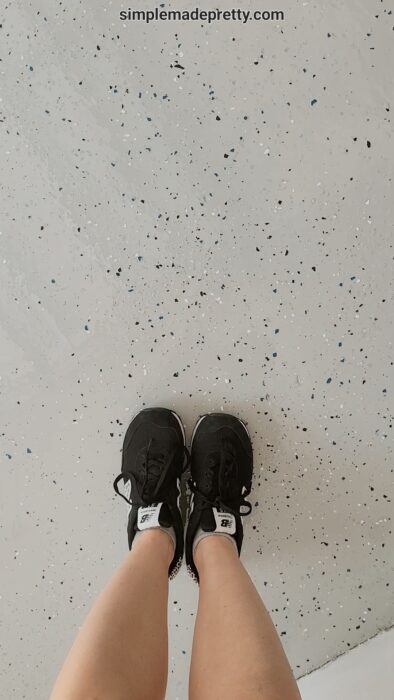
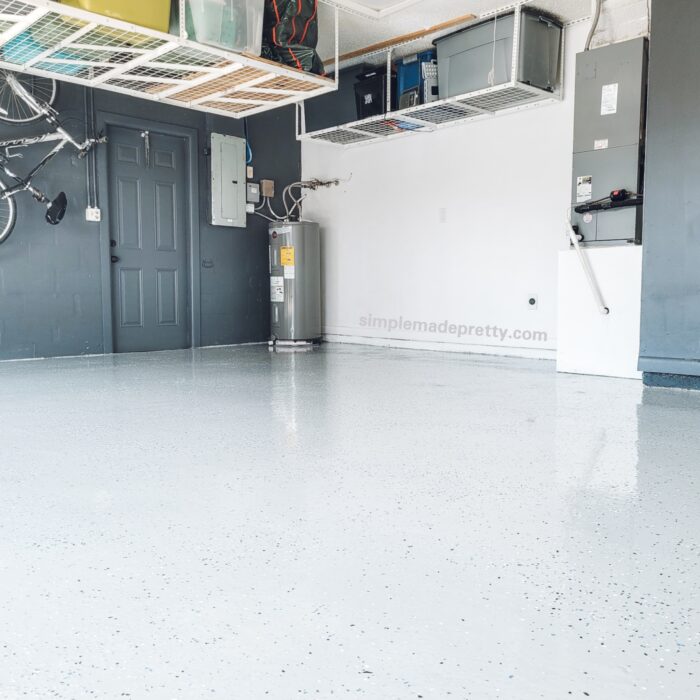
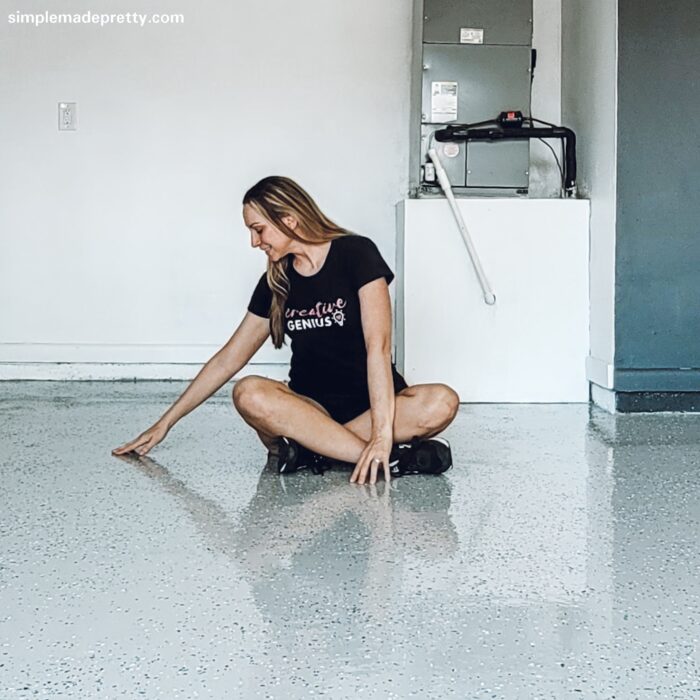
I love the high gloss you get with this floor kit. Look at my reflection in this photo!
Rust-Oleum RockSolid Garage Makeover Wrap Up
I hope you enjoyed our Rust-Oleum RockSolid Garage Makeover! I am thrilled with the results and the transformation of our garage. The process is relatively simple and can be completed in under a week with the right materials and tools. With the right floor kit, your garage floor will be more resistant to oil and other liquids, making it easier to keep clean. Additionally, it can help to improve the overall aesthetic of your home and make your garage more inviting for entertaining.
TOTAL COST FOR OUR GARAGE MAKEOVER
I calculated everything we had to purchase to complete this project below.
- Concrete Floor Repair Kit – $41
- Rust-Oleum RockSolid Kit (we used the 2.5 car kit & we used 2 kits) – $566
- Squeegee – $30
- Paint Roller Frame – $4
- Paint Roller Extender $7
- Paint Brushes (2) – $2
- Overhead Rack – we have (1) 2 x 8 – $205
- Overhead Rack – we have (1) 4 x 8 – $118
- Paint for the Walls (we used 2 cans) – $42
- Rags – Free
Total Cost: $1,015
According to a recent online search, a larger 400- to 500-square-foot garage can cost between $1,200 and $6,000 and I believe contractors in our area would quote $2500+ for our garage. So I’m happy that we were able to save some money by doing it ourselves and we learned a lot from this experience!
Watch the Video for this Garage Makeover
Shop Garage Makeover Supplies
You Might Also Like…
8 Popular Peel And Stick Wallpapers That’ll Instantly Update Your Home Decor
Psssssttt…Right now I’m offering FREE access to our Digital Resource Library to all of our newsletter subscribers. Your private access includes dozens of free printable crafts, home decor and organization guides. Hurry up and grab your freebies here! (Access instructions are sent after subscribing).
Disclaimer: This post may contain affiliate links or a sponsored post. All opinions are always 100% mine and I don’t partner with any product or company that I don’t use and love. Please see our Full Disclosure for more information.
 Home Office DIY Double Desks