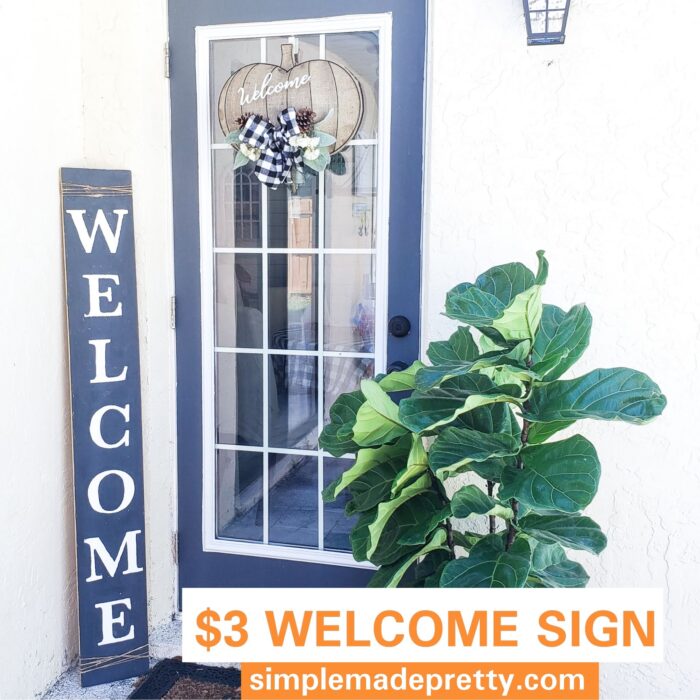
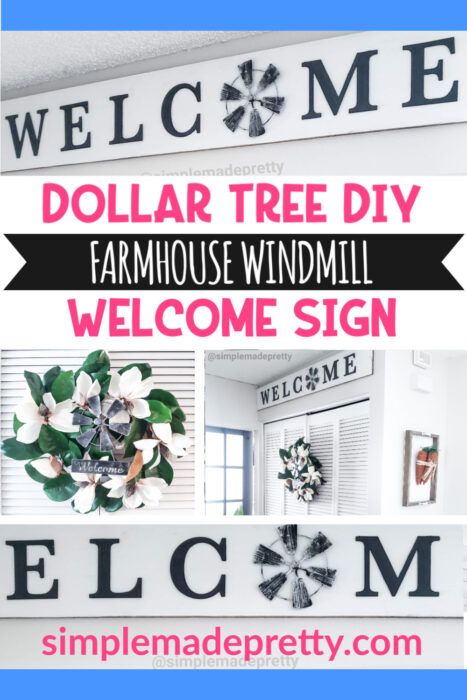
Dollar Tree Windmill Welcome Sign
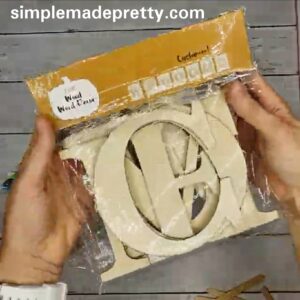
I created a Vertical “Welcome” Sign in October 2019 using a package of $3 wood letters found at Target One Spot. In March 2020, I repurposed the Vertical Welcome sign by using the backside of my sign to create a horizontal Welcome sign, featuring the popular Farmhouse Dollar Tree Windmill. Keep reading and watch the videos to learn how to make this double-sided Dollar Tree Windmill Welcome Sign!
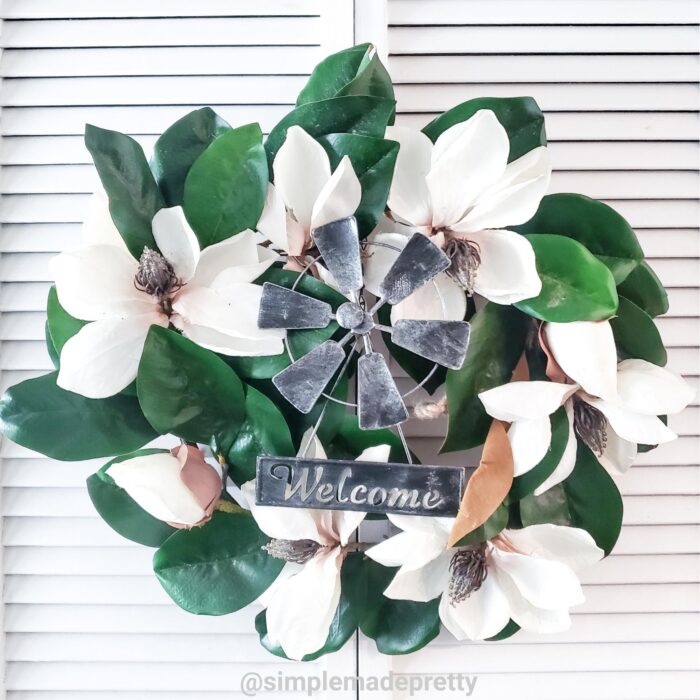
Dollar Tree Windmill Craft
The metal windmill at Dollar Tree is popular because it can be used in various ways. Dollar Tree had the windmill in its Spring garden section if you are looking for it.
If you can’t find the metal windmill at Dollar Tree, you can check Hobby Lobby during Christmas (they carry a similar windmill Christmas ornament, which I had several years before Dollar Tree sold their windmill).
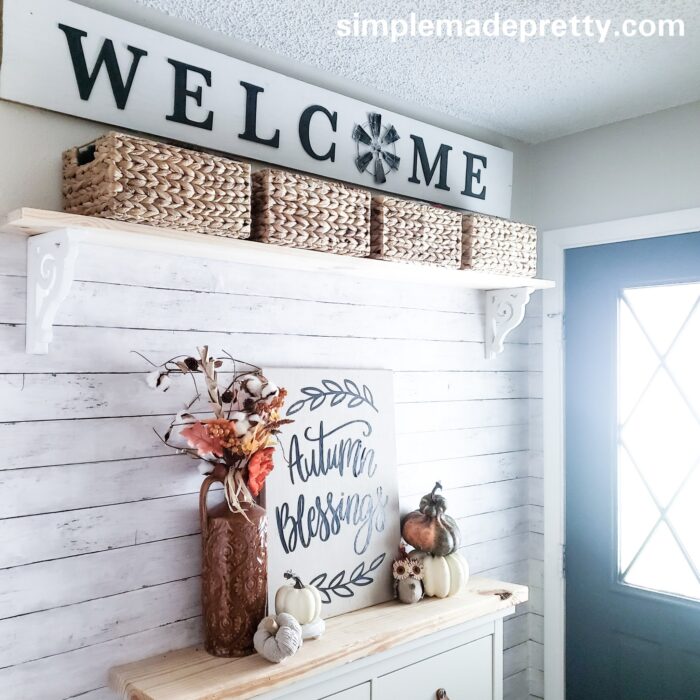
Entryway Update with the Dollar Tree Welcome Sign
We updated our entryway with an Ikea Shoe cabinet and I added the DIY Windmill Welcome Sign above the shelf. I think the Dollar Tree Welcome Sign completes the look of the space but I love that I can flip my sign over and use it vertical or horizontal!
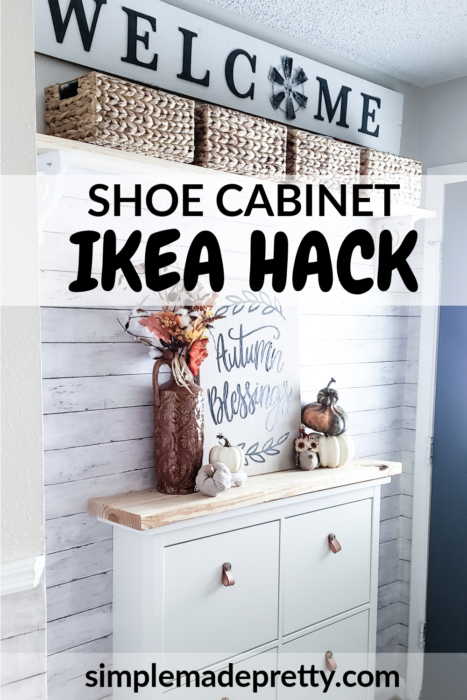
Ikea Shoe Cabinet Hack
The Ikea Shoe Cabinet hack in our entryway update was really simple and affordable!
We added a (44.5″ x 9″) piece of unstained pine to the top and some leather Ikea drawer pulls to the front… it was seriously that easy!
Double-Sided Dollar Tree Windmill Welcome Sign
My Welcome Sign is double-sided, so I can use it vertically on one side and horizontal on the other side.
I made my sign using a $3 package of wood letter from Target One Spot during Fall 2019 and I first shared this DIY Welcome Sign video on my Instagram page.
Want to see my latest DIY videos in Real-Time? Follow me on Instagram and YouTube!
–>>You can follow me on Instagram here
I post lots of “tasty” style videos on my Instagram account… just because it’s easier to share in real-time.
So if you want to be the first to know about my latest and greatest DIY’s and more, I highly encourage you to follow me on Instagram.
I’m including the original video to make the Vertical Welcome Sign using the wood letters as a stencil.
Watch the video to make the Vertical Welcome Sign
Once you have the vertical side made, you can flip it over to make the horizontal side using the wood letters.
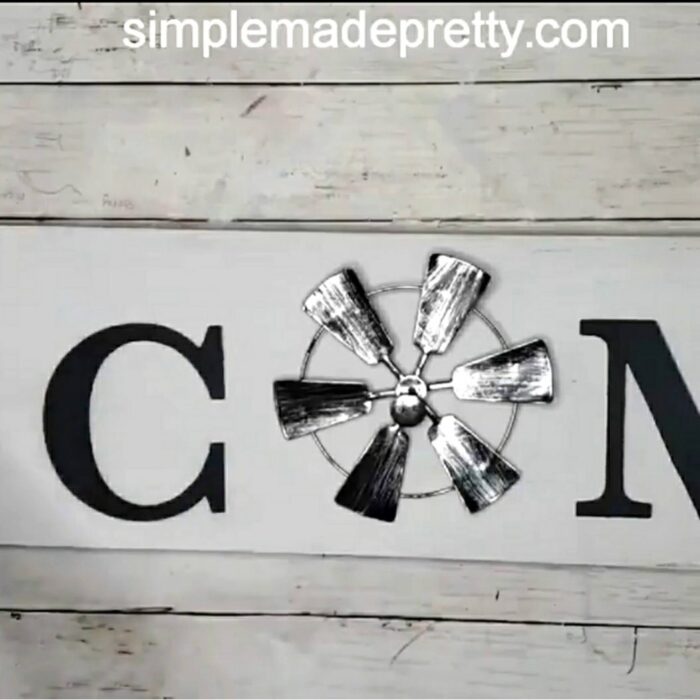
You can use the Dollar Tree Windmill on either side to replace the “O” in Welcome!
Let’s get started so you can see how easy it is to make this Dollar Tree Windmill Welcome Sign!
Supplies:
- Scrap Wood (mine is 8.5″ x 5′)
- Linen Chalked Paint
- Charcoal Chalked Paint
- Paint Brushes
- Painters Tape
- Aileen’s Tacky Glue
- Dollar Tree Windmill (or Hobby Lobby’s Windmill ornament)
- Wood letters that spell “Welcome”
Directions:
- Gather supplies. Watch the videos for more tips!
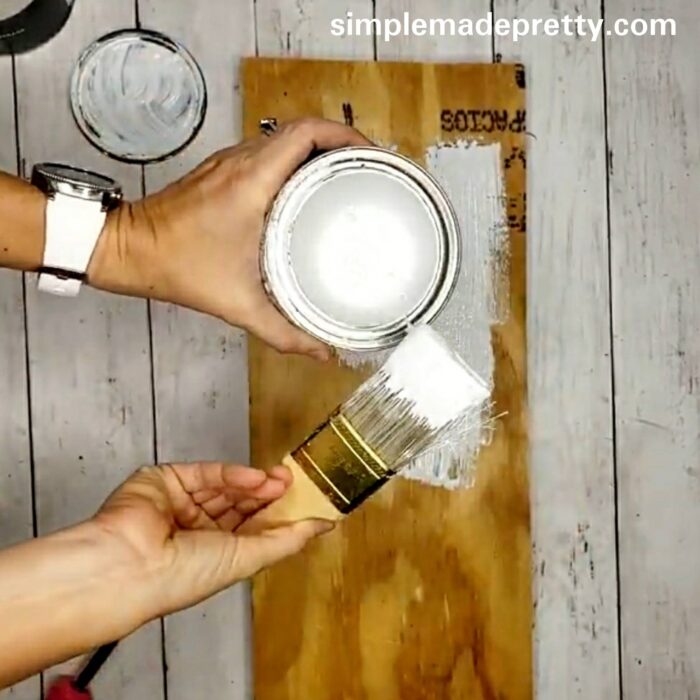
- Paint the center of the wood with Linen chalked paint and let dry.

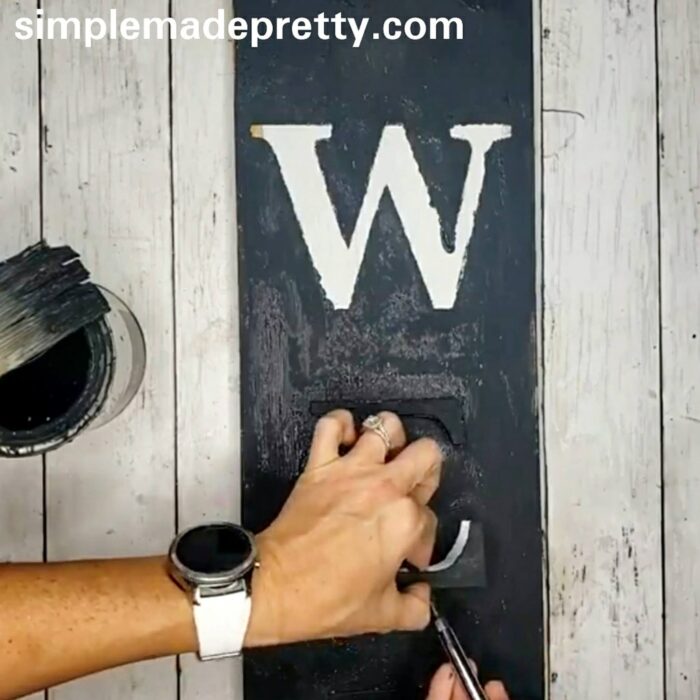
- Use the wood letters as a stencil and attach them to the white paint using folded painters tape.
- Paint over the wood letters with Charcoal chalked paint.
- Carefully remove the wood letters to reveal the white lettering.
- Touch up the letters if needed with a detailed tip paintbrush.
- Let the Vertical Welcome sign dry before painting the other side.
- Paint the other side of the sign with Linen chalked paint and let dry.
- Use Aileen’s Tacky Glue to attach the Charcoal chalked paint letters horizontally to the sign (omit the “O” since you will be using the windmill in its place).
- Use Aileen’s Tacky Glue to attach the windmill to the sign.
- Attach a sawtooth hanger to the back if you wish to hang and if you plan to flip to the other side, remove the sawtooth hanger so it’s not seen.


If you’d like to see more DIY ideas, be sure to follow me on Instagram and subscribe to my YouTube channel.
–>>You can follow me on Instagram here
Did you make this DIY or a similar one? I would love to see it! Send me a picture on Facebook, Instagram, or email and I’ll share with my followers 🙂
Print the Instructions and Watch the Video to make the Dollar Tree Windmill Welcome Sign

DIY Dollar Tree Windmill Welcome Sign
Supplies
- Scrap Wood (mine is 8.5" x 5')
- Linen Chalked Paint
- Charcoal Chalked Paint
- Paint Brushes
- Painters Tape
- Aileen's Tacky Glue
- Dollar Tree Windmill (or Hobby Lobby's Windmill ornament)
- Wood letters that spell "Welcome"
Instructions
- Gather supplies. Watch the videos for more tips!
- Paint the center of the wood with Linen chalked paint and let dry.
- Use the wood letters as a stencil and attach them to the white paint using folded painters tape.
- Paint over the wood letters with Charcoal chalked paint.
- Carefully remove the wood letters to reveal the white lettering. Touch up the letters if needed with a detailed tip paintbrush.
- Let the Vertical Welcome sign dry before painting the other side.
- Paint the other side of the sign with Linen chalked paint and let dry.
- Use Aileen's Tacky Glue to attach the Charcoal chalked paint letters horizontally to the sign (omit the "O" since you will be using the windmill in its place).
- Use Aileen's Tacky Glue to attach the windmill to the sign.
- Attach a sawtooth hanger to the back if you wish to hang and if you plan to flip to the other side, remove the sawtooth hanger so it's not seen.
Video
DIY Dollar Tree Windmill Farmhouse Decor Wrap Up
I hope you enjoyed this DIY Welcome sign using Dollar Store products. This double-sided Welcome sign cost $4 to DIY using scrap wood. If you need to purchase the wood and paint, the cost will be more for you but still cheaper to DIY than purchasing in a store… plus you get 2 signs with one DIY! I love that I can use the vertical Welcome sign on our front porch or in our entryway inside.
More Popular Dollar Tree DIY Ideas…
Here are related articles that you might also like!
Over The Door Organizer Dollar Tree DIY
Learn how to make a cute and functional over-the-door organizer that I made using Dollar Tree supplies. I shared this over the door organizer shown in our pantry on Instagram and YouTube recently and I knew it would be pretty popular (because I was also in love with how it turned out!) so I wanted to share this tutorial on my blog as well. This back of the door storage organizer is made with Dollar Tree supplies. I’m also giving my readers some FREE Printable Pantry labels and Blank Labels in this post!
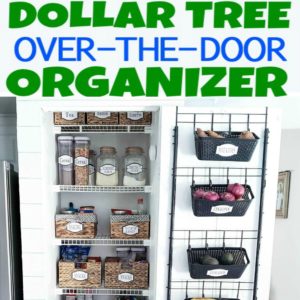
–>>Keep reading to learn how to make this Over The Door Organizer Dollar Tree DIY!
Dollar Tree Farmhouse Wall-Mounted Mug Rack DIY
DIY these popular farmhouse mug racks made using Dollar Tree supplies! I shared these DIY wall mug racks on Instagram and I knew they would be pretty popular (because I was also in love with how they turned out!) so I wanted to share this tutorial on my blog as well. These mug racks are made with Dollar Tree supplies.

–>>Keep reading to learn how to make this Dollar Tree Farmhouse Wall-Mounted Mug Rack DIY!
DIY Dollar Store Farmhouse Ladder
If you’ve seen those farmhouse ladders used for various home decor ideas, you probably know how much they cost in high-end decor stores. I got lucky and found a large antique ladder at a yard sale but I wanted an extra farmhouse ladder to use as a planter outside so I made my own! The best part about this DIY farmhouse ladder is that it’s made using items for less than a few dollars! This ladder was so easy that I made a mini tea towel ladder (yes, tea towel ladders are a thing!) for just $3!
–>>Keep reading to learn how to make a DIY Farmhouse Ladder For $3!
$1 Tiered Tray DIY
I bet you’ve seen those beautiful farmhouse style tiered trays and you may be wondering how you can DIY a tiered tray using Dollar Store materials. Well, it’s so simple that you might end up addicted to making a 2 tier serving tray that you make a whole bunch for your home!

–>>Learn how to make a tiered tray for just a $1 with this Dollar Tree hack!
Pin this post with this Windmill Welcome Sign DIY for later…
Psssssttt… Want more inspiration delivered directly to your inbox? Subscribe to our FREE weekly newsletter! We provide simple ideas for Organizing, Handmade Projects, Crafts, Home Decor, and more! Hurry up and sign up here!
Disclaimer: This post may contain affiliate links or a sponsored post. All opinions are always 100% mine and I don’t partner with any product or company that I don’t use and love. Please see our Full Disclosure for more information.
 No-Sew Floor Poufs DIY (Easy Rug Floor Pillow Tutorial)