Nursery Bear Rug
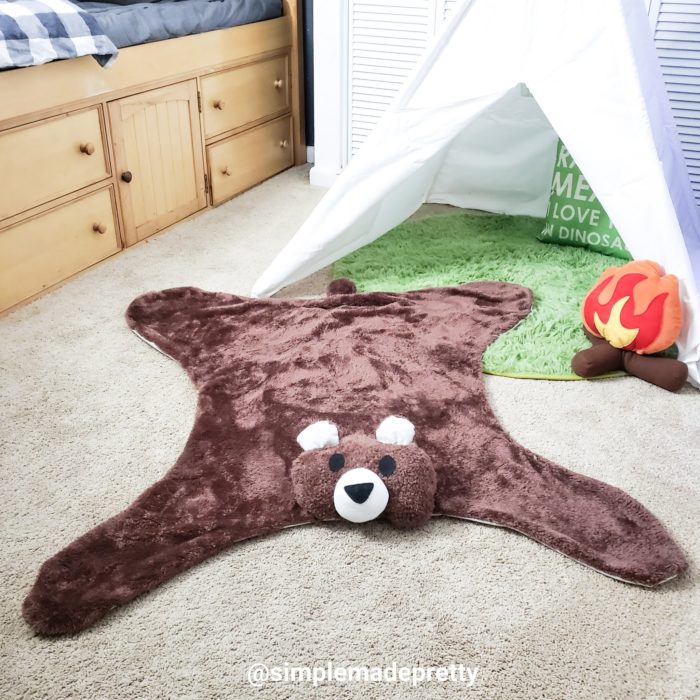
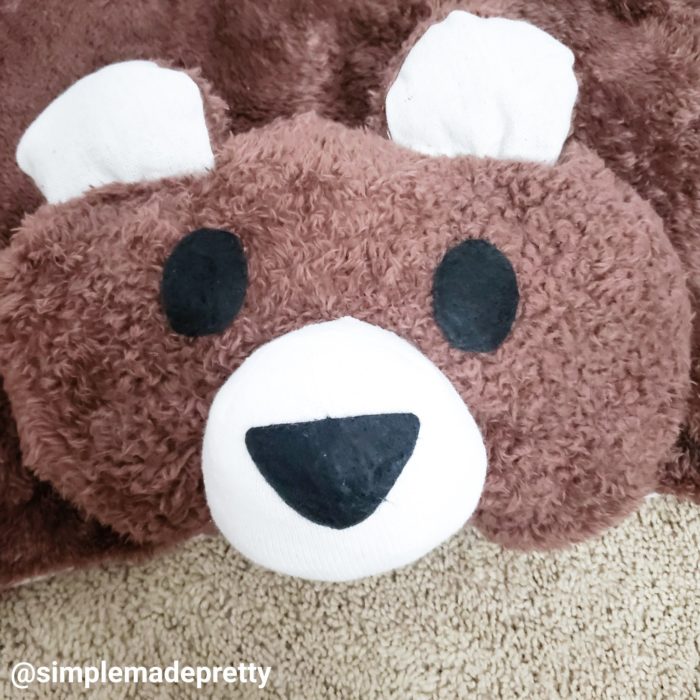
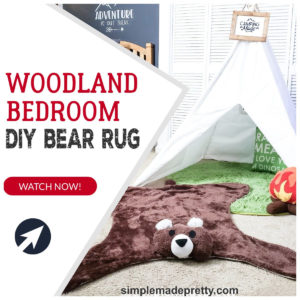
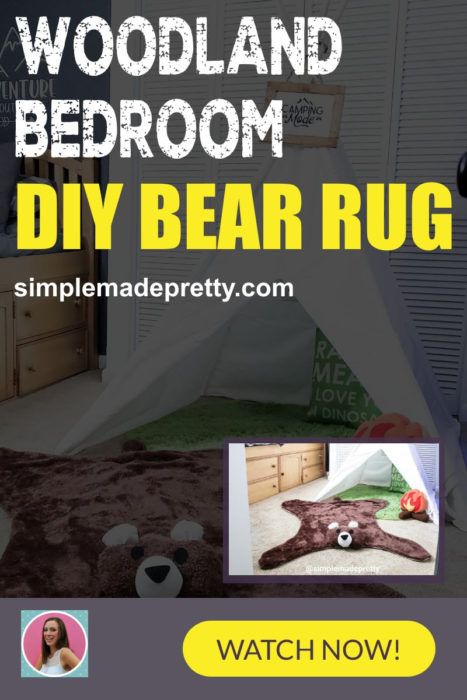
I made this Faux Bear Rug with Head for my son’s bedroom with a wilderness theme. I created a kid’s room bear rug design by using my son’s favorite brown bear as inspiration. I cut my own nursery bear rug pattern and sewed the pieces together to make this woodland nursery rug. Keep reading and watch the video tutorial to learn how to make a DIY Faux Bear Rug!
In this tutorial, you will learn how to make a faux animal rug. The fabric used to make the plush bear rug is a fur throw blanket and sewing some of the pieces together takes a medium skill level. You can hand sew the pieces together if you don’t have a sewing machine. I do not recommend a glue gun in place of sewing.
The supply list is included below so you can make sure you have everything you need to make a Faux Bear Rug. Watch the detailed video below for more helpful tips!
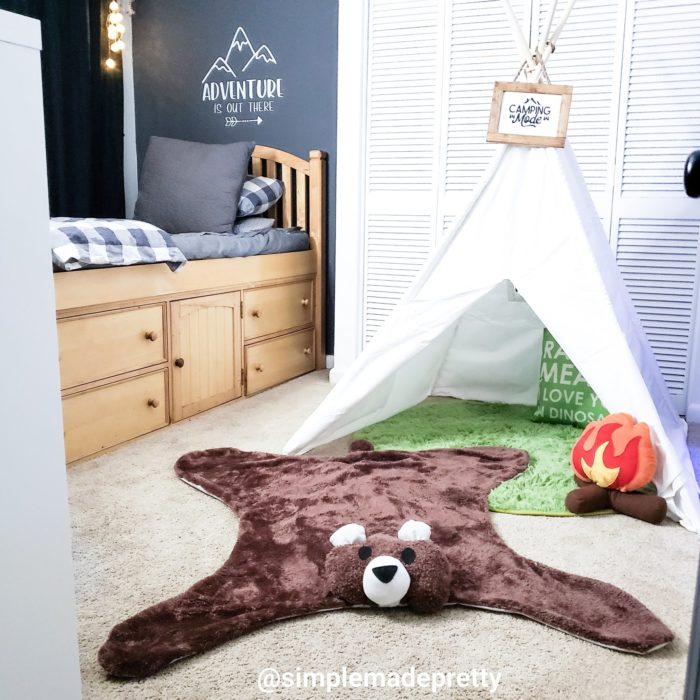
I made this nursery bear rug for my son’s bedroom refresh with a wilderness theme. This faux bear skin rug would look cute in a forest themed nursery as bear rug decor! I used my son’s brown bear that he’s had since birth as inspiration and my son loves that this bear rug looks just like his favorite bear.
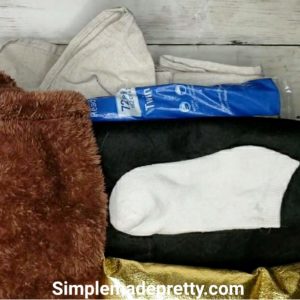
Supplies:
- (1) Brown Fur Throw Blanket
- (1) White Athletic Sock
- (1) 8″ x 11″ Black felt
- (1) 6′ x 9′ package of Canvas Drop Cloth
- Scissors
- Sewing Machine
- Sewing Needle
- Thread in brown or white
- Pillow Stuffing
- Aleene’s Fast Grab Tacky Glue
- Glue Gun
Directions:
- Gather Supplies.

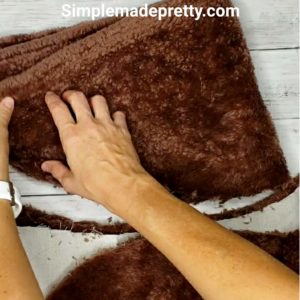
- Fold your fur blanket in half lengthwise on a long surface (you can use a dining room table, long desk, or the floor).
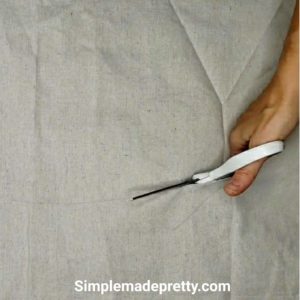
- Fold the drop cloth in half the same way and cut the drop cloth to be the same size as the fur blanket.
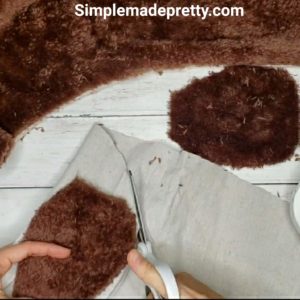
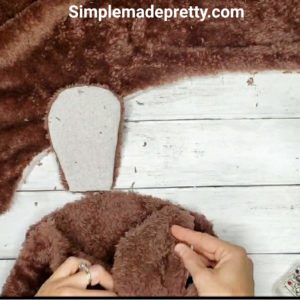
- Trace the bear rug front paw and back paw on the drop cloth using a pencil. You can use a newspaper to cut the pattern first so you don’t mess up the pattern. I just winged it and got it right 😉
- Since your fabric is folded, you just need to draw one side of the body and cut both layers at the same time.
- Cut the drop cloth pattern.
- Lay our your design to make sure it looks the way you want (it should look like a bear with arms and legs spread out).
- Place the drop cloth pattern folded in half lengthwise over the fur blanket and cut the same pattern in the blanket.
- Keep the large scrap pieces because you will be using them for the head, ears, and tail.
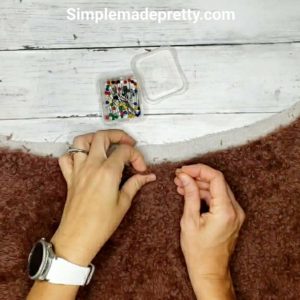
- Open the body and pin all the sides together, leaving a hole for the head and tail.
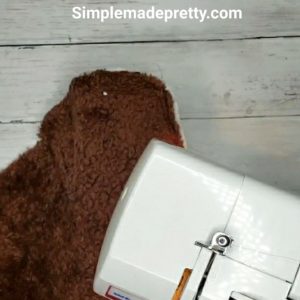
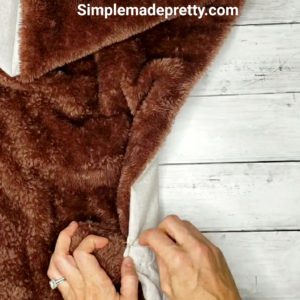
- Sew the body together leaving the head and the tail holes open.
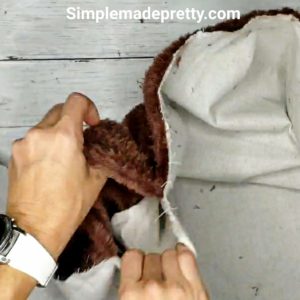
- Flip the body right-side out.
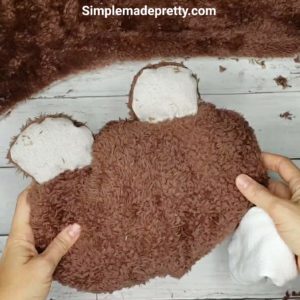
- Use the large scrap piece of fur to cut 2 large circles.
- Cut 4 of the same size shapes in the brown fur (2 for the tail and 2 for the ears).
- Sew the 2 fur tail shapes together and turn right-side out and stuff with pillow stuffing.
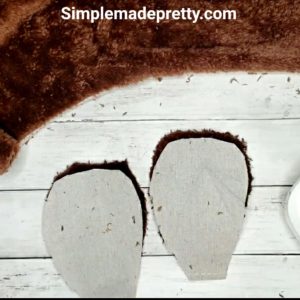
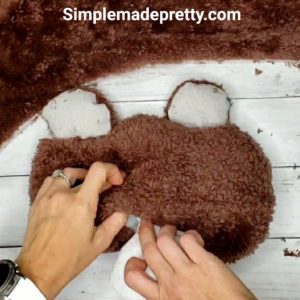
- Cut 2 ear shapes in the drop cloth fabric and sew together with the brown ear shapes.
- Flip the ears right-side out and stuff with pillow stuffing.
- Place the ears inside the 2 circles for the head (make sure your ears are not as long as mine shown below. You want short bear ears, not rabbit ears, lol).
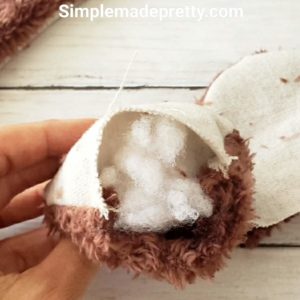
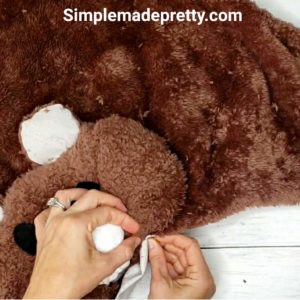
- Sew the outside of the head together leaving an opening at the neck and flip right-side out.
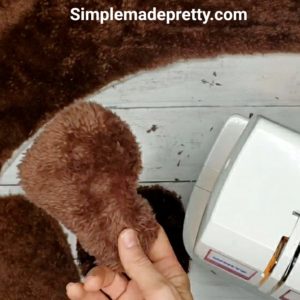
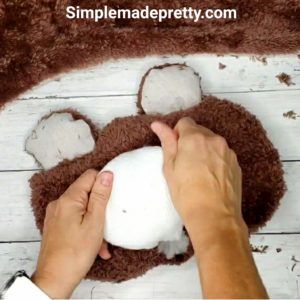
- Your head should look like this once stuffed with pillow stuffing…
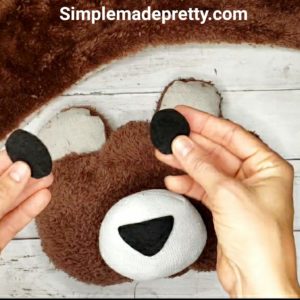
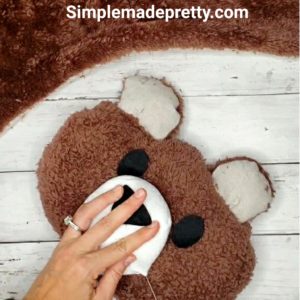
- Stuff the white athletic sock with pillow stuffing and place the ankle part inside the opening of the head.
- Stretch the sock “snout” to resemble a bear snout.
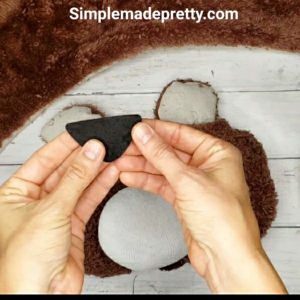
- Cut a triangle nose with the black felt.
- Cut 2 oval eyes with the black felt.
- Use glue to attach the nose and eyes to the bear’s face.
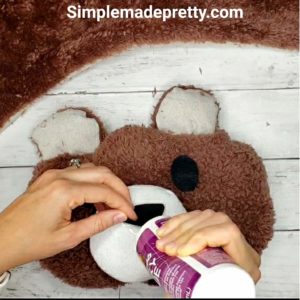
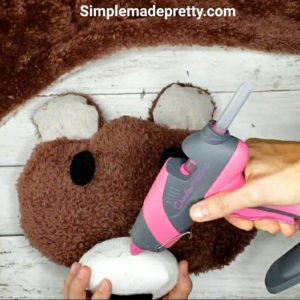
- Use a glue gun to attach the snout to the fur face.
- Stitch the snout to the face with needle and thread. Sew all the way around under the neck opening as well.
- Attach the head to the body by hand stitching.
- Attach the tail to the body by hand stitching.

I hope you enjoyed this tutorial sharing how to make a Faux Bear Rug and use it as bear nursery decor. I’ve seen similar bear rug decor for sale on Etsy and the Bear Rugs on Etsy Start at $165!
You can easily DIY a Plush Bear Rug for less than $10 by following this tutorial. This Bear Rug was the perfect addition to my son’s bedroom refresh with a camping theme!

P.S. I got the teepee in my son’s room here. It’s a great price (the cheapest I’ve found!) and the teepee is big and amazing quality!
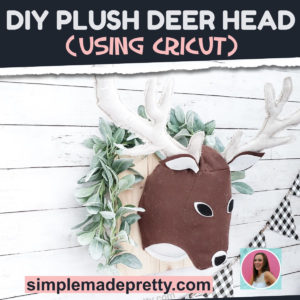
Don’t forget to check out this tutorial to make a Faux Stuffed Deer Head!

Watch the video to Make the Boys Room Bear Rug (Watch a slower detailed video in the recipe card!):
Did you make this DIY Deer Head or similar one inspired by me?? I would love to see it! Send me a picture on Facebook, Instagram, or email and I’ll share with my followers ???? ***If you have a business account, please tag me to give me credit on social media when posting your creations inspired by me!***
FACEBOOK: https://www.facebook.com/simplemadeprettyblog/
INSTAGRAM: https://www.instagram.com/simplemadepretty/
PINTEREST: https://www.pinterest.com/SMPblog/
Print the tutorial for the Bear Rug & WATCH THE DETAILED VIDEO:
DIY Faux Bear Rug
Equipment
- Sewing Machine
Supplies
- 1 Brown Fur Throw Blanket
- 1 White Athletic Sock
- 1 8" x 11" Black felt
- 1 6' x 9' package of Canvas Drop Cloth
- 1 Scissors
- 1 Sewing Machine
- 1 Sewing NeedleThread in brown or white
- 1 Pillow Stuffing
- 1 Aleene's Fast Grab Tacky Glue
- 1 Glue Gun
Instructions
- Gather Supplies.
- Fold your fur blanket in half lengthwise on a long surface (you can use a dining room table, long desk, or the floor).
- Fold the drop cloth in half the same way and cut the drop cloth to be the same size as the fur blanket.
- Trace the bear rug front paw and back paw on the drop cloth using a pencil. You can use a newspaper to cut the pattern first so you don't mess up the pattern. I just winged it and got it right ;)Since your fabric is folded, you just need to draw one side of the body and cut both layers at the same time.
- Cut the drop cloth pattern. Lay our your design to make sure it looks the way you want (it should look like a bear with arms and legs spread out).
- Place the drop cloth pattern folded in half lengthwise over the fur blanket and cut the same pattern in the blanket.
- Keep the large scrap pieces because you will be using them for the head, ears, and tail.
- Open the body and pin all the sides together, leaving a hole for the head and tail.
- Sew the body together leaving the head and the tail holes open.
- Flip the body right-side out.
- Use the large scrap piece of fur to cut 2 large circles.
- Cut 4 of the same size shapes in the brown fur (2 for the tail and 2 for the ears). Sew the 2 fur tail shapes together and turn right-side out and stuff with pillow stuffing.
- Cut 2 ear shapes in the drop cloth fabric and sew together with the brown ear shapes.
- Flip the ears right-side out and stuff with pillow stuffing. Place the ears inside the 2 circles for the head (make sure your ears are not as long as mine shown below. You want short bear ears, not rabbit ears, lol).
- Sew the outside of the head together leaving an opening at the neck and flip right-side out.
- Your head should look like this once stuffed with pillow stuffing...Stuff the white athletic sock with pillow stuffing and place the ankle part inside the opening of the head.
- Stretch the sock "snout" to resemble a bear snout.
- Cut a triangle nose with the black felt.
- Cut 2 oval eyes with the black felt.
- Use glue to attach the nose and eyes to the bear's face.
- Use a glue gun to attach the snout to the fur face.
- Stitch the snout to the face with needle and thread. Sew all the way around under the neck opening as well.
- Attach the head to the body by hand stitching.
- Attach the tail to the body by hand stitching.
Video
Pin this DIY Bear Rug post for later…
More Popular Budget-Friendly DIY Ideas…
DIY Burlap Baskets using Plastic Dollar Store Bins
Tidy up your home with some DIY Burlap Baskets using Plastic Dollar Store Bins! These DIY Dollar Store baskets are simple to make using basic supplies from the Dollar Tree but look like they are from Pier One! If you are looking for storage baskets from the Dollar Store but don’t like the plastic baskets, try this burlap fabric DIY project!
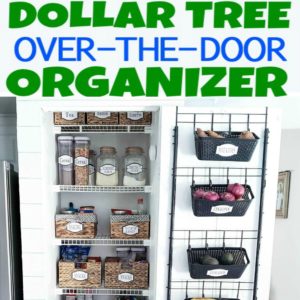
Over The Door Organizer Dollar Tree DIY
Learn how to make a cute and functional over-the-door organizer that I made using Dollar Tree supplies. I shared this over the door organizer shown in our pantry on Instagram and YouTube recently and I knew it would be pretty popular (because I was also in love with how it turned out!) so I wanted to share this tutorial on my blog as well. This back of the door storage organizer is made with Dollar Tree supplies. I’m also giving my readers some FREE Printable Pantry labels and Blank Labels in this post!
–>>Keep reading to learn how to make this Over The Door Organizer Dollar Tree DIY!
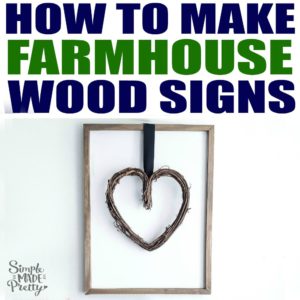
Dollar Tree Farmhouse Wall-Mounted Mug Rack DIY
DIY these popular farmhouse mug racks made using Dollar Tree supplies! I shared these DIY wall mug racks on Instagram and I knew they would be pretty popular (because I was also in love with how they turned out!) so I wanted to share this tutorial on my blog as well. These mug racks are made with Dollar Tree supplies.
–>>Keep reading to learn how to make this Dollar Tree Farmhouse Wall-Mounted Mug Rack DIY!
DIY Dollar Store Farmhouse Ladder
If you’ve seen those farmhouse ladders used for various home decor ideas, you probably know how much they cost in high-end decor stores. I got lucky and found a large antique ladder at a yard sale but I wanted an extra farmhouse ladder to use as a planter outside so I made my own! The best part about this DIY farmhouse ladder is that it’s made using items for less than a few dollars! This ladder was so easy that I made a mini tea towel ladder (yes, tea towel ladders are a thing!) for just $3!
–>>Keep reading to learn how to make a DIY Farmhouse Ladder For $3!
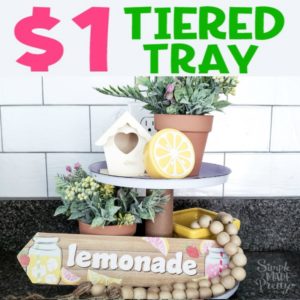
$1 Tiered Tray DIY
I bet you’ve seen those beautiful farmhouse style tiered trays and you may be wondering how you can DIY a tiered tray using Dollar Store materials. Well, it’s so simple that you might end up addicted to making a 2 tier serving tray that you make a whole bunch for your home!
–>>Learn how to make a tiered tray for just a $1 with this Dollar Tree hack!
Articles Related to DIY Bear Rug


Psssssttt…Right now I’m offering FREE access to our Digital Resource Library to all of our newsletter subscribers. Your private access includes dozens of free printable crafts, home decor and organization guides. Hurry up and grab your freebies here! (Access instructions are sent after subscribing).
Disclaimer: This post may contain affiliate links or a sponsored post. All opinions are always 100% mine and I don’t partner with any product or company that I don’t use and love. Please see our Full Disclosure for more information.
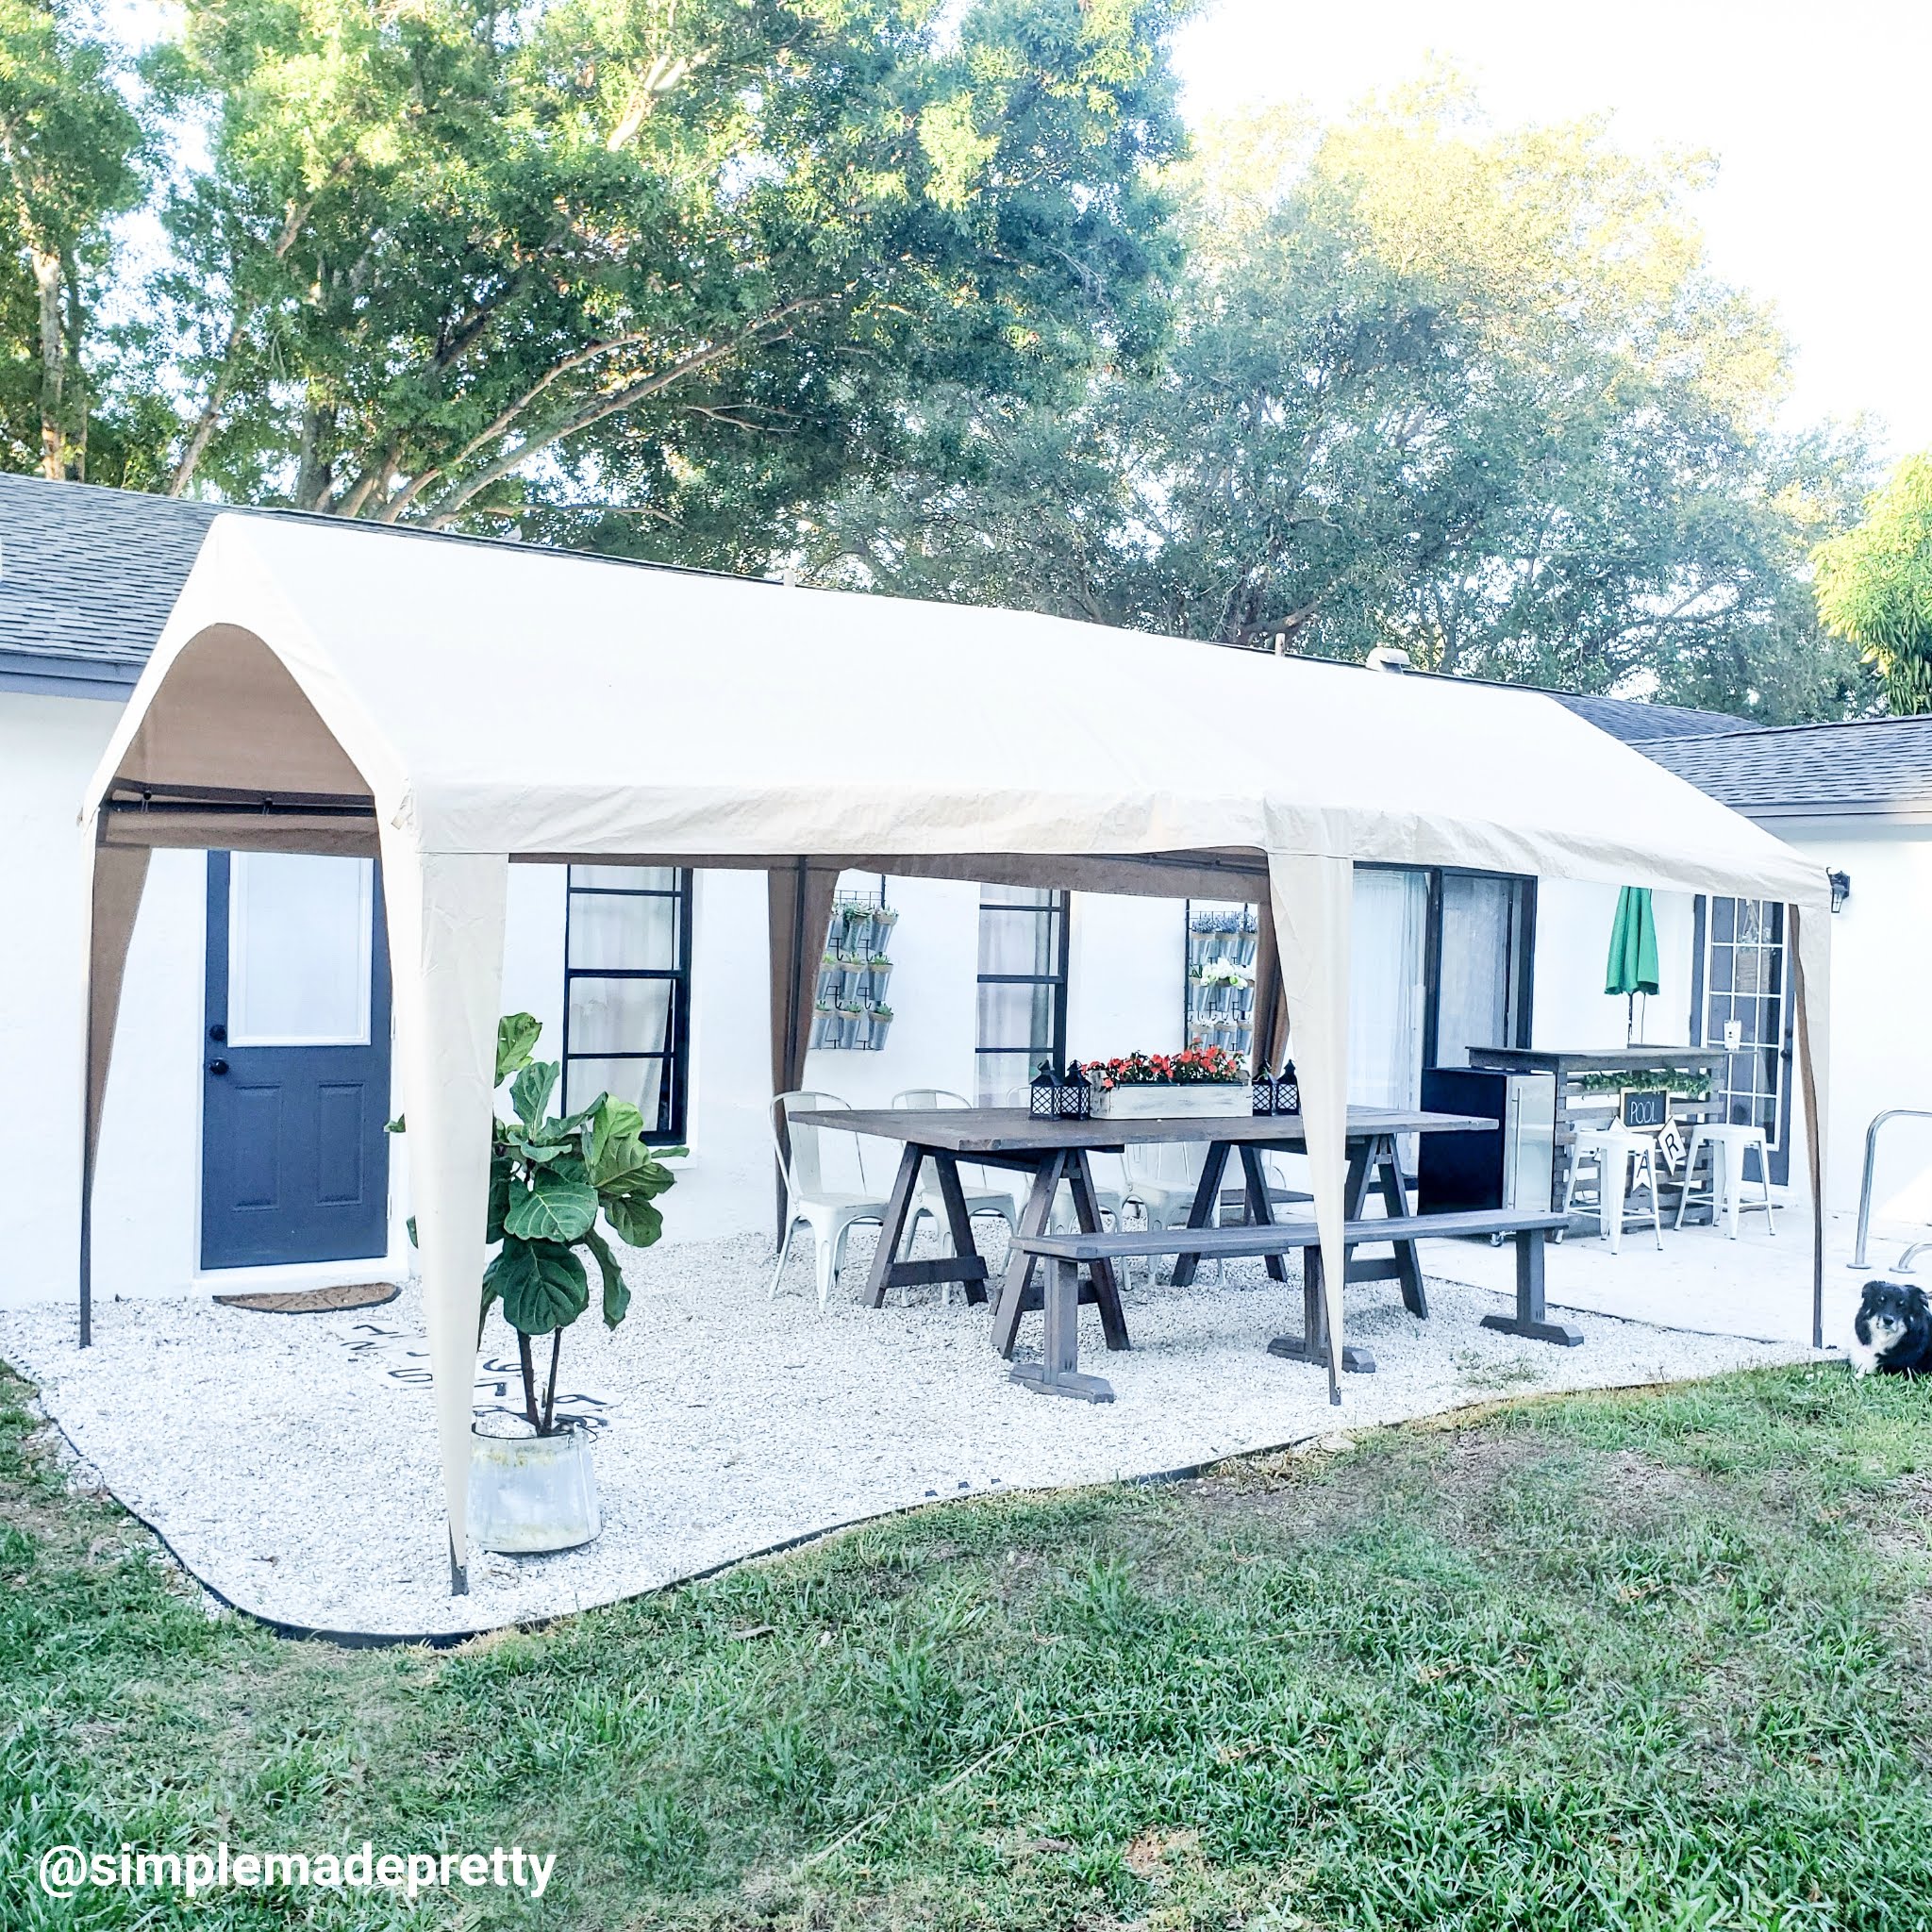 Covered Patio Ideas on a Budget