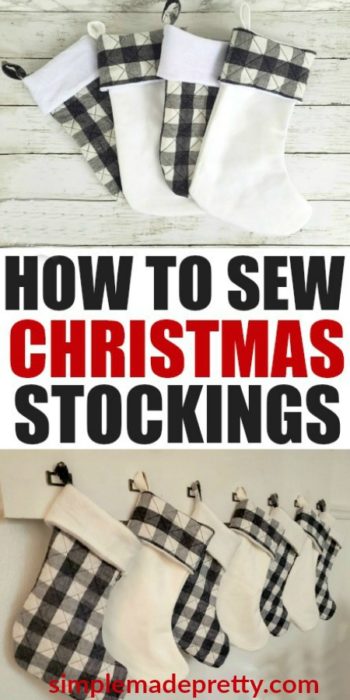
No-Sew Christmas Stockings
Learn How To Make Christmas Stockings with this DIY No-Sew Christmas Stockings and How To Sew Christmas Stockings tutorial!
I’m so excited about these Handmade Christmas Stockings! I can’t believe how easy DIY Christmas stockings are to make and wish I had tried making my own Christmas stockings before spending money on expensive brand-name stockings! You are going to love this tutorial on How To Sew A Christmas Stocking and DIY Christmas Stocking No-Sew! Watch the video below for the no-sew method and download the Free Stocking Template to make your stockings.
How to Make a Christmas Stocking Step-By-Step
How to Sew a Christmas stocking: This is the perfect sewing project for a beginner sewer. I’ll teach you how to sew a Christmas stocking with a cuff but you can eliminate the cuff if you don’t have enough fabric or feel too inexperienced to add a cuff. You can also hand sew Christmas stockings but I use a sewing machine in this tutorial. If you are wondering how to make a simple Christmas Stocking or want to make your own buffalo plaid stockings then keep reading!
You’ll need a Sewing Machine to make this project. If you don’t have a sewing machine, you can easily hand sew Christmas stockings, it just takes a bit longer.
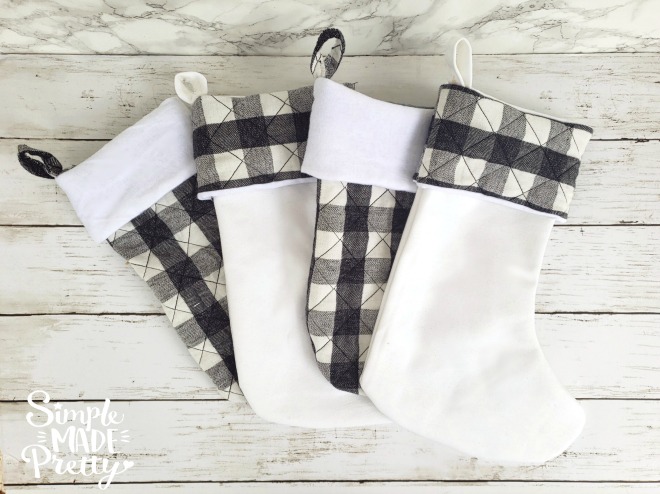
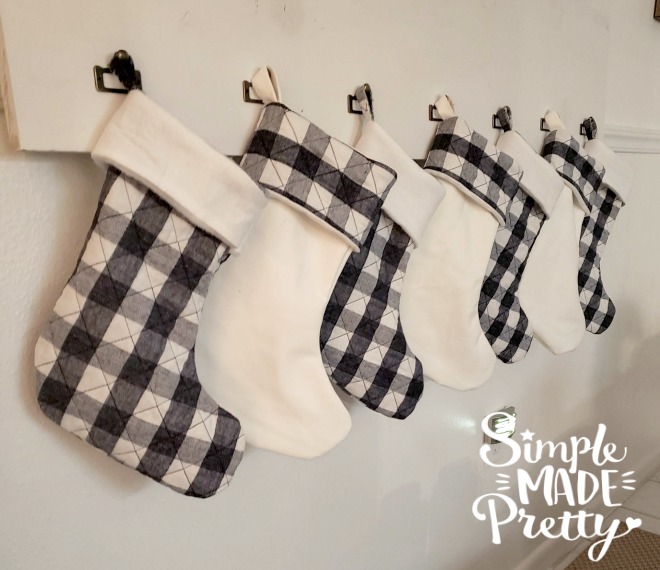
I’ll show you how to sew a Christmas stocking with cuff below. These DIY Handmade Christmas stockings were so cheap and easy to make that I ended up sewing 10 stockings in just a couple of hours. The cost of the fabric and materials ended up being $1.67 per stocking! That is super cheap compared to spending $12-$24 per stocking at a store – plus these are high-quality materials and I was able to personalize them to match my home decor.
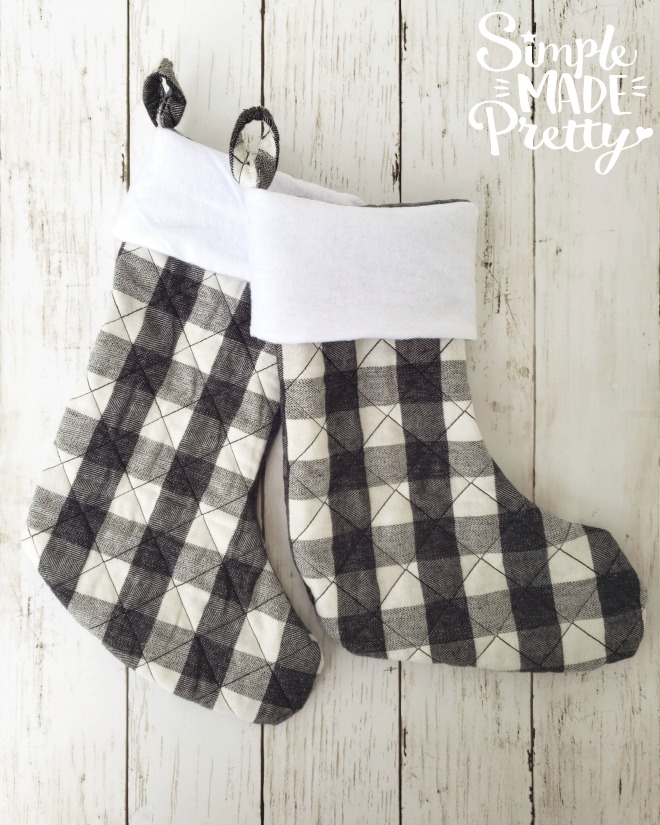
Do you like this buffalo plaid fabric? I found a quilted buffalo plaid fabric at Joanne Fabrics! It was $19.99 per yard and I got 1.5 yards to make 5 buffalo plaid stockings and had enough fabric leftover to make 5 buffalo plaid cuffs for the white stockings.
How to make a Christmas Stocking:
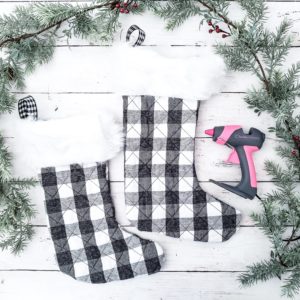
Supplies:
- Sewing Machine or needle and thread if sewing by hand (if not using the no-sew method)
- Glue Gun (if not sewing)
- 1 and 1/2 yards of fabric (makes 5-6 stockings depending on the size of your stocking and width of fabric – I used a quilted fabric in buffalo plaid)
- 1/2 yard fabric (for the cuff – I used super-soft white cotton) OR Fur Ribbon (found at craft stores during the holidays)
- Coordinating Thread (if sewing)
- Scissors
- Fabric Marker (optional)
- Ribbon (for the hanging loop at the top)
Directions:
- Gather supplies. Watch the video below for the No-Sew method.
- I used another stocking as a pattern for my stockings but I’ve provided a FREE stocking template that you can download below!

- Trace the stocking template onto your fabric using a fabric marker.

- Use scissors to cut out 2 stockings. I folded my fabric and cut 2 at the same time, then cut along the fold at the top.
- Place the 2 stocking pieces right sides together.
- Sew around the edge except for the top. Glue together if using the no-sew method.

- Turn right side out.
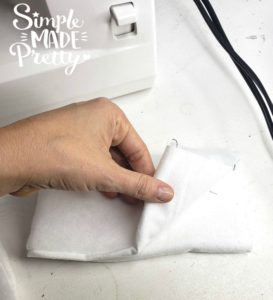
- Wrap the fur ribbon around the top of the stocking, the fur should be facing inside (wrong side facing out).
- Cut the fur to size.
- Sew or glue the right sides of the fur ribbon together.

- Place the fur cuff around the outside of the stocking and sew/glue the fur to the top of your stocking.
- Flip the stocking inside out, then roll the cuff outside of the stocking.
- Hand stitch or glue a loop of ribbon to the inside corner of the stocking so you can hang the stocking.


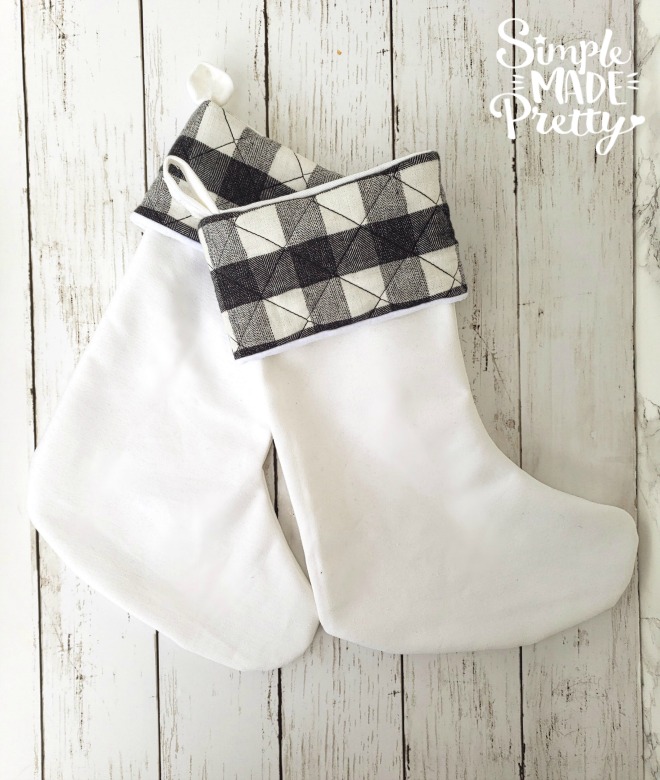
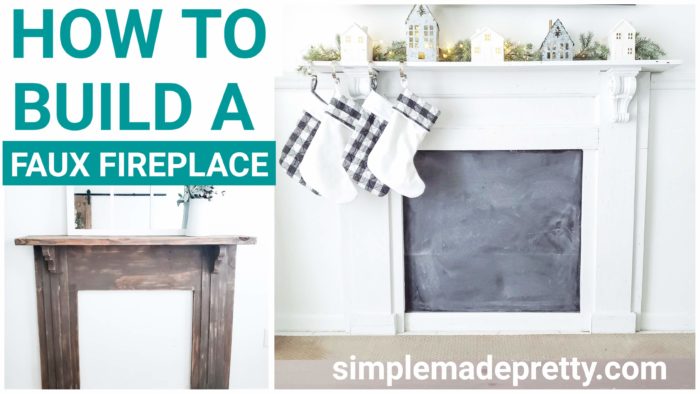
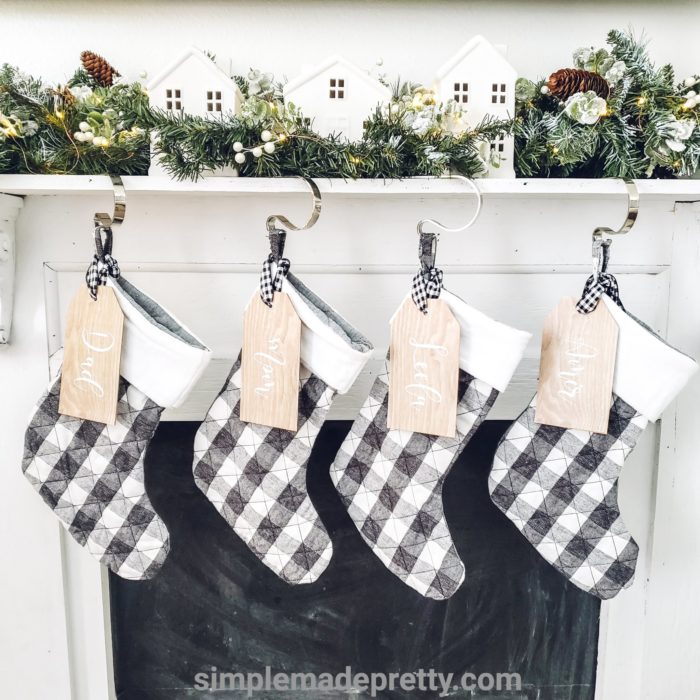
Tip: I had some extra WHITE cotton twill fabric on-hand and was able to use it to make 4 MORE white stockings and use the leftover buffalo plaid fabric as a cuff on the white stockings. Then I hung the stockings on our DIY faux fireplace.
This DIY Christmas Stocking is the perfect project for Sewing For A Beginner who wants to learn how to sew a Christmas stocking with cuff.
Did you make these Christmas stockings or a similar one? I would love to see yours! Send me a picture on Facebook, Instagram, or email and I’ll share with my followers 🙂
Download the Free Stocking Template

Watch the Video or Print the Tutorial
How to Make a Christmas Stocking
Supplies
- Sewing Machine or needle and thread if sewing by hand (if not using the no-sew method)
- Glue Gun (if not sewing)
- 1 and 1/2 yards of fabric (makes 5-6 stockings depending on the size of your stocking and width of fabric - I used a quilted fabric in buffalo plaid)
- 1/2 yard fabric (for the cuff - I used super-soft white cotton) OR Fur Ribbon (found at craft stores during the holidays)
- Coordinating Thread (if sewing)
- Scissors
- Fabric Marker (optional)
- Ribbon (for the hanging loop at the top)
Instructions
- Gather supplies. Watch the video below for the No-Sew method.
- I used another stocking as a pattern for my stockings but I've provided a FREE stocking template that you can download below!
- Trace the stocking template onto your fabric using a fabric marker. Use scissors to cut out 2 stockings. I folded my fabric and cut 2 at the same time, then cut along the fold at the top.
- Place the 2 stocking pieces right sides together.
- Sew around the edge except for the top. Glue together if using the no-sew method.
- Turn right side out.
- Wrap the fur ribbon around the top of the stocking, the fur should be facing inside (wrong side facing out).
- Cut the fur to size.
- Sew or glue the right sides of the fur ribbon together. Place the fur cuff around the outside of the stocking and sew/glue the fur to the top of your stocking.
- Flip the stocking inside out, then roll the cuff outside of the stocking.
- Hand stitch or glue a loop of ribbon to the inside corner of the stocking so you can hang the stocking.
Video
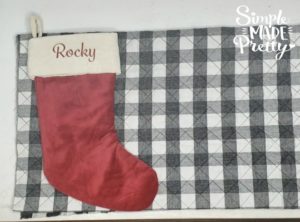
I hope you enjoyed these Free Pattern for Christmas Stocking with cuff. Homemade Christmas Stockings are really easy with these step-by-step DIY Christmas stocking instructions. You can easily personalize these DIY Christmas Stockings or add my FREE Printable Wood Stocking Tags.
Want to see my latest DIY videos in Real-Time? Follow me on Instagram and YouTube!
–>>You can follow me on Instagram here
Other Popular Dollar Tree Posts:
DIY Burlap Baskets using Plastic Dollar Store Bins
Tidy up your home with some DIY Burlap Baskets using Plastic Dollar Store Bins! These DIY Dollar Store baskets are simple to make using basic supplies from the Dollar Tree but look like they are from Pier One! If you are looking for storage baskets from the Dollar Store but don’t like the plastic baskets, try this burlap fabric DIY project!
Over The Door Organizer Dollar Tree DIY
Learn how to make a cute and functional over-the-door organizer that I made using Dollar Tree supplies. I shared this over the door organizer shown in our pantry on Instagram and YouTube recently and I knew it would be pretty popular (because I was also in love with how it turned out!) so I wanted to share this tutorial on my blog as well. This back of the door storage organizer is made with Dollar Tree supplies. I’m also giving my readers some FREE Printable Pantry labels and Blank Labels in this post!
–>>Keep reading to learn how to make this Over The Door Organizer Dollar Tree DIY!
Dollar Tree Farmhouse Wall-Mounted Mug Rack DIY
DIY these popular farmhouse mug racks made using Dollar Tree supplies! I shared these DIY wall mug racks on Instagram and I knew they would be pretty popular (because I was also in love with how they turned out!) so I wanted to share this tutorial on my blog as well. These mug racks are made with Dollar Tree supplies.
–>>Keep reading to learn how to make this Dollar Tree Farmhouse Wall-Mounted Mug Rack DIY!
DIY Dollar Store Farmhouse Ladder
If you’ve seen those farmhouse ladders used for various home decor ideas, you probably know how much they cost in high-end decor stores. I got lucky and found a large antique ladder at a yard sale but I wanted an extra farmhouse ladder to use as a planter outside so I made my own! The best part about this DIY farmhouse ladder is that it’s made using items for less than a few dollars! This ladder was so easy that I made a mini tea towel ladder (yes, tea towel ladders are a thing!) for just $3!
–>>Keep reading to learn how to make a DIY Farmhouse Ladder For $3!
$1 Tiered Tray DIY
I bet you’ve seen those beautiful farmhouse style tiered trays and you may be wondering how you can DIY a tiered tray using Dollar Store materials. Well, it’s so simple that you might end up addicted to making a 2 tier serving tray that you make a whole bunch for your home!
–>>Learn how to make a tiered tray for just a $1 with this Dollar Tree hack!
Psssssttt…Right now I’m offering FREE access to our Digital Resource Library to all of our newsletter subscribers. Your private access includes dozens of free printable crafts, home decor and organization guides. Hurry up and grab your freebies here! (Access instructions are sent after subscribing).
Disclaimer: This post may contain affiliate links or a sponsored post. All opinions are always 100% mine and I don’t partner with any product or company that I don’t use and love. Please see our Full Disclosure for more information.

[…] → Click Here ← […]