Valentine Welcome Mat DIY (Simple & Budget-Friendly)
Valentine’s Day always seems to sneak up on us — and suddenly you want your home to feel festive before guests even walk in, without buying more seasonal decor you’ll store away later.
This Valentine’s Day welcome mat DIY is one of my favorite solutions. It’s:
- Budget-friendly (IKEA $4.99 base)
- Cricut-friendly (with a free SVG)
- Easy enough to make in under an hour
- Neutral enough to reuse year after year
If you want a Valentine touch that feels intentional but not over-the-top, this is it.

Why a Valentine Welcome Mat Works
Note: This project uses an inexpensive $4.99 IKEA welcome mat, not a Dollar Tree mat. The technique works the same, but the IKEA mat holds paint beautifully and feels more substantial.
A welcome mat is one of the easiest ways to decorate seasonally because:
- It sets the tone before anyone enters your home
- It doesn’t add clutter inside
- It works for small spaces and apartments
- You can layer it with rugs you already own
Instead of changing out lots of decor, I focus on one high-impact spot — and the front door always delivers.
This doormat was so easy to make, I ordered 5 additional plain doormats to make for other holidays. Our house has 6 exterior doors… that’s a lot of doors for a 1600 square foot house, right? So I figured that I need a doormat for all 6 doors, hehe.
Valentine’s Day Welcome Mat Supplies
You likely already have most of these:
- Cricut Explore
- SVG file (get it free below or design your own)
- Heavy Cardstock (any color – this will be your stencil)
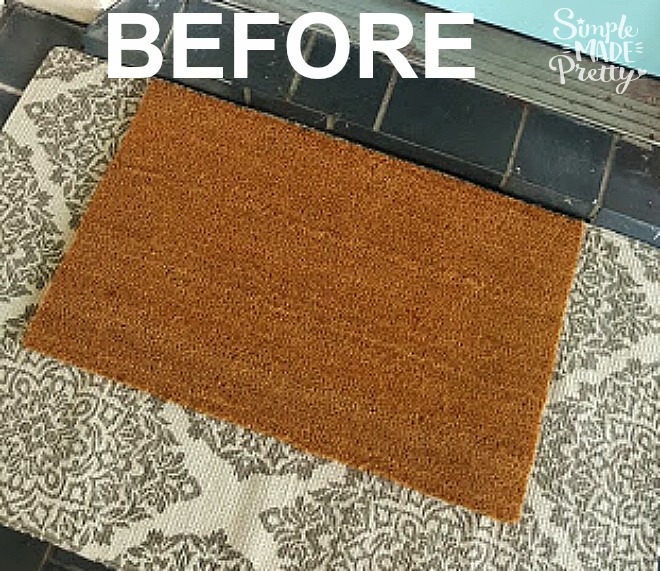
- Plain Doormat (these are a reader favorite!)
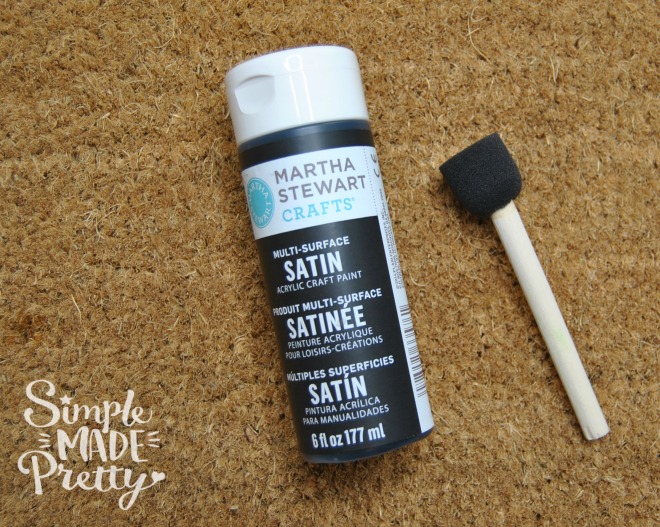
- Fabric Paint (this paint is the best for this project)
- Stencil brush
- Painters Tape
- Gloves (optional)
- Black and White Rug (optional – if you want to create the layered look like my photos)
How to Make a Valentine Welcome Mat (Quick Overview)
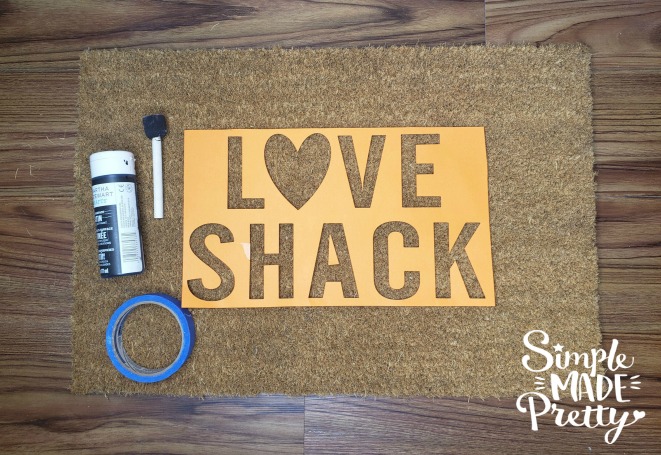
- Gather supplies. You will need a plain doormat (I used this one which shipped to me in 2 days for free!), fabric paint (this type of paint is waterproof to guard against rain, etc), stencil brushes (you can find a pack of these at your local craft store – I wash mine out after every use to extend the life), painters tape (you can find it at your local craft or hardware store), and a stencil ( I show you how to make a stencil using the free SVG file and a Cricut machine below).

- Download the SVG file and upload to Cricut Design Space. Do you need help uploading a file to Cricut, let me know in the comments or send me a message, I’d love to help!
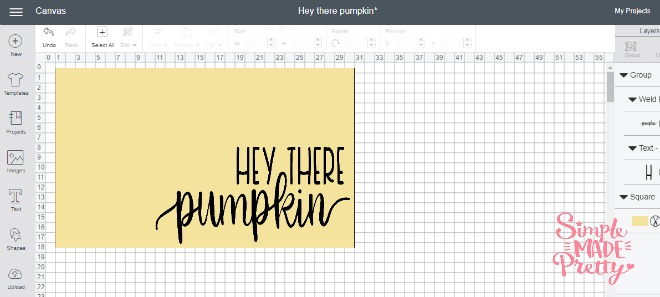
- Size the image depending on the size of your doormat. Below I show how I size my images in Cricut. Find the “Hey There Pumpkin” tutorial here.

- Cut and weed the image (remove the negative part of the cut image, in this case, you will remove the letters inside). I used heavy cardstock to create my stencil. You could use stencil material if you plan to use it again. I throw away the cardstock but you might be able to get another use out of it, depending on the wetness from the paint.
- Arrange the image on the doormat using painter’s tape to secure it. I had to carefully place the center for the “A” and put a small piece of painter’s tape behind it to secure to the mat. You will need to be very careful when applying paint around that area.

- Use paint and stencil brush to paint inside the image. Wear gloves because you will need to use your fingers to hold down some sides! I use these gloves for every project around the house (so I don’t mess up my nails) and the hubby uses them for big house projects too.
- Peel off the vinyl stencil right away to reveal the finished project. You don’t want to leave the stencil on there for very long otherwise the cardstock might stick to the mat. You can fill in any spots with a black sharpie or more paint with a small brush.
- Let dry for 24-48 hours before placing outside (in case it rains – fabric paint needs time to dry completely before becoming waterproof).
Valentine Welcome Mat Design Ideas
The included SVG works beautifully for:
- Classic Valentine phrases
- Simple heart motifs
- Modern typography designs
You can also customize it with:
- Names or monograms
- Different paint colors (red, blush, black, white)
- Layered rug styling for a higher-end look
Styling Your Valentine Welcome Mat
To make your mat feel intentional (not temporary), try:
- Layering it over a neutral striped rug
- Keeping surrounding decor minimal
- Reusing the same mat base for multiple seasons
This keeps storage low and impact high.
Valentine Welcome Mat FAQs
Can I make a welcome mat without a Cricut?
Yes. You can hand-cut a stencil or use letter stickers.
What paint works best on a welcome mat?
Outdoor acrylic or porch paint works best for durability.
How long does a painted welcome mat last?
With proper paint and light exposure, it can last the entire season and beyond.
Final Thoughts
If Valentine’s Day decor feels overwhelming, start at the door. This welcome mat is proof that one simple DIY can make your whole home feel ready for the season — without extra clutter, cost, or stress.
This Valentine’s Day Welcome Mat With Free SVG File will surprise your guests while personalizing your home decor. I can’t wait to try more designs and share them on Instagram! I already come up with this DIY Welcome doormat idea for Halloween and this DIY Welcome Mat for Fall so be sure to subscribe to get my emails and updates with more SVG files!
Learning how to use your Cricut is really easy and fun once you get the hang of it. I love using Cricut Design Space print then cut feature. If you don’t have a Cricut Access Membership, I highly recommend it. I’ve had a Cricut Access Membership for years and it’s definitely worth the cost for all the benefits!
Did you make this doormat or a similar one? I would love to see yours! Send me a picture on Facebook, Instagram, or email and I’ll share it with my followers 🙂
Grab the Free SVG File!

New to Cricut?
Here are some Cricut Basics!
–>>If you want a Circut Machine but aren’t sure which machine is for you, be sure to read this post, How to Choose Which Cricut Machine is Right for you.
–>>Want more tips on finding inexpensive Cricut supplies? Read this post, How to Save Money on Cricut Craft Supplies.
What Cricut Accessories Do I Need?
Cricut Essentials make putting the pieces together a joy. From tweezers that handle delicate parts to Cricut EasyPress for foolproof iron-on, every Essential makes a great project even greater, every step of the way.
These are the Cricut Tools & Accessories I recommend for the serious crafter:
Cricut Easy Press
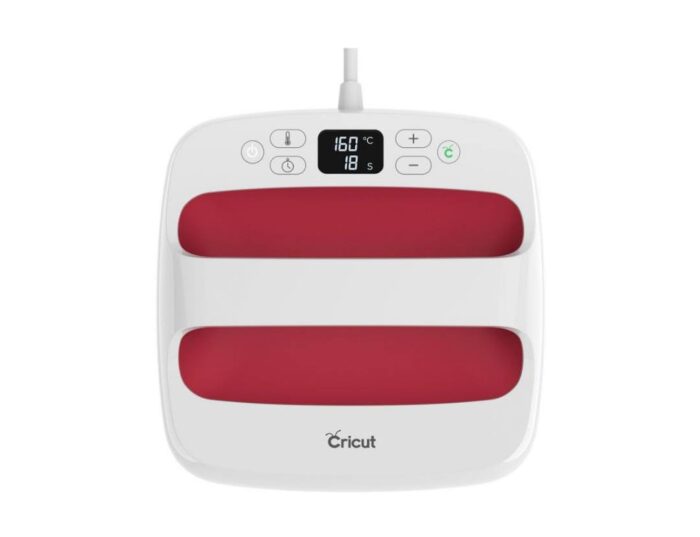
I highly recommend purchasing the Cricut Easy Press if you plan to do any iron-on or heat transfer projects. The Cricut Easy Press will make your Cricut DIY’s so much easier!
Cicut Easy Press comes in 3 different sizes, however, I own the 9 x 9 and it’s the perfect size for most projects.
–>>Get the Cricut Easy Press here!
Cricut Easy Press Mat
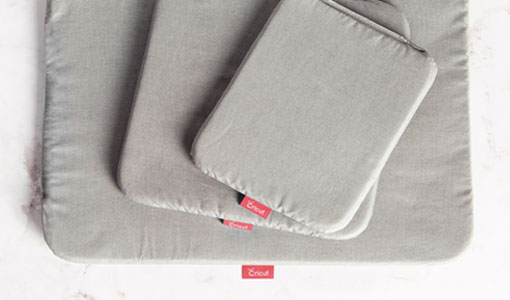
If you purchase the Cricut Easy Press, don’t forget to get the coordinating Easy Press Mat, which will protect your surfaces and projects from burning. Alternatively, you can use a folded towel, however, the mat is sleek and easier to store in the craft room 😉
–>>Get the Cricut Easy Press Mat Here!
Cricut Bright Pad
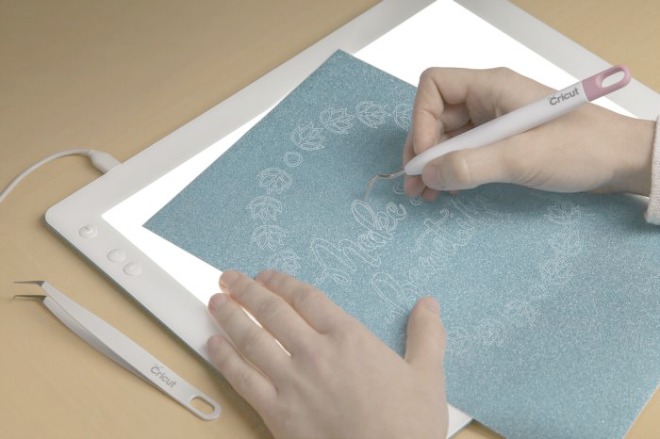
The lightweight, low-profile Cricut BrightPad makes crafting easier while reducing eye strain. It illuminates fine lines for tracing, cut lines for weeding, and more.
–>>Get the Cricut Bright Pad Here!
Cricut Cutting Mats
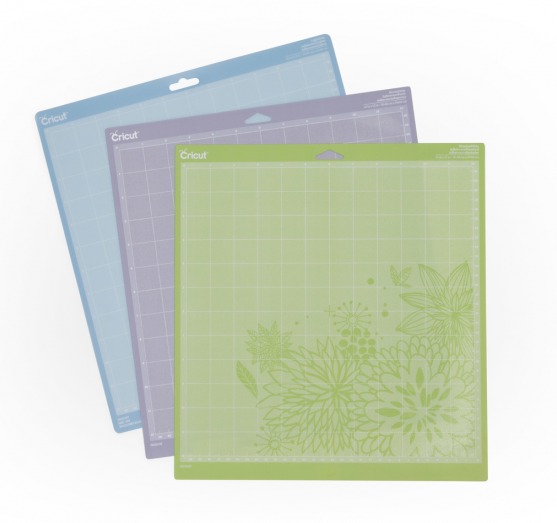
I suggest having a variety of cutting mats that are customized to match the weight of commonly used crafting materials. With three different mats specifically designed to work with different weights of materials, you can ensure success in all your projects.
–>>Get the Cricut Machine Mat Variety Pack Here!
Cricut Tool Set
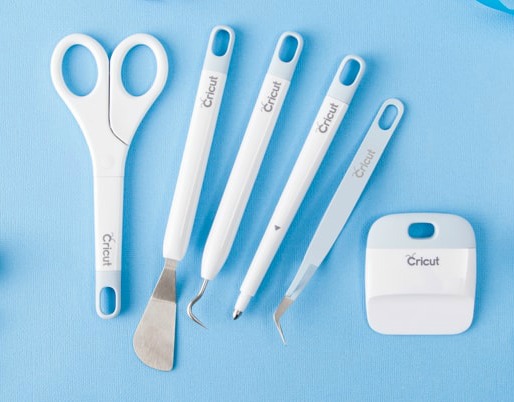
You will thank me later for telling you to just get the Cricut Tool Set instead of buying each tool individually! The tools included in the Cricut toolset are all helpful when using your Cricut machine.
–>>Get the Essential Tool Set Here!
My favorite non-Cricut brand materials
You can find other brand vinyl, iron-on, contact paper, and more outside of Cricut.com. A few of my favorites are:
- Oracal 651 Permanent Vinyl (find it here or at your local craft store)
- Siser HTV
- Dollar Tree clear contact paper (or shelf liner)
- Various fat-quarter fabrics at Walmart
- Felt sheets at local craft stores

Learning how to use your Cricut is really easy and fun once you get the hang of it. If you don’t have a Cricut Access Membership, I highly recommend it. I’ve had a Cricut Access Membership for years and it’s definitely worth the cost for all the benefits!

CRICUT ARTICLES YOU MIGHT ALSO LIKE…
How To Choose a Cricut Machine
I bought my first Cricut machine in 2013… it was called the Cricut mini and was one of the first Cricut machines that didn’t have a keyboard. It was a great machine but as soon as Cricut released the Cricut Explore machine in 2014, I quickly bought it. A year later Cricut released the Cricut Explore Air and I bought that too. Then in 2017, Cricut released the Cricut Maker Machine and of course I bought it too. So you can say I’m pretty experienced with Cricut machines and have in-depth knowledge about using Cricut and various Cricut projects.
–>>If you want a Circut Machine but aren’t sure which machine is for you, be sure to read this post, How to Choose Which Cricut Machine is Right for you.
32 Easy Cricut Projects for Beginners
I love learning about new Cricut projects and Cricut Explore Air 2 Projects, but some Cricut crafts seem more advanced than others. I put together this list with Easy Cricut Projects for Beginners to help others find Cricut tutorials for beginners and free Cricut projects. Most of the projects featured in this post can be made using a Cricut Explore Air and Cricut Explore Air 2, but some of these beginner projects require a Cricut Maker Machine (Cricut beginner projects using fabric).
–>>If you’ve had your Cricut machine for some time but are scared to use it, you should try these 32 Easy Cricut Projects for Beginners.
How To Save Money on Cricut Supplies
I love finding a good deal on Cricut vinyl craft supplies and I tend to stock up on Cricut craft supplies during sales (Cricut.com has the best Black Friday sale!) but Cricut supplies can be expensive! One question I’m frequently asked is where can I buy Cricut supplies? Well, not only will I share where you can buy Cricut supplies, but where to find discount Cricut supplies! My favorite store to find Cricut supplies cheap is the Dollar Store.
–>>Want more tips on finding inexpensive Cricut supplies? Read this post with, 30 Cricut Craft Supplies from the Dollar Tree.
15 Cricut Project Ideas Using Scraps
These 15 Cricut Project Ideas Using Scraps are easy Cricut projects that a Cricut beginner can make! If you have scrap Cricut craft materials and are looking for Cricut projects using Cricut Design Space and a Cricut Explore machine, this post is for you! This post is filled with Cricut project ideas inspiration and fun Cricut projects using vinyl, heat transfer (HTV), cardstock, and more!
Don’t throw away those small pieces of leftover vinyl, iron-on, or cardstock! Save your Cricut scraps to make these fun Cricut Projects Using Scrap materials! Keep reading to find 15 Easy Cricut project ideas to use up those extra bits of Cricut vinyl, Cricut iron-on, and Cricut cardstock.
–>>Read the full post, 15 Cricut Project Ideas Using Scraps here!
Pin it for later…
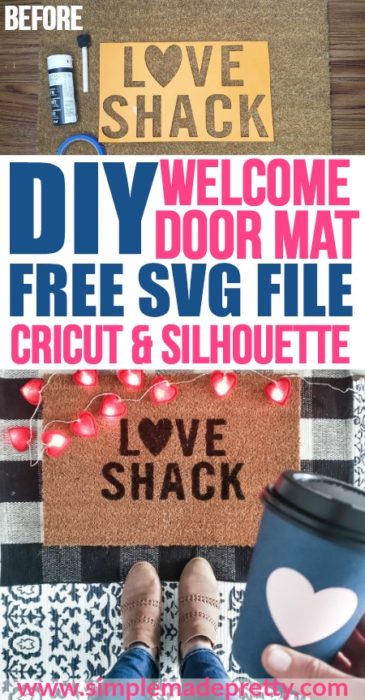
Psssssttt…Right now I’m offering FREE access to our Digital Resource Library to all of our newsletter subscribers. Your private access includes dozens of free printable crafts, home decor and organization guides. Hurry up and grab your freebies here! (Access instructions are sent after subscribing).
Disclaimer: This post may contain affiliate links or a sponsored post. All opinions are always 100% mine and I don’t partner with any product or company that I don’t use and love. Please see our Full Disclosure for more information.
 Free Printable Bubble Valentine Cards