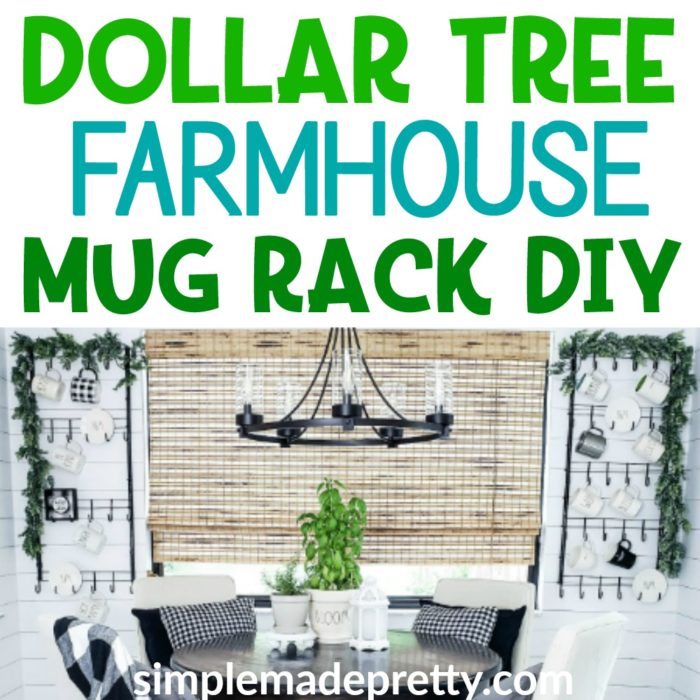
DIY Mug Rack
Looking for an easy way to organize your coffee mugs without spending a fortune?
This Dollar Tree farmhouse wall mounted mug rack is one of my most-loved DIY projects from the early days of Simple Made Pretty. Using inexpensive materials and a simple hook system, you can create a custom coffee bar display that looks high-end — for just a few dollars.
Whether you’re decorating a small kitchen, creating a coffee station, or adding farmhouse charm to your home, this budget-friendly DIY is beginner-friendly and renter-friendly.
🔽 WATCH ON YOUTUBE 🔽
🎥 Watch the 8-minute video above — then scroll for more freebies, links & resources below!
How do you make a wall mounted mug rack?
You can make a wall mounted mug rack using a wood board, cup hooks, and wall anchors. Secure the hooks evenly spaced and mount into studs or anchors for support.
Can Dollar Tree supplies hold coffee mugs?
Yes — when installed properly into solid wood and secured to the wall with anchors, Dollar Tree hooks can safely hold standard ceramic mugs.
How many mugs can a DIY mug rack hold?
Depending on board length and spacing, most DIY mug racks hold 6–10 mugs comfortably.
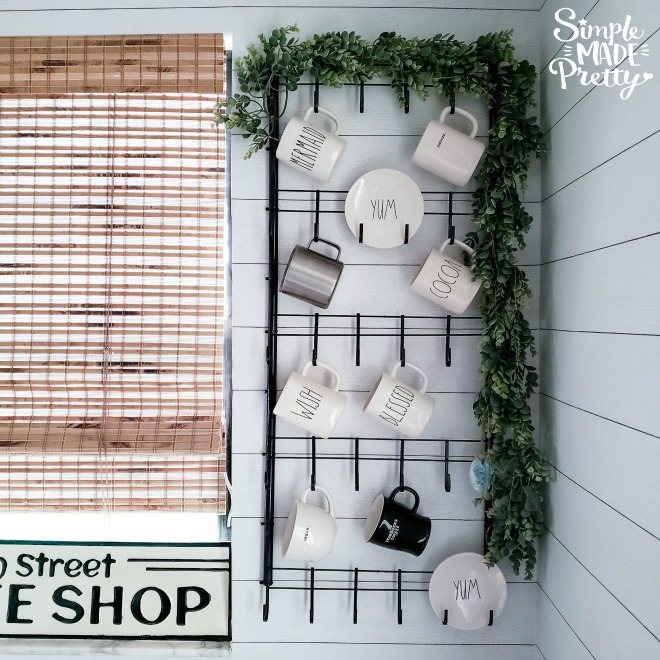
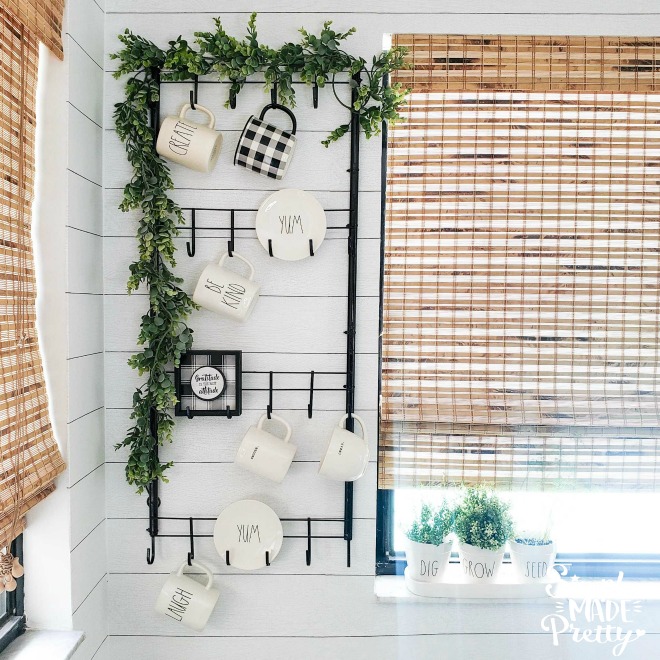
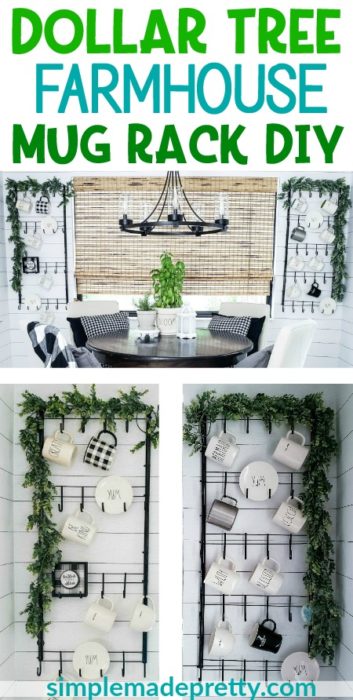
Everything you need to make these Wall Mug Racks can be found at Dollar Tree (minus the glue, which can be found at Michael’s or Hobby Lobby). I made one mug rack with $6 in supplies and another with $7 in supplies. The only difference is one mug rack has an extra row of hooks. Which size you make will depend on the look you are going for (if you like more space between your mugs to hang large items, etc). You will get more bang for your buck with the mug rack with 5 rows though with 30 hooks (room for 30 mugs!).
My inspiration to make this mug rack came from a $60 metal mug rack that I found on Amazon. I have also seen these mug racks in home goods stores and they can range from $80 – $100 per rack!
I really wanted one of these mug racks on my home to display all my Rae Dunn mugs and mug collection (as I’m sure many of you also have a mug collection, hehe). So I concocted this mug rack using Dollar Tree supplies and I can’t wait for you to make one too!
I’m including a quick video below but if you want a detailed video with tips on how to hang the mug rack and decorate it, you can watch my YouTube video here.
Let’s get started so you can see how easy and affordable it is to make these mug racks!
How To Make a DIY Mug Rack
Supplies:
- 2 Mop/Broom handles from Dollar Tree
- 4-5 Over-the-Door Hooks from Dollar Tree
- Black Zip Ties
- Black sharpie
- Tape Measure
- E6000 Glue
- Pliers
- Hammer
- Wire Clippers
- Carbon Mist (Black) Metallic Spray Paint
Directions:
- Gather Supplies.

- Take apart the mop/broom so you only have the pole left. I chose a mop so I could use the sponge head for cleaning later.

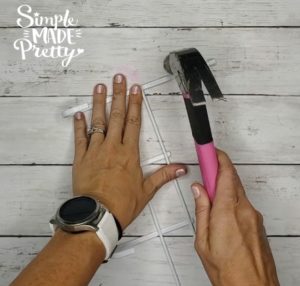
- Use pliers to bend the part at the top of the hooks to be flat. Use a hammer to flatten as best as possible.
- Use the wire clippers to cut one set of hooks (I left all of mine on except for the top piece, which I clipped off).


- Measure and mark 14 inches between each row for the 4-row rack OR measure and mark 10 inches between each rack for the 5-row rack.
- Start gluing and zip tieing one side of the rack first (don’t do both sides otherwise both poles will be rolling all over the place, lol). Apply the glue to the pole at your mark, place the rack on the pole, then use 2 zip ties to hold in place.
- Repeat the above step until one side is complete, then complete the other side.
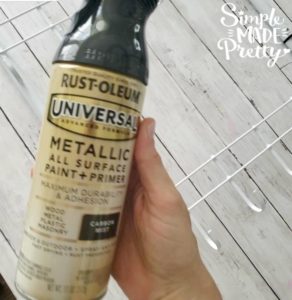
- Once the glue and zip ties are applied, you can spray paint (in my opinion it looks better black)! I used carbon mist metallic spray paint.

- Let the paint dry and hang using anchors for the most support. I drilled right through the pipe to hang my rack.





Wrap-Up
If you love budget-friendly farmhouse decor, this mug rack is just the beginning.
For more Dollar Tree DIY ideas, printable labels, SVG files, and exclusive projects, join Craft & Create Club — free for one month during our anniversary celebration.
Start building your dream space on a budget.
Print the Tutorial and Watch the Video
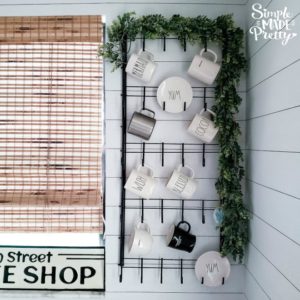
Dollar Tree Farmhouse Wall-Mounted Mug Rack DIY
Supplies
- 2 Mop/Broom handles from Dollar Tree
- 4-5 Over-the-Door Hooks from Dollar Tree
- 1 package Black Zip Ties
- 1 Black sharpie
- 1 Tape Measure
- 1 E6000 Glue
- 1 Pliers
- 1 Hammer
- 1 Wire Clippers
- 1 Carbon Mist Metallic Spray Paint
Instructions
- Gather Supplies.
- Take apart the mop/broom so you only have the pole left. I chose a mop so I could use the sponge head for cleaning later.
- Use pliers to bend the part at the top of the hooks to be flat. Use a hammer to flatten as best as possible.
- Use the wire clippers to cut one set of hooks (I left all of mine on except for the top piece, which I clipped off).
- Measure and mark 14 inches between each row for the 4-row rack OR measure and mark 10 inches between each rack for the 5-row rack.
- Start gluing and zip tieing one side of the rack first (don't do both sides otherwise both poles will be rolling all over the place, lol). Apply the glue to the pole at your mark, place the rack on the pole, then use 2 zip ties to hold in place.
- Repeat the above step until one side is complete, then complete the other side.
- Once the glue and zip ties are applied, you can spray paint (in my opinion it looks better black)! I used carbon mist metallic spray paint.
- Let the paint dry and hang using anchors for the most support. I drilled right through the pipe to hang my rack.
Video
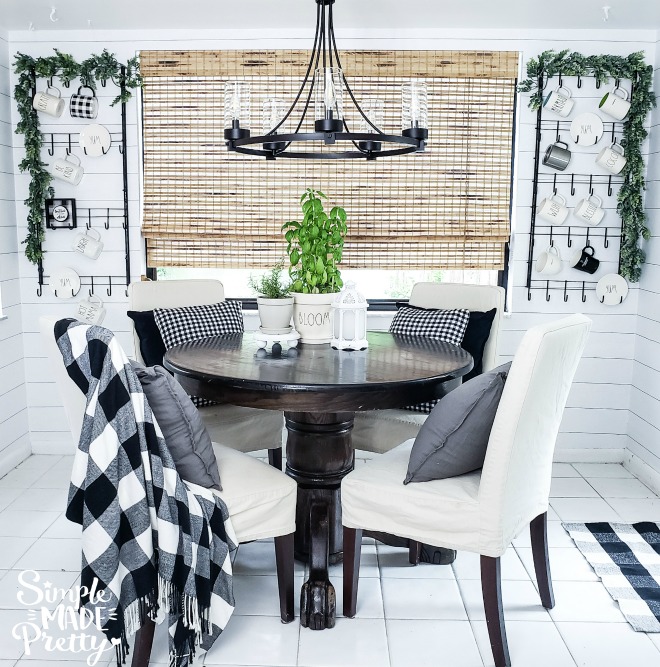
Did you make these wall mug racks or similar ones? I would love to see it! Send me a picture on Facebook, Instagram, or email and I’ll share with my followers 🙂
More Popular Budget-Friendly DIY Ideas…
Here are related articles that you might also like!
Over The Door Organizer Dollar Tree DIY
Learn how to make a cute and functional over-the-door organizer that I made using Dollar Tree supplies. I shared this over the door organizer shown in our pantry on Instagram and YouTube recently and I knew it would be pretty popular (because I was also in love with how it turned out!) so I wanted to share this tutorial on my blog as well. This back of the door storage organizer is made with Dollar Tree supplies. I’m also giving my readers some FREE Printable Pantry labels and Blank Labels in this post!
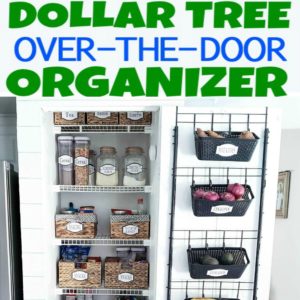
–>>Keep reading to learn how to make this Over The Door Organizer Dollar Tree DIY!
DIY Dollar Store Farmhouse Ladder
If you’ve seen those farmhouse ladders used for various home decor ideas, you probably know how much they cost in high-end decor stores. I got lucky and found a large antique ladder at a yard sale but I wanted an extra farmhouse ladder to use as a planter outside so I made my own! The best part about this DIY farmhouse ladder is that it’s made using items for less than a few dollars! This ladder was so easy that I made a mini tea towel ladder (yes, tea towel ladders are a thing!) for just $3!
–>>Keep reading to learn how to make a DIY Farmhouse Ladder For $3!
$1 Tiered Tray DIY
I bet you’ve seen those beautiful farmhouse style tiered trays and you may be wondering how you can DIY a tiered tray using Dollar Store materials. Well, it’s so simple that you might end up addicted to making a 2 tier serving tray that you make a whole bunch for your home!

–>>Learn how to make a tiered tray for just a $1 with this Dollar Tree hack!
Psssssttt…Right now I’m offering FREE access to our Digital Resource Library to all of our newsletter subscribers. Your private access includes dozens of free printable crafts, home decor and organization guides. Hurry up and grab your freebies here! (Access instructions are sent after subscribing).
Disclaimer: This post may contain affiliate links or a sponsored post. All opinions are always 100% mine and I don’t partner with any product or company that I don’t use and love. Please see our Full Disclosure for more information.
DIY Mug Rack
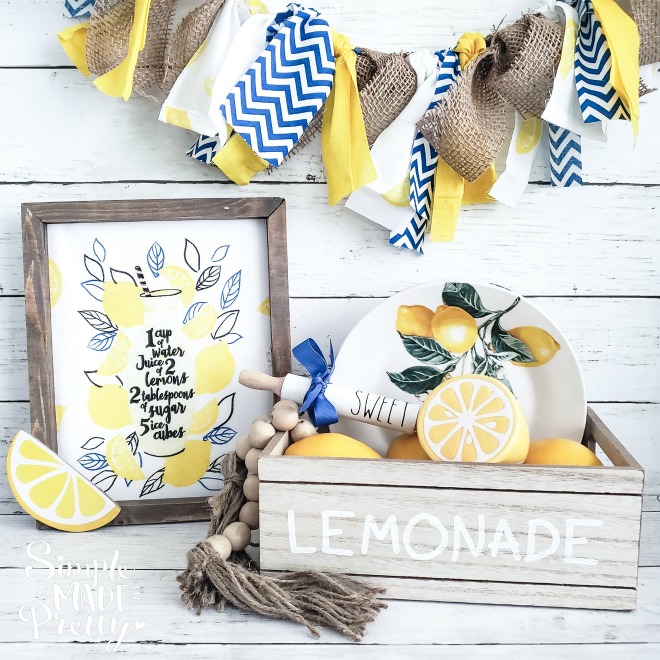 6 Dollar Tree Lemon Decor DIY Ideas