Turn a Closet into a Craft Room
We used a spare closet to use as a craft room and it turned out amazing! This project took 2 days including removing all pre-existing items, shopping for supplies, labor, and staging. The total cost was $250 since I re-purposed many items that I already had around the house. So let me show you the before and after before I get into the details and How to Turn A Closet Into a Craft Room.


My craft room is the size of a closet, well literally it was a walk-in closet from the 4th bedroom in our home that we use as an office/guestroom. A closet with a window, heating and air conditioning vent, electrical outlet and lighting – which made it perfect to use as a workspace. Here is a close up of the Before picture again…
It really only looked like this for the past 6 months that we have lived here so I wasn’t working under these conditions for too long 😉
One of the things that we added to this space right away was an electrical outlet in the room. We hired an electrician to do this since we had other electrical work completed when we first moved in.
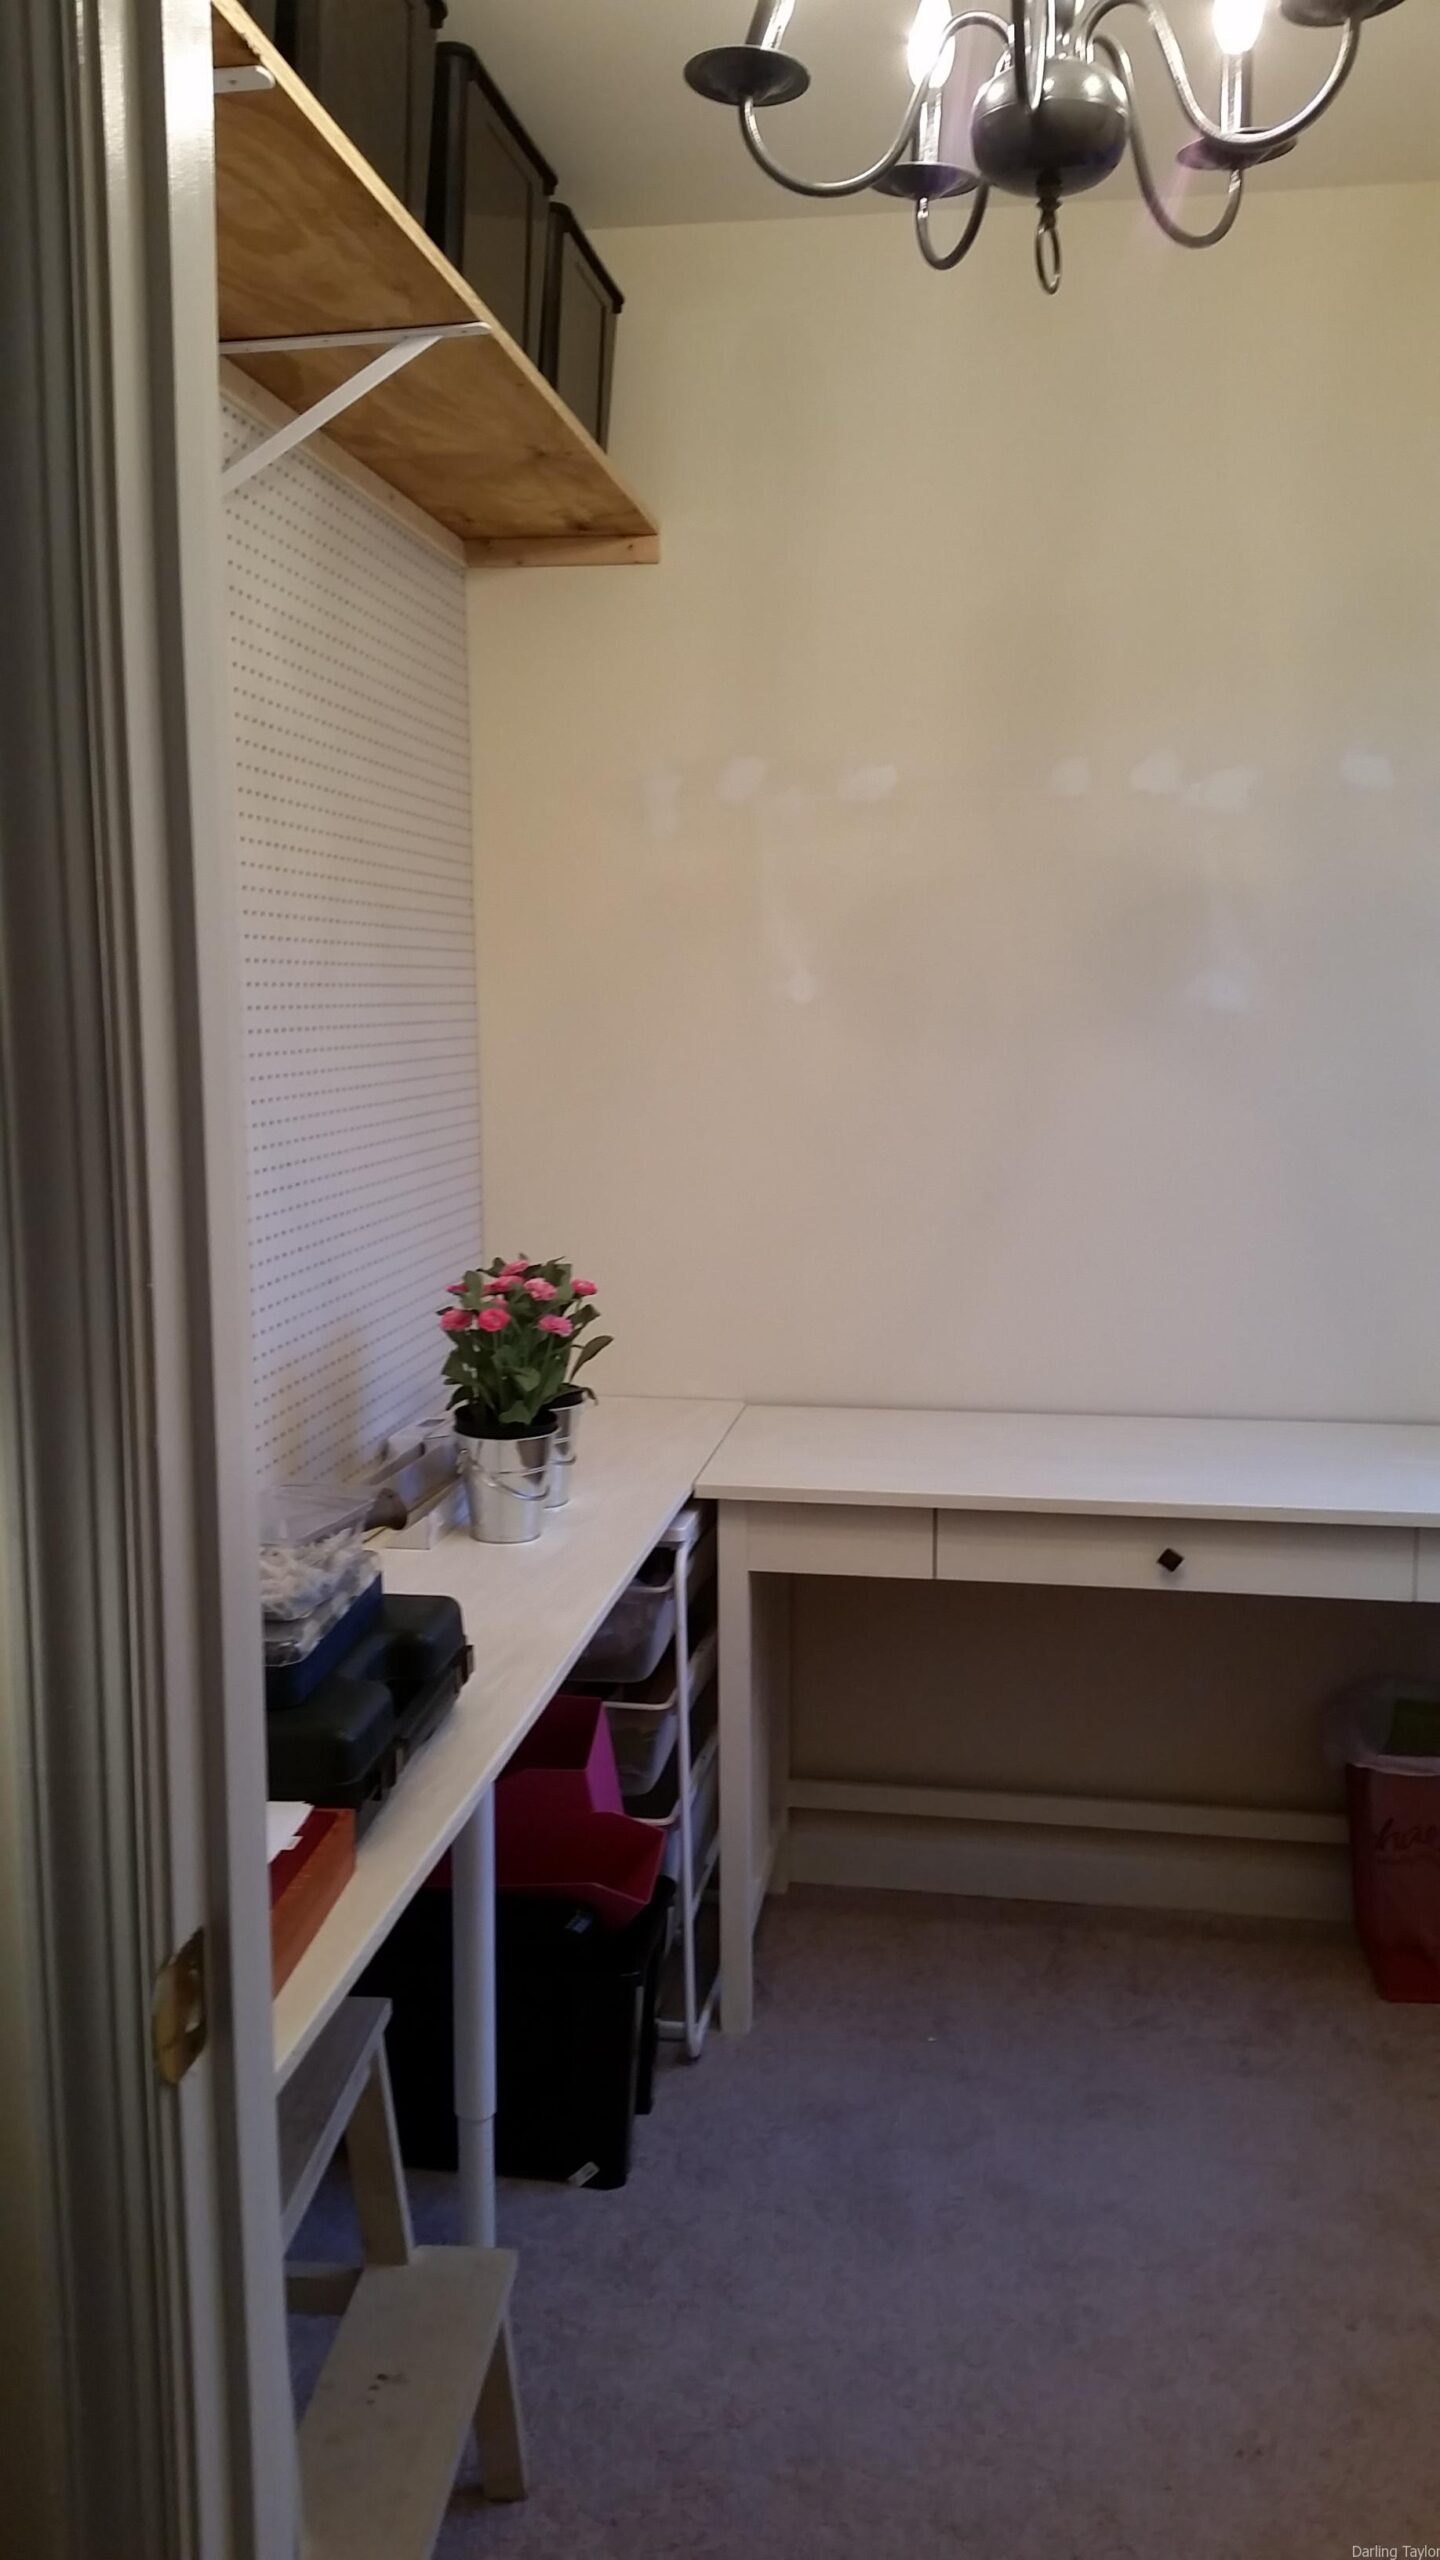
The black chandelier was moved in from the dining room (since we added a new one in the dining room) which I spray painted black (it was brass) and then hung in this space. Lighting and paint is the easiest and cheapest way to transform a space. This next picture shows a view of the entire space from the doorway.

The fun part about remodeling a space is going shopping! We stopped at Ikea for a few items and then to Home Depot for the wood and pegboard.
We had our measurements ready for the Home Depot associates to cut the wood for us since temperatures outside were near 20 degrees that weekend, I did not want the hubby working in the freezing garage. Home Depot has sheets of white pegboard and we used a sheet of plywood for the desk and shelf.
We had enough leftover wood to use for other projects – which we are planning to use for a built-in bench and shelf in our new mudroom. The below picture shows the room once I removed all the shelves and moved my desk where I wanted it. You can see the back of the closet door in this picture which has a shoe organizer for some of my small crafting supplies.
Then we patched the walls and while that was drying, the hubby built the frame for the desk, pegboard and shelf. We ended up using some scrap wood as spacers behind the pegboard and we used an adjustable desk/table leg from Ikea in the center of the desk for support and a couple of brackets for the shelf from Home Depot. Here is a picture of the work in progress…
Once the built-in’s were in place it was time to paint the room and built-ins. I decided to paint my desk and used Annie Sloan’s Chalk Paint in Old White on both desks. I also applied a generous coat of polyurethane to the desks so we can easily clean them. The wall color is Sherwin Williams Eder White.
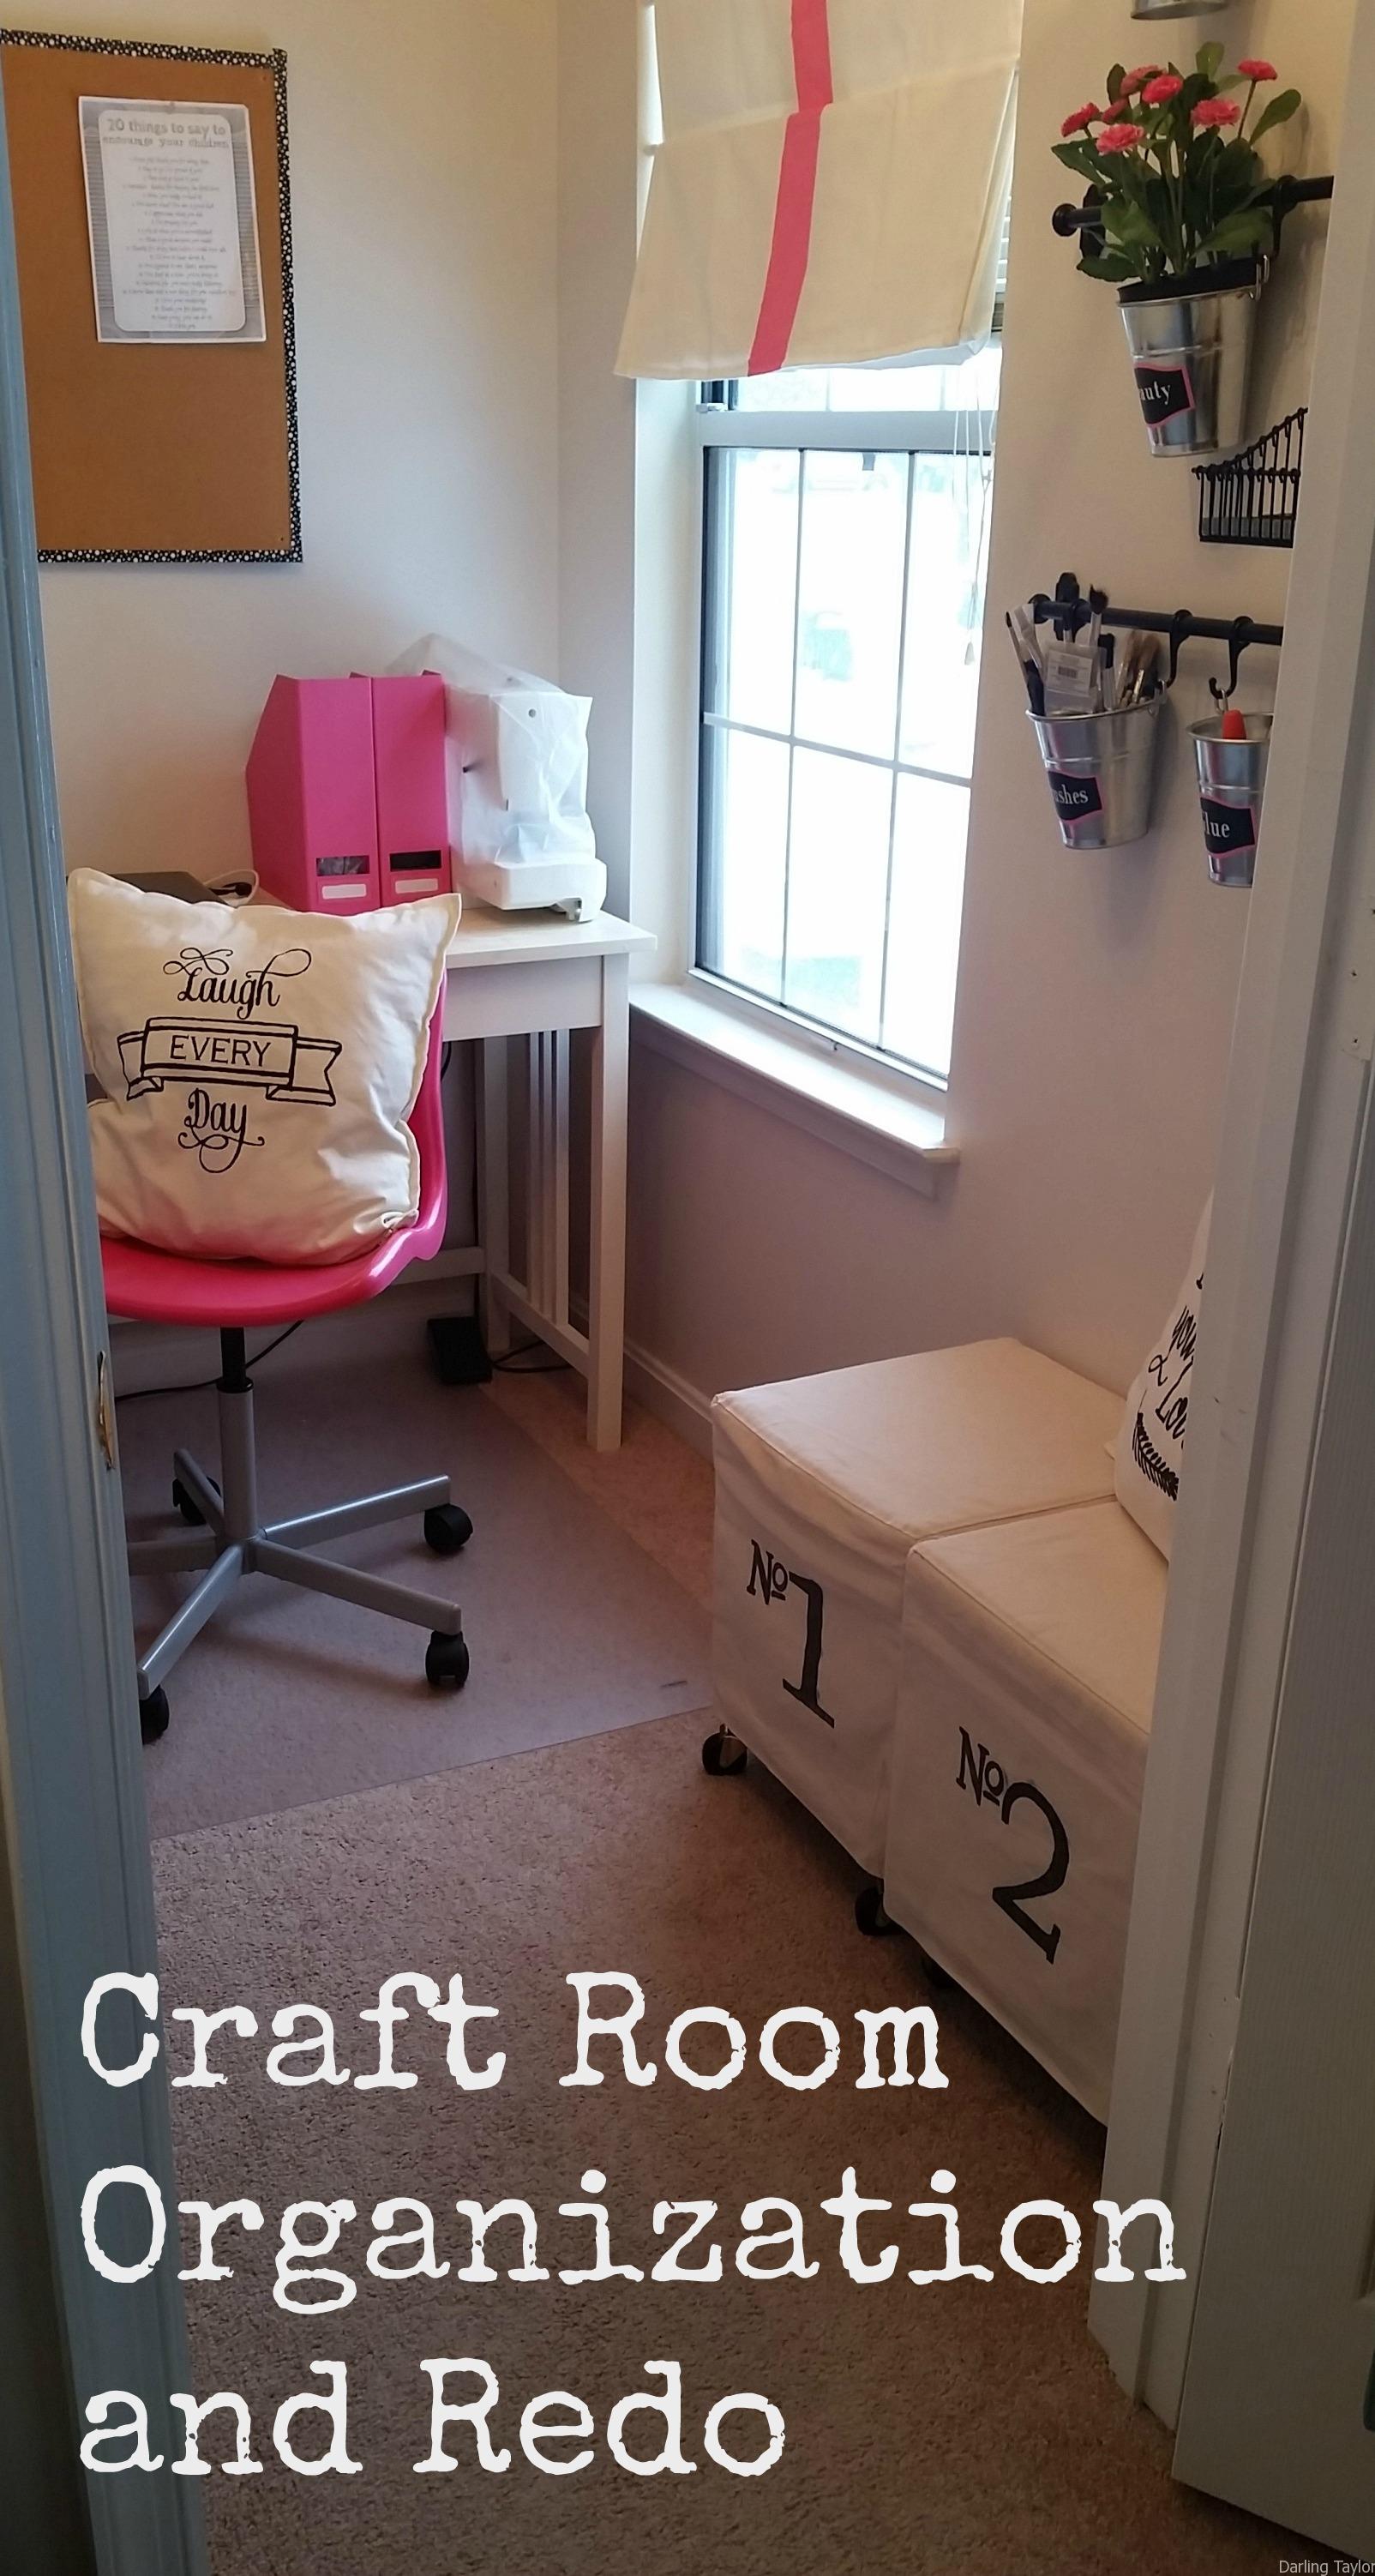
After painting everything, I decided to hang a quick DIY roman shade that I made a few years ago that was just sitting in storage since we moved. It’s just white canvas fabric that I sewed the ends and used three tension rods to hang the fabric so it gives the look of roman shades. I painted a pink stripe on the shade since the pops of color in this room are pink.
Here is a look at some of the detailed organization in this room now…
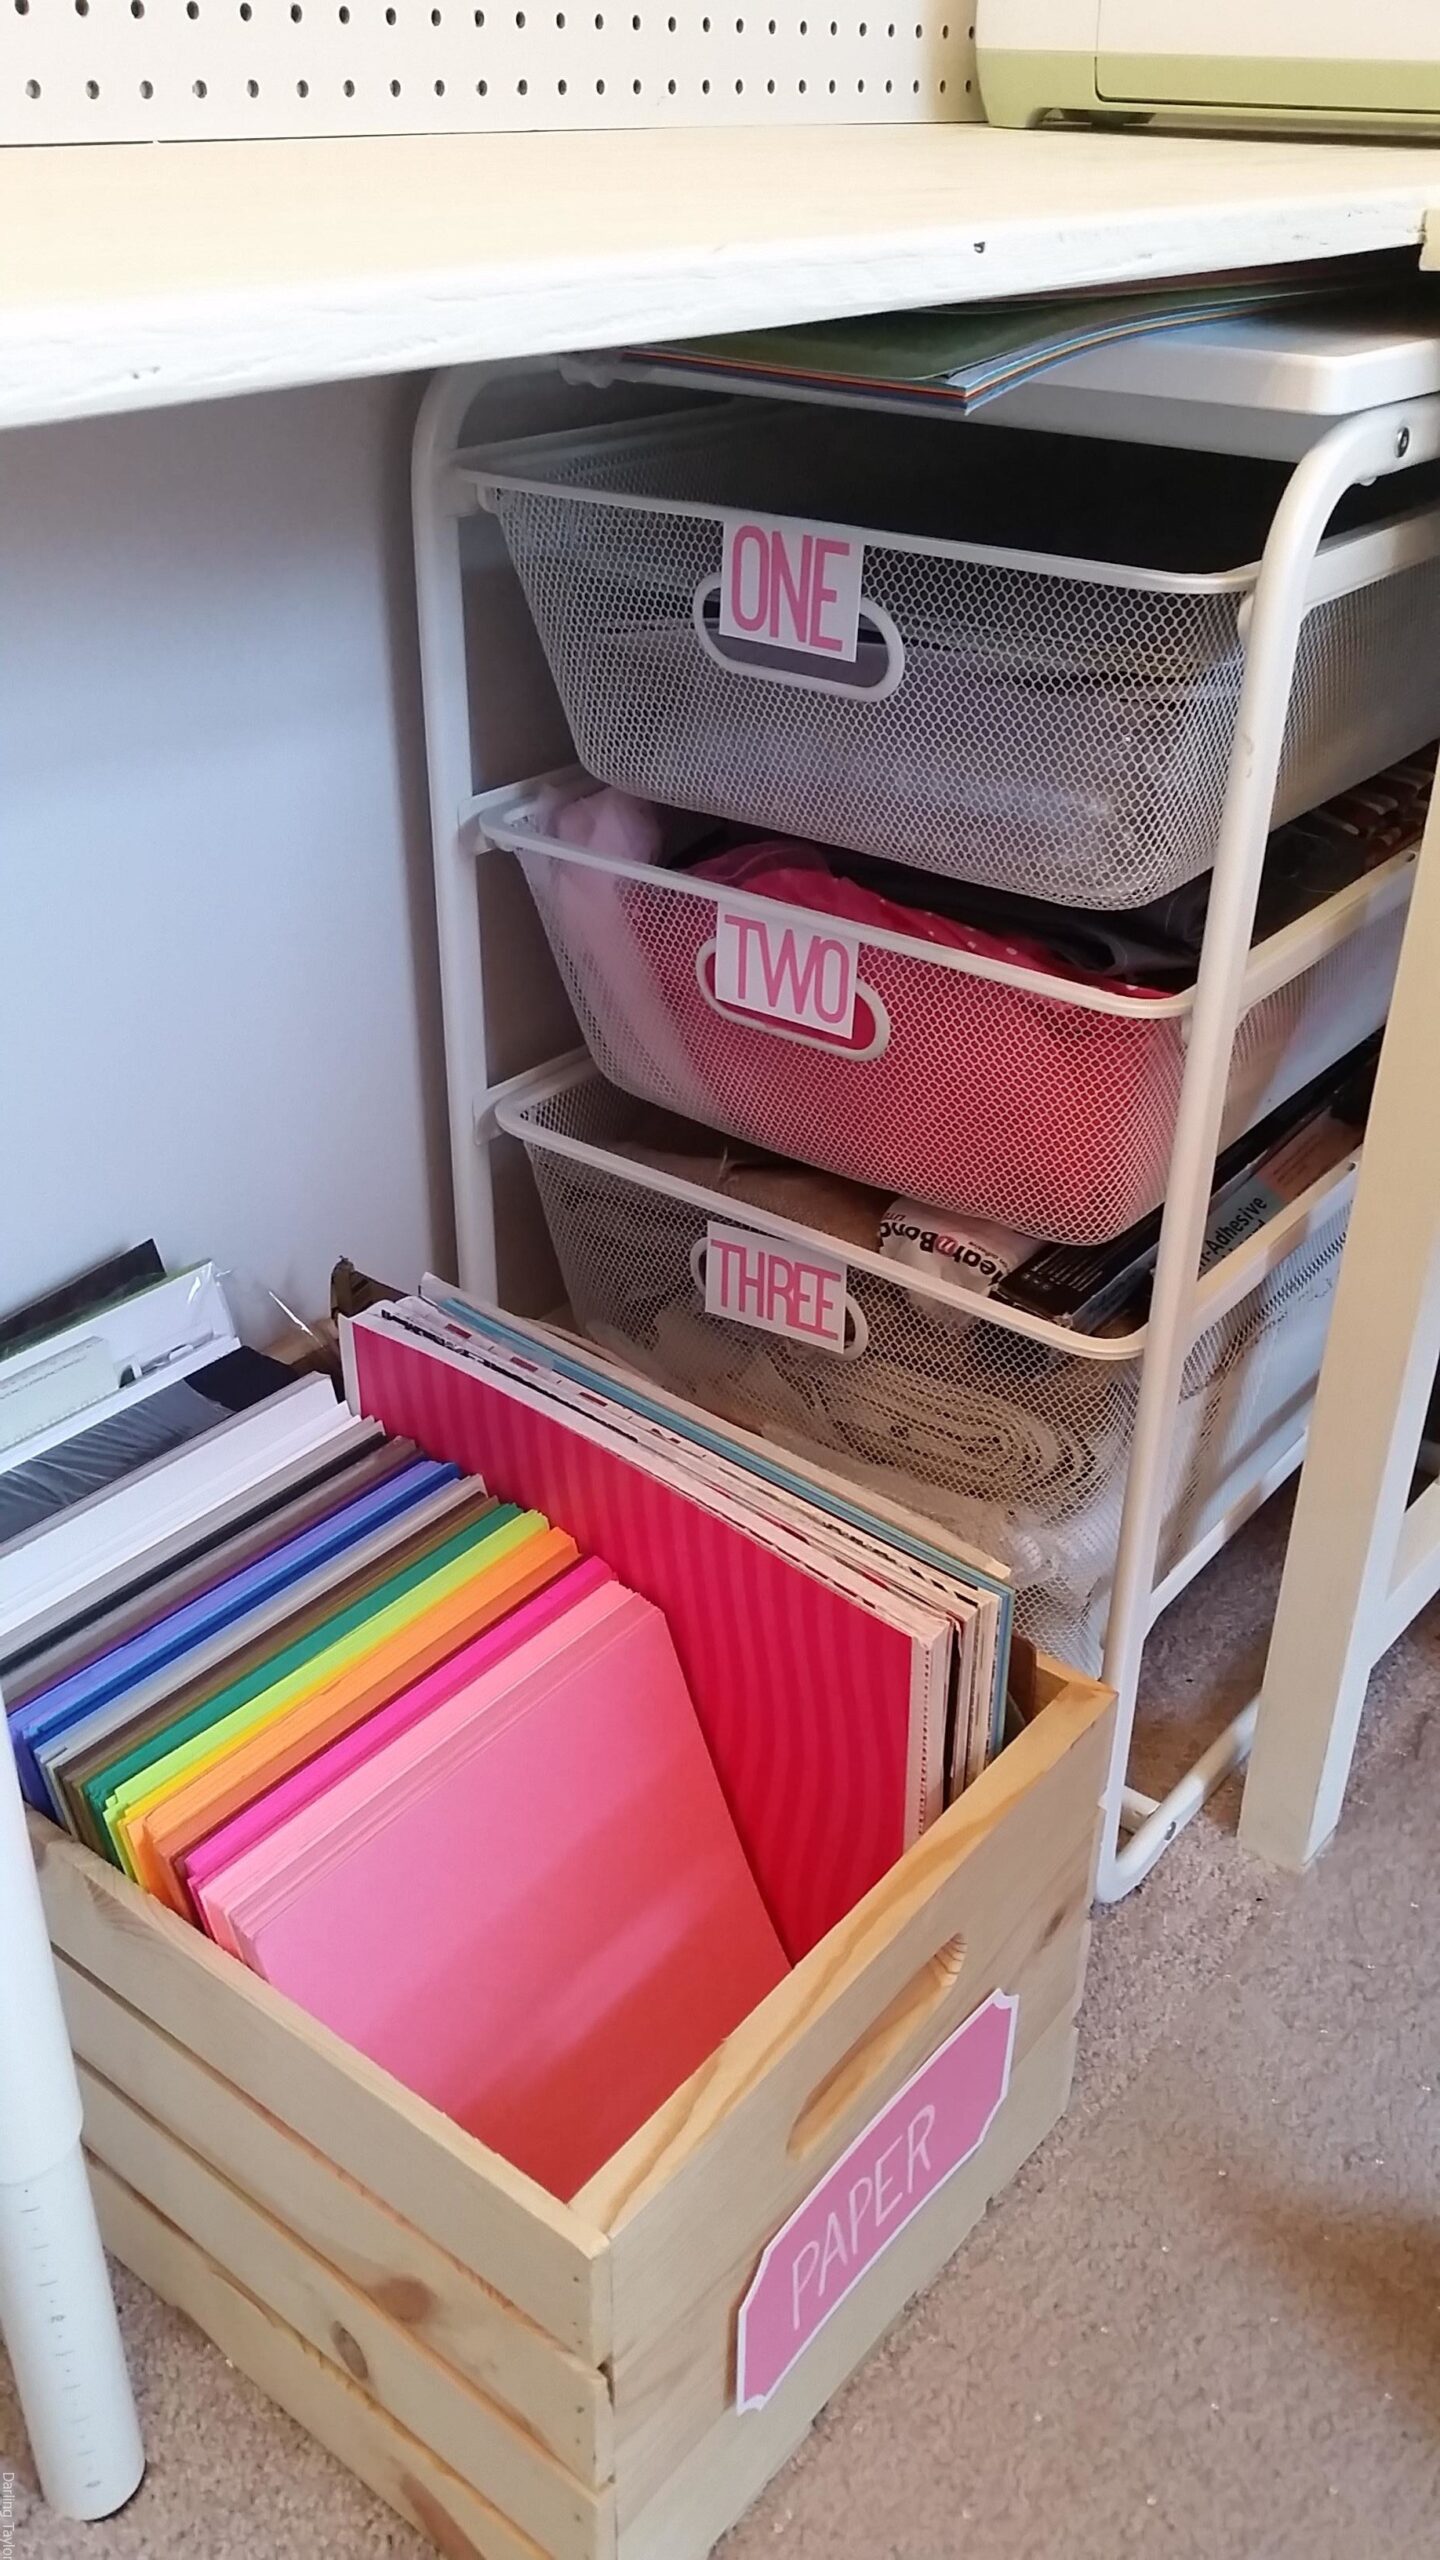
Organized my paper/card stock supplies in this crate from Michael’s and the drawer unit is from Ikea and holds my most used fabric supplies. I made the labels with my Cricut Explore.
The best part about organizing and decluttering any space is finally knowing what you own and getting rid of items that you know you don’t need. I feel like I can get a lot accomplished in this space now!
These black bins are from Ikea as well and this shelf is high enough that I can reach it but also leaves more room for the pegboard organization. I decided to use a pegboard because it’s so easy to change things around and I didn’t want to be married to shelving in one particular spot.
The other side of the room on the window wall are these footstools and more wall organization from Ikea. I intended to have some kind of additional seating and storage in this corner but ended up deciding that these stools are perfect as seating for the kids when they want to use the built-in desk to craft or color.
We attached wheels so they can easily move them around the room and play merry-go-round and spin each other, haha.
Psssssttt…Right now I’m offering a FREE 3-Day Course to Organize your Kitchen FOR GOOD! The free course includes instructions, tips and pictures for how to de-clutter, simplify and organize your kitchen in only 3-days! Hurry up and sign up here! (Course instructions will be sent after subscribing)
Disclaimer: This post may contain affiliate links or a sponsored post. All opinions are always 100% mine and I don’t partner with any product or company that I don’t use and love. Please see our Full Disclosure for more information.
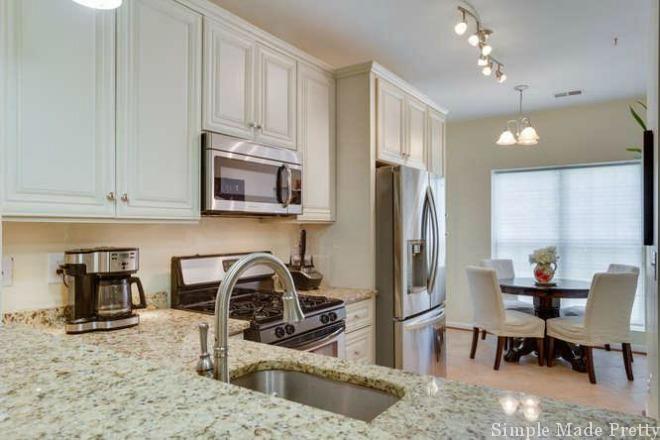 Townhouse Home Tour – Our First Home