
Dollar Tree Pumpkin Wreath Form Ideas with the xTool M2
If you’ve ever spotted the popular Dollar Tree pumpkin wreath form and wondered what you could make with it, this might be my favorite idea yet!
I’ve used these wire pumpkin wreath forms in so many different ways over the years, but this time I wanted to create something I wouldn’t have to completely redecorate every few weeks.
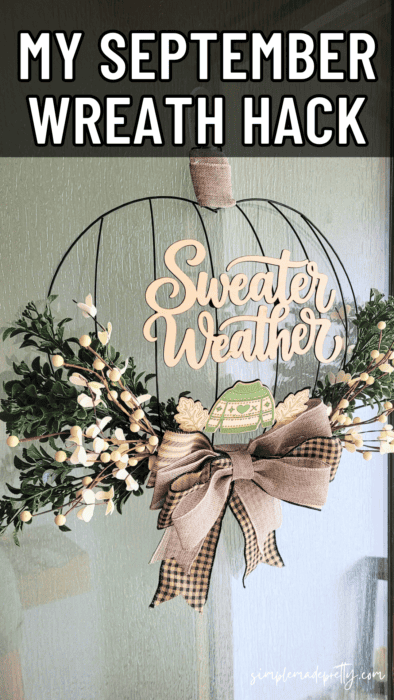
Using my xTool M2, I created interchangeable wood designs that let me change the same Dollar Tree pumpkin wreath from September to Halloween to Thanksgiving.
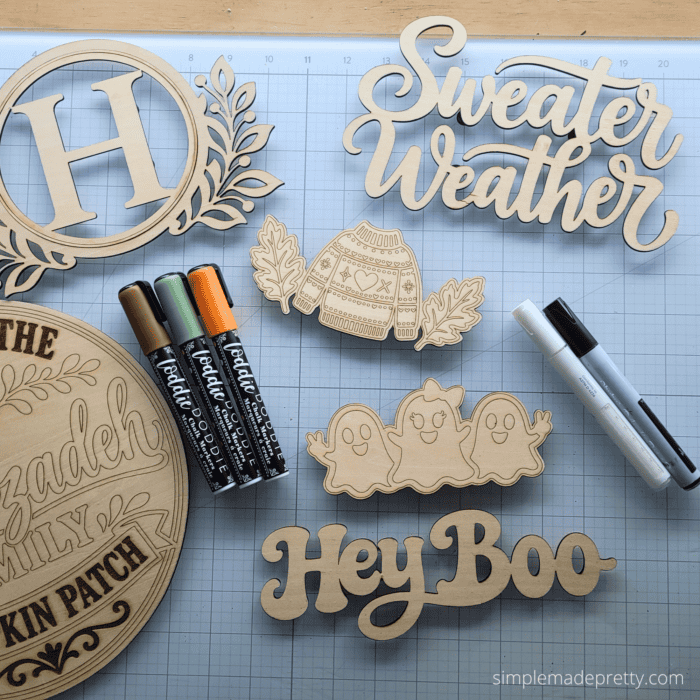
My three main designs are Sweater Weather for early fall, Hey Boo for Halloween, and Thankful Era for Thanksgiving. I also made two bonus designs: a leafy monogram and a personalized family pumpkin patch sign.
The best part? The wood pieces can be left natural, painted, or stained to coordinate with your own fall decor — and you don’t have to use them only on a wreath!
🔽 WATCH THE FULL xTOOL M2 VIDEO 🔽
Watch how I turned one Dollar Tree pumpkin wreath form into interchangeable decor for September, October and November using the xTool M2. I’m also sharing two bonus laser-cut designs and several easy ways to attach the wood pieces so you can swap them whenever you’re ready for a new look.
✨ Watch the video above, then scroll for all five Dollar Tree pumpkin wreath ideas, painting tips, attachment options, and more ways to customize these interchangeable wood designs!
Table of Contents
- Why Make an Interchangeable Dollar Tree Pumpkin Wreath?
- Supplies
- Using the xTool M2
- Idea #1: Sweater Weather Fall Wreath
- Idea #2: Hey Boo Halloween Wreath
- Idea #3: Thankful Era Thanksgiving Wreath
- Bonus Idea #4: Leafy Monogram
- Bonus Idea #5: Personalized Pumpkin Patch Sign
- How to Paint the Wood Pieces
- How to Attach Interchangeable Pieces
- Don’t Have a Laser?
- Frequently Asked Questions
- More Dollar Tree Pumpkin Wreath Form Ideas
Why Make an Interchangeable Dollar Tree Pumpkin Wreath?
I loved this Dollar Tree pumpkin wreath form, but instead of decorating it one way, I used my xTool to make it interchangeable for the entire season.
That’s what makes this project so much fun.
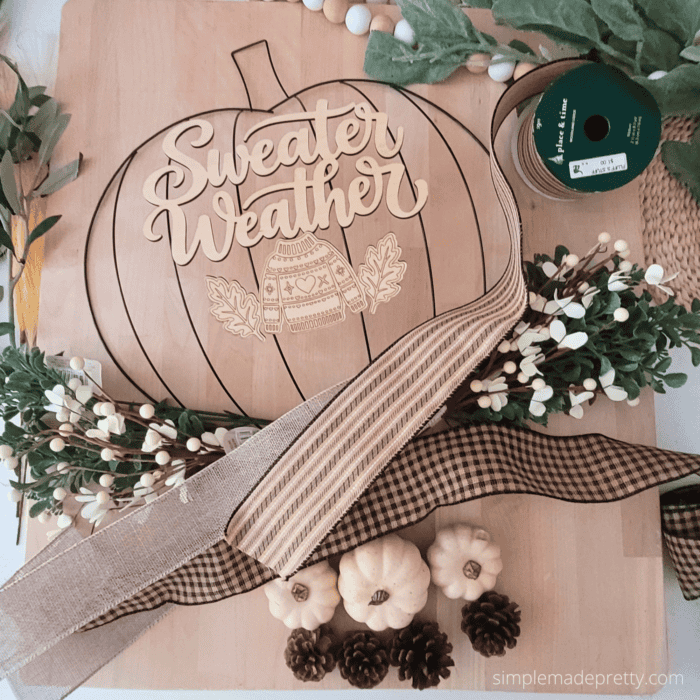
Instead of making a completely different wreath for September, Halloween and Thanksgiving, I decorated the basic wreath once with neutral ribbon, greenery and berries.
Then the seasonal wood pieces do all the work.
For September, I can use Sweater Weather. In October, I swap it for Hey Boo and the ghosts. When November arrives, Thankful Era and the turkey take over.
One Dollar Tree wreath form. Three months of seasonal decorating without starting over.
Supplies for the Dollar Tree Pumpkin Wreath
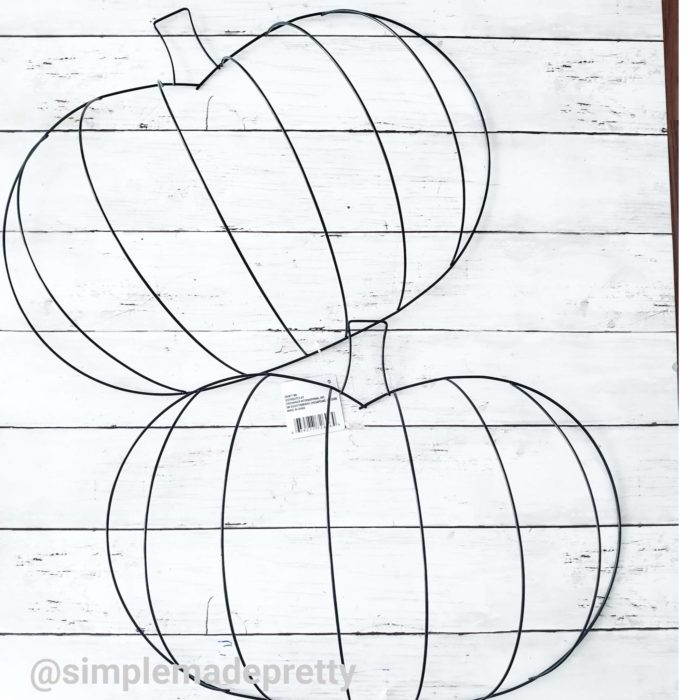
- Dollar Tree wire pumpkin wreath form
- xTool M2
- 1/8-inch wood
- Fall greenery
- Neutral ribbon
- Burlap ribbon
- Faux berries
- Tacky Glue
- Paint markers
- Clear protective top coat
- Magnets, twine, ribbon or small zip ties for attaching the interchangeable pieces
Making the Interchangeable Pieces with the xTool M2
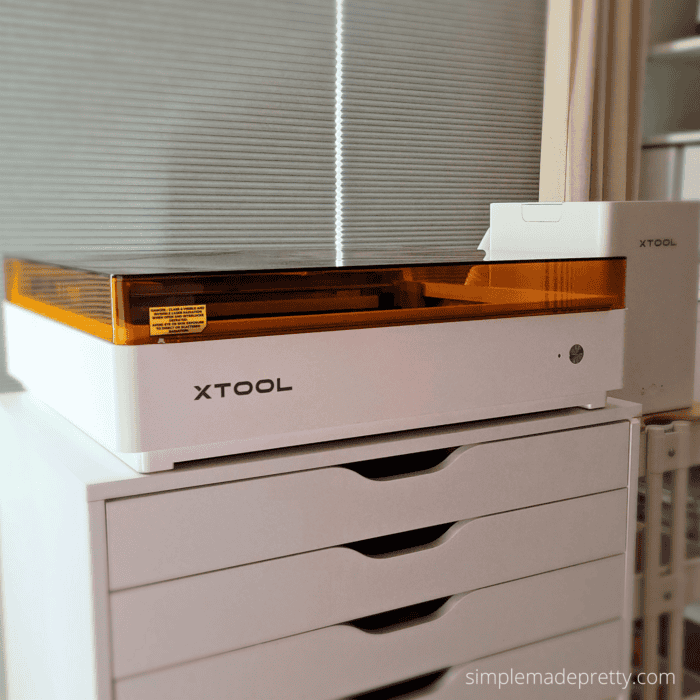
I’ve had my xTool M2 for about four months now, and it has quickly become one of the machines I use almost every day.
For this project, I used the M2 to cut, score and engrave the different wood designs.
I especially like using score lines for pieces I’m going to paint. The laser creates the little details directly in the wood, so when it’s time to add color, it’s almost like coloring in a coloring book.
The xTool M2 also gave me the freedom to create pieces specifically sized and designed for this Dollar Tree pumpkin wreath form instead of trying to make a premade decoration fit.
👉 Learn more about the xTool M2 here.
Idea #1: Sweater Weather Dollar Tree Pumpkin Wreath
The first interchangeable design is perfect for September and early fall when I’m ready for cozy seasonal decor but don’t necessarily want Halloween decorations out yet.
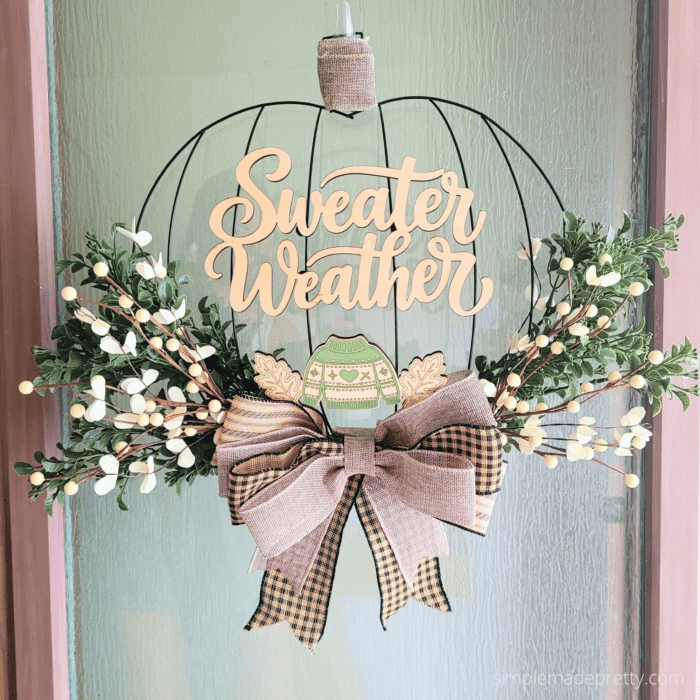
I cut a connected Sweater Weather wood phrase along with a separate sweater design with scored leaf details.
I kept plenty of natural wood visible so it coordinates with the neutral ribbon, greenery and burlap already on the wreath.
This is also an easy design to customize with paint. Try sage green, cream, tan, muted rust or whatever colors work with your fall decor.
Idea #2: Hey Boo Halloween Pumpkin Wreath
Then October arrives, and the same wreath gets a completely different personality!
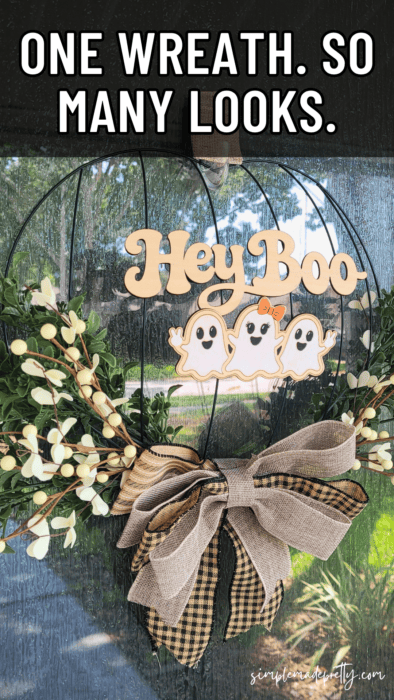
For my Halloween version, I made a connected Hey Boo wood phrase and three little ghosts.
I painted the ghosts white with black faces and added a small muted orange accent to the center ghost. Because the rest of the wreath stays neutral, I didn’t need a lot of traditional Halloween colors to make the design stand out.
The natural wood, white ghosts, black details and tiny pop of orange give it a cute Halloween look without completely changing the style of the wreath.
Idea #3: Thankful Era Thanksgiving Pumpkin Wreath
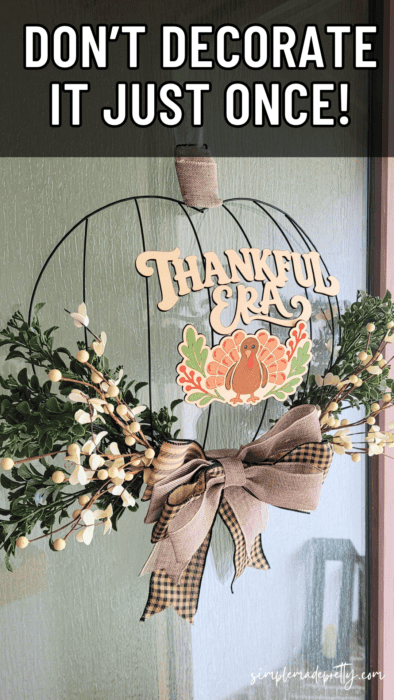
For November, I swapped the Halloween pieces for my Thankful Era design and a scored turkey.
I wanted this one to feel like Thanksgiving without suddenly turning the entire wreath bright orange, so I stayed within the same earthy palette.
Natural wood, warm brown, sage and olive work beautifully with the existing greenery and neutral bow. A few small touches of muted rust or terracotta add just enough traditional fall color.
That’s the secret to making an interchangeable project like this feel cohesive: the seasonal pieces change, but the underlying color palette still works together.
Bonus Idea #4: Leafy Monogram Pumpkin Wreath
I couldn’t stop at three designs!
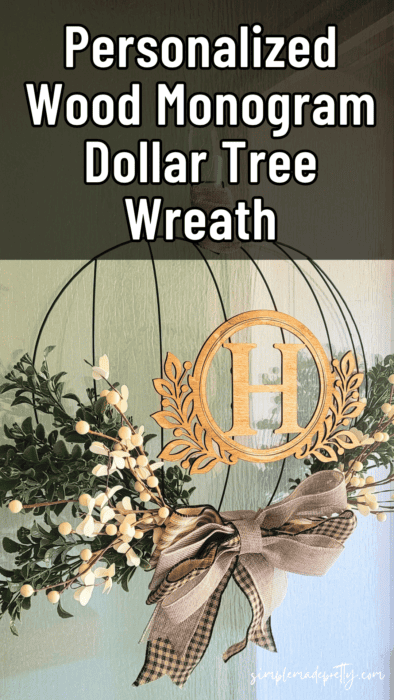
For another option, I created a round leafy monogram with a large initial in the center.
This is a great choice if you want something that isn’t tied to one specific holiday. Leave it natural for a simple look, stain it, or paint it to coordinate with your home.
A monogram also makes this idea easy to personalize for gifts.
Bonus Idea #5: Personalized Family Pumpkin Patch Sign
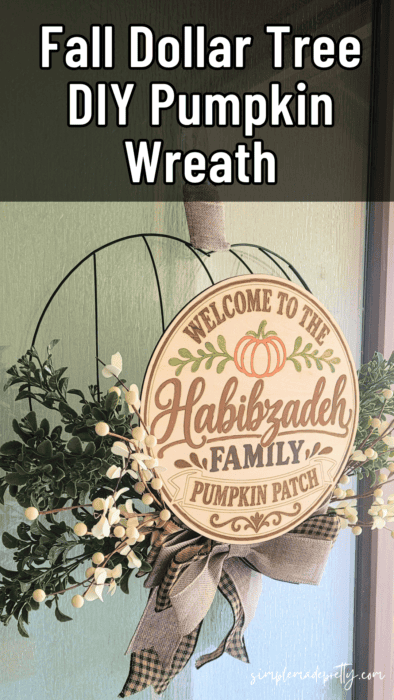
The final design is a personalized round family pumpkin patch sign.
I added our family name along with pumpkin and fall details and used a combination of engraving and scoring to create the design.
This one looks beautiful attached to the pumpkin wreath, but it’s also a perfect example of why I don’t think these wood pieces need to be limited to wreaths.
Use a personalized design like this on a fall sign, shelf display, centerpiece, tiered tray, basket or another DIY project.
How to Paint Laser-Cut Wood Pieces
You can leave these pieces completely natural, stain them, or paint them.
For mine, I used Lottie Dottie earth-tone paint markers along with Ohuhu white and black paint markers.
Paint markers make projects like this incredibly easy because you have much more control than you would with a paintbrush — especially around small details.
And this is where those xTool score lines really come in handy. The design is already drawn into the wood, so you can simply color inside the scored sections.
It’s surprisingly relaxing!
After the paint is completely dry, I recommend adding a clear protective top coat, especially if the pieces will be displayed outside.
How Do You Attach Interchangeable Pieces to a Wire Wreath Form?
There isn’t just one way to make these pieces interchangeable, which is actually one of my favorite things about the project.
You can use:
- Magnets for pieces you want to quickly remove and swap
- Twine or ribbon attached to the back of the wood and tied around the wire
- Small zip ties for a simple, secure attachment
Because wreath forms and intended uses vary, choose the attachment method that works best for your project.
If your wreath is hanging on a frequently opened exterior door, make sure everything is securely attached and check the attachments periodically.
✨ Don’t Have a Laser?
You can still make this project!
I’m adding unfinished interchangeable wood designs to my Simple Made Pretty Etsy shop. The pieces come in natural wood so you can paint them, stain them or leave them unfinished to match your style.
And don’t limit them to this pumpkin wreath! Use the wood designs on signs, wreaths, centerpieces, baskets, shelf displays and other seasonal DIY projects.
Have a Laser? Make Your Own!
The Sweater Weather, Hey Boo and Thankful Era designs are available for members of my Craft & Create Club.
Download the designs, cut your own pieces and customize them in colors that work with your home.
Frequently Asked Questions
What can I make with a Dollar Tree pumpkin wreath form?
Dollar Tree pumpkin wreath forms can be used for much more than traditional wreaths. I’ve used them for seasonal wreaths, centerpieces and other fall DIY projects. For this project, I turned one into an interchangeable wreath that can change from early fall to Halloween to Thanksgiving.
Can you make a Dollar Tree pumpkin wreath interchangeable?
Yes! Instead of permanently attaching all of your seasonal decorations, keep the basic ribbon and greenery neutral and attach removable wood pieces using magnets, twine, ribbon or small zip ties.
Do I need an xTool M2 to make this wreath?
No. I used my xTool M2 to create the custom laser-cut wood designs, but you can decorate the Dollar Tree pumpkin form using other craft supplies or purchase unfinished wood pieces and paint or stain them yourself.
Can I paint laser-cut wood?
Yes. Paint markers are one of my favorite ways to decorate laser-cut wood because they’re easy to control. Scored details also give you lines to follow while painting.
Can the interchangeable wood pieces be used for other projects?
Absolutely! Think beyond the pumpkin wreath. You can add them to wood signs, baskets, centerpieces, shelf displays, tiered trays, other wreath forms and seasonal DIY projects.
30+ Dollar Tree Pumpkin Wreath Form Ideas
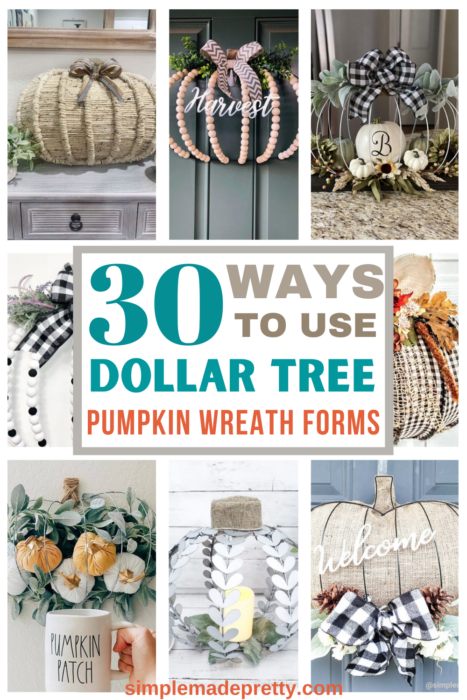
I’ve been crafting with these Dollar Tree pumpkin wreath forms for years, and this interchangeable version is only one way to use them.
If you grabbed one at Dollar Tree and aren’t sure what to make, I put together a roundup with 30+ Dollar Tree pumpkin wreath form ideas, including wreaths, centerpieces and other easy fall projects.
🎃 SEE 30+ DOLLAR TREE PUMPKIN WREATH IDEAS →
Which Pumpkin Wreath Is Your Favorite?
I love that I can decorate this wreath once and then change the look throughout the season without pulling everything apart and starting over.
Sweater Weather for September. Hey Boo for October. Thankful Era for November.
And when I want something more personalized, I can swap in the monogram or our family pumpkin patch sign.
Which one would you put on your front door?
Related Posts
- 30+ Dollar Tree Pumpkin Wreath Form Ideas
- Dollar Tree Bamboo Board xTool M2 Projects
- Best xTool M2 Projects for Beginners
- Dollar Tree Cricut Blanks Worth Buying
Disclaimer: This post may contain affiliate links or a sponsored post. All opinions are always 100% mine and I don’t partner with any product or company that I don’t use and love. Please see our Full Disclosure for more information.
 Interchangeable HOME Sign Kit for Easy Seasonal Decorating