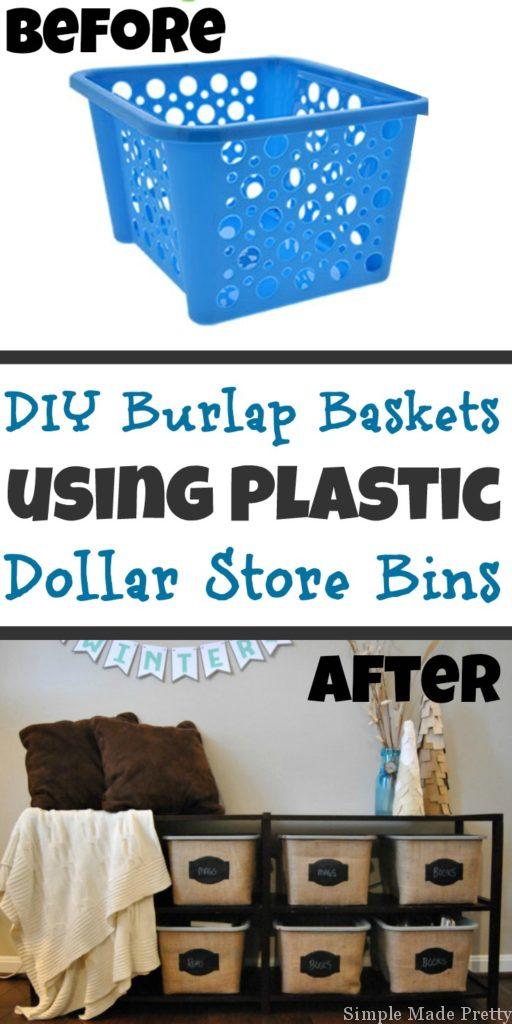
Burlap DIY Dollar Tree Storage Bins
Tidy up your home with these DIY Dollar Tree Baskets that are wrapped with burlap fabric to make Dollar Tree bins look like Pier One! Learn how to use cube storage bins from Dollar Tree to easily update the look of your home decor in minutes. Watch the video tutorial below to see how simple these DIY Dollar Tree Baskets are to give you ideas for things to do with Dollar Tree items. If you love DIY Dollar Tree crafts and these DIY Dollar Tree Storage Bins, be sure to follow me on social media for more inspiration! Click on the icons at the top of the page to follow!

FYI, these DIY Burlap bins have held up very well since I originally wrote this post in January 2017!
This shop has been compensated by Burlapfabric.com. All opinions are mine alone.
In case you’re curious (or in a hurry):
✅ These specific Cube Storage Bins from Dollar Tree are the most popular with my readers and featured in this post. This is the BEST Burlap Fabric to use to make these Dollar Tree Burlap Bins!
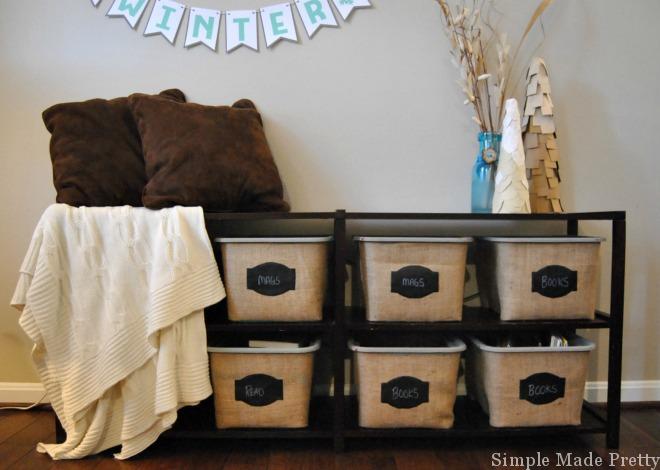
My DIY project began when I was looking for some baskets to fit on a low shelf and could not find the perfect size so I decided to make my own. The problem with the shelving unit we owned was every basket or bin I tried was either too big or too small.
I originally wanted a galvanized bin but then I tried some plastic Dollar Tree bins (I use these to organize closets in our home) and they fit perfectly! The problem was how unattractive they were. So I came up with a solution to add burlap fabric. Keep reading for the DIY tutorial!
I used these Dollar Tree baskets with handles (they are made so you can easily lift them like handles) and are surprisingly durable. They may seem like cheap plastic bins but they are actually durable storage bins that you can buy in bulk to organize your entire home.
Plastic Storage Bin Makeover
This project took about 15 minutes to make one Dollar Tree Basket DIY.
Want to see my latest DIY videos in Real-Time? Follow me on Instagram and YouTube!
–>>You can follow me on Instagram here
I post lots of “tasty” style videos on my Instagram account… just because it’s easier to share in real-time.
So if you want to be the first to know about my latest and greatest DIY’s and more, I highly encourage you to follow me on Instagram. If you don’t have an Instagram account, it’s really easy to set one up and in my opinion, it’s easier to use than Facebook 🙂
I’m including a detailed video below sharing how to make DIY Dollar Tree Baskets.
Let’s get started so you can see how easy and affordable it is to makeover Dollar Tree Bins!
Supplies:
- Burlap Fabric (I use this fabric for the best results!)
- Dollar Tree Plastic Baskets
- Rotary Cutter
- Quilting Mat
- Glue Gun
- Finger Protectors (to prevent glue gun burns)
- Spray Paint (optional)
- Chalkboard Labels (optional)
Directions:
- Gather supplies. Please read below for more supply tips!

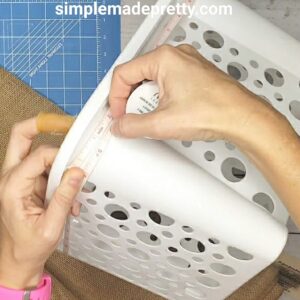
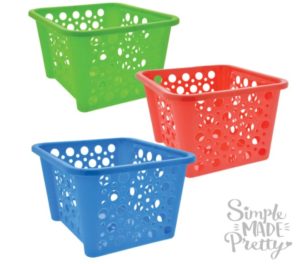
- Paint the baskets if you choose to paint. The only baskets I found in stores at the time I originally wrote this post in 2017 were red so I painted mine a gray color (I only painted the tops and bottoms to make this a quick project). If you found Dollar Tree baskets in a color that you like, you can skip painting. I found several white Dollar Tree baskets and added burlap fabric to them and they were so quick to make!
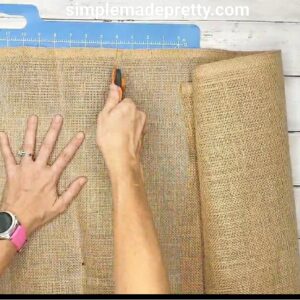
- Cut the burlap fabrics in strips to size. I cut 42″ x 9″ strips.
- Use a rotary cutter and a quilting mat for ease and speed. The rotary cutter provides a clean-cut so there is less mess with the burlap fabric.
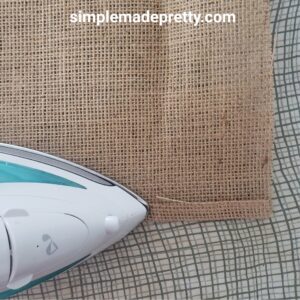
- Once you have the fabric cut, use a clothing iron to fold the bottom edge, and create a crease. If you are using a high-quality, tight-weave burlap like this one, the edge does not fray and you can skip ironing a crease(I show you how in the video below!).
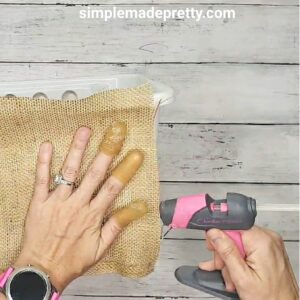
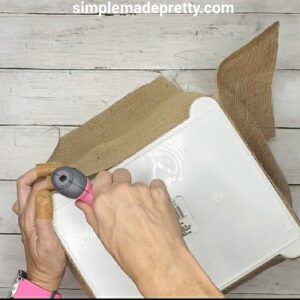
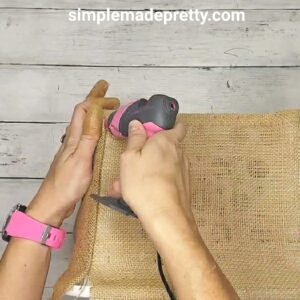
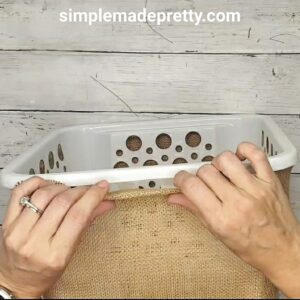
- Use a glue gun to adhere the fabric to the bottom of the basket ONLY starting in one corner (glue along the edge as well). This may require pulling and stretching the fabric as you make your way around the basket.
- Use a glue gun to adhere the ends where they meet on the side corner of the basket, folding the end piece to create a nice crisp crease.
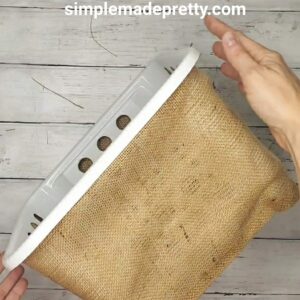
- Tuck the top piece of burlap fabric under the lip of the Dollar Tree baskets. You can use glue if needed but my baskets did not require glue at the top and I just tucked the fabric under.
- Add labels if desired. I’ve used chalkboard labels on mine and taped paper labels to them as well.

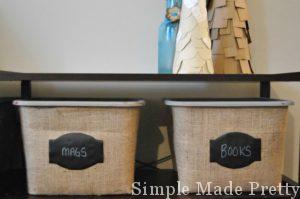
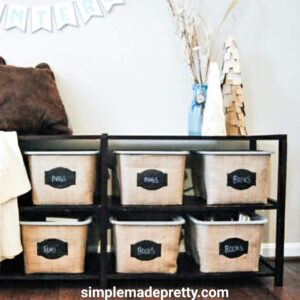
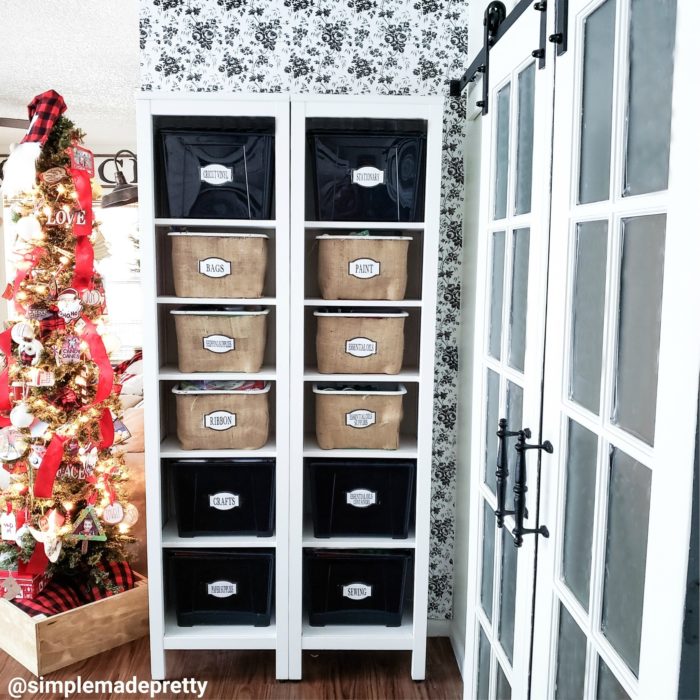
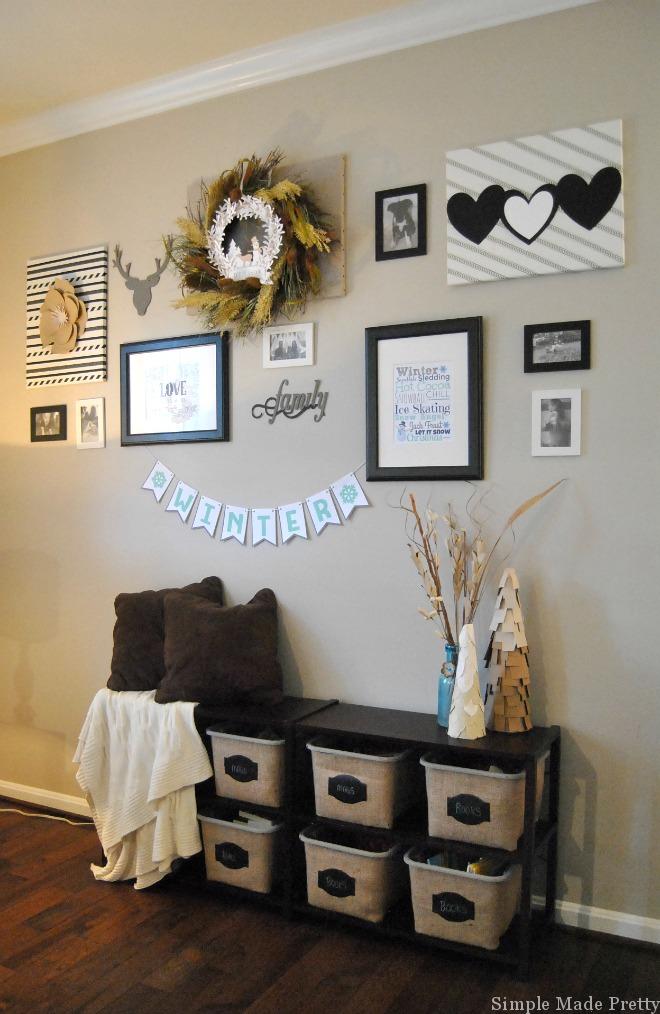
I use these baskets to hold children’s books, DVDs, magazines, and children’s electronic devices.
I also use these baskets to organize my craft supplies…
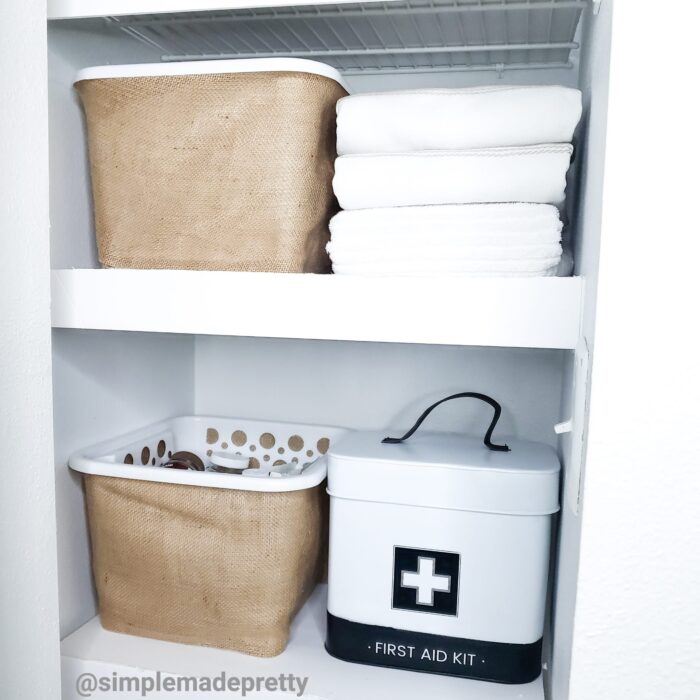
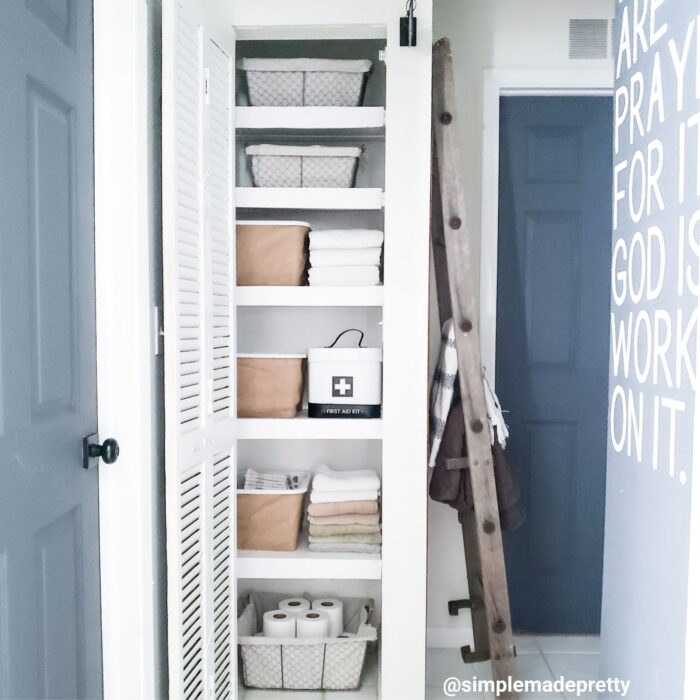
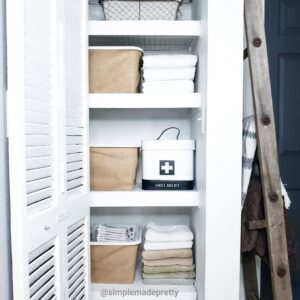
Recently I added these Dollar Tree Burlap Bins in our linen closet to organize linen supplies!
If you’d like to see more DIY ideas, be sure to follow me on Instagram and subscribe to my YouTube channel.
–>>You can follow me on Instagram here
Did you make this DIY or a similar one? I would love to see it! Send me a picture on Facebook, Instagram, or email and I’ll share with my followers 🙂
Watch the video to make the DIY Dollar Tree Baskets:
Print the Instructions to make the Dollar Tree Burlap Bins
DIY Dollar Tree Baskets
Supplies
- Burlap Fabric (I use this fabric for the best results!)
- Dollar Tree Plastic Baskets
- Rotary Cutter
- Quilting Mat
- Glue Gun
- Finger Protectors (to prevent glue gun burns)
- Spray Paint (optional)
- Chalkboard Labels (optional)
Instructions
- Gather supplies. Please read the full post for more supply tips!
- Paint the baskets if you choose to paint. The only baskets I found in stores at the time I originally wrote this post in 2017 were red so I painted mine a gray color (I only painted the tops and bottoms to make this a quick project). If you found Dollar Tree baskets in a color that you like, you can skip painting. I found several white Dollar Tree baskets and added burlap fabric to them and they were so quick to make!
- Cut the burlap fabrics in strips to size. I cut 42" x 9" strips. Use a rotary cutter and a quilting mat for ease and speed. The rotary cutter provides a clean-cut so there is less mess with the burlap fabric.
- Once you have the fabric cut, use a clothing iron to fold the bottom edge, and create a crease. If you are using a high-quality, tight-weave burlap like this one, the edge does not fray and you can skip ironing a crease(I show you how in the video below!).
- Use a glue gun to adhere the fabric to the bottom of the basket ONLY starting in one corner (glue along the edge as well). This may require pulling and stretching the fabric as you make your way around the basket.
- Use a glue gun to adhere the ends where they meet on the side corner of the basket, folding the end piece to create a nice crisp crease.
- Tuck the top piece of burlap fabric under the lip of the Dollar Tree baskets. You can use glue if needed but my baskets did not require glue at the top and I just tucked the fabric under.
- Add labels if desired. I've used chalkboard labels on mine and taped paper labels to them as well.
More Tips to Make the Burlap Fabric Bins
Using high-quality burlap fabric makes a huge difference when making these Dollar Tree Burlap Bins. I’ve seen others recreate these Dollar Store Burlap bins and they end up looking cheap because they use a cheap fabric or Burlap Ribbon instead of Burlap Fabric.
The trick to making Dollar Tree baskets look more expensive is to use high-quality fabric!
Burlap Fabric
I like using burlap fabric for DIY projects around the home because it’s versatile and gives that “farmhouse” look. Burlap can be inexpensive (especially if you find it on sale) and is easy to use in other craft projects.
–>> Get $5 off any $5+ burlapfabric.com purchase! Use Coupon Code SMPRETTY2020 valid through Aug 31, 2020!

–>> I stock-up on burlap fabric when I find it on sale but this burlap fabric is priced well for this project and is great quality.
Plastic Baskets
You can use any plastic baskets you have but these plastic bins from the Dollar Tree are inexpensive and sturdy.
I use these baskets around my home for YEARS to store and organize books, pantry items, clothing, and much more!
Paint (optional)
The baskets available at my local Dollar Tree at the time I did this project were only available in red so I ended up painting mine using chalk paint, however, I highly recommend using Spray paint that adheres to plastic, then use chalk paint over that (the double paint layers will reduce paint from chipping).

Remember, you only need to paint the top rim that will be seen since you are wrapping the rest of the basket.
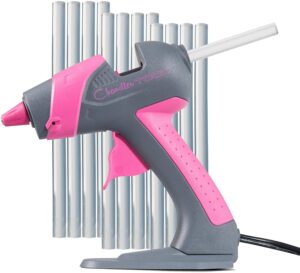
Glue Gun
In my opinion, every household needs a glue gun, but if you don’t have a glue gun, I highly recommend this glue gun. I have these glue guns in 2 different sizes and use them for all kinds of crafts!
Labels (optional)
Chalkboard labels will complete this easy DIY project and help organize your home. Dollar Tree sells chalkboard labels and whiteboard labels but I think if you make your own labels for these Dollar Tree makeover bins, they will have a huge impact!

I made some chalkboard labels using my Cricut Explore Air machine and Chalk Board Vinyl and can be used around the house in other ways.
DIY Burlap Fabric Dollar Store Bins Wrap Up
You can quickly tidy up your home to look stylish with these DIY Burlap Baskets using Plastic Dollar Store Bins. These DIY Dollar Store baskets are simple to make using basic supplies from the Dollar Tree but look like they are expensive baskets! If you are looking for storage baskets and Pantry organization on a budget, try this burlap fabric DIY Dollar Tree project!
If you are looking for a way to save money on expensive baskets to display in your home, try making these DIY burlap dollar store bins! Even if you don’t use burlap fabric, you can try wrapping these Dollar Store baskets with any fabric or leaving them plain to organize your entire home.
Don’t forget!
✅ These baskets are the most popular with my readers and featured in this post. Get some while they are still available.
This post was first published on January 31, 2017.
I get asked all the time where the small bookshelf pictured below is from but sadly, I sold it soon after writing this blog post. The bookcase was given to us so I’m not sure where it is from 🙁 I suggest searching for an office furniture store (the previous owner used it in his office).
More Popular Dollar Tree DIY Ideas…
Here are related articles that you might also like!
Over The Door Organizer Dollar Tree DIY
Learn how to make a cute and functional over-the-door organizer that I made using Dollar Tree supplies. I shared this over the door organizer shown in our pantry on Instagram and YouTube recently and I knew it would be pretty popular (because I was also in love with how it turned out!) so I wanted to share this tutorial on my blog as well. This back of the door storage organizer is made with Dollar Tree supplies. I’m also giving my readers some FREE Printable Pantry labels and Blank Labels in this post!
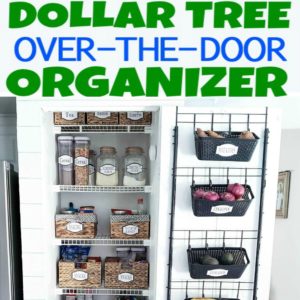
–>>Keep reading to learn how to make this Over The Door Organizer Dollar Tree DIY!
Dollar Tree Farmhouse Wall-Mounted Mug Rack DIY
DIY these popular farmhouse mug racks made using Dollar Tree supplies! I shared these DIY wall mug racks on Instagram and I knew they would be pretty popular (because I was also in love with how they turned out!) so I wanted to share this tutorial on my blog as well. These mug racks are made with Dollar Tree supplies.

–>>Keep reading to learn how to make this Dollar Tree Farmhouse Wall-Mounted Mug Rack DIY!
DIY Dollar Store Farmhouse Ladder
If you’ve seen those farmhouse ladders used for various home decor ideas, you probably know how much they cost in high-end decor stores. I got lucky and found a large antique ladder at a yard sale but I wanted an extra farmhouse ladder to use as a planter outside so I made my own! The best part about this DIY farmhouse ladder is that it’s made using items for less than a few dollars! This ladder was so easy that I made a mini tea towel ladder (yes, tea towel ladders are a thing!) for just $3!
–>>Keep reading to learn how to make a DIY Farmhouse Ladder For $3!
$1 Tiered Tray DIY
I bet you’ve seen those beautiful farmhouse style tiered trays and you may be wondering how you can DIY a tiered tray using Dollar Store materials. Well, it’s so simple that you might end up addicted to making a 2 tier serving tray that you make a whole bunch for your home!
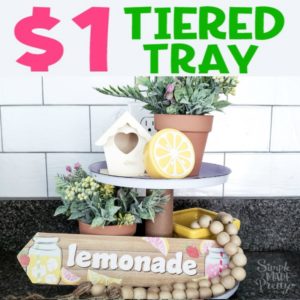
–>>Learn how to make a tiered tray for just a $1 with this Dollar Tree hack!
Pin this post with these DIY Dollar Tree Bins for later…
Psssssttt… Want more inspiration delivered directly to your inbox? Subscribe to our FREE weekly newsletter! We provide simple ideas for Organizing, Handmade Projects, Crafts, Home Decor and more! Hurry up and sign up here!
Disclaimer: This post may contain affiliate links or a sponsored post. All opinions are always 100% mine and I don’t partner with any product or company that I don’t use and love. Please see our Full Disclosure for more information.
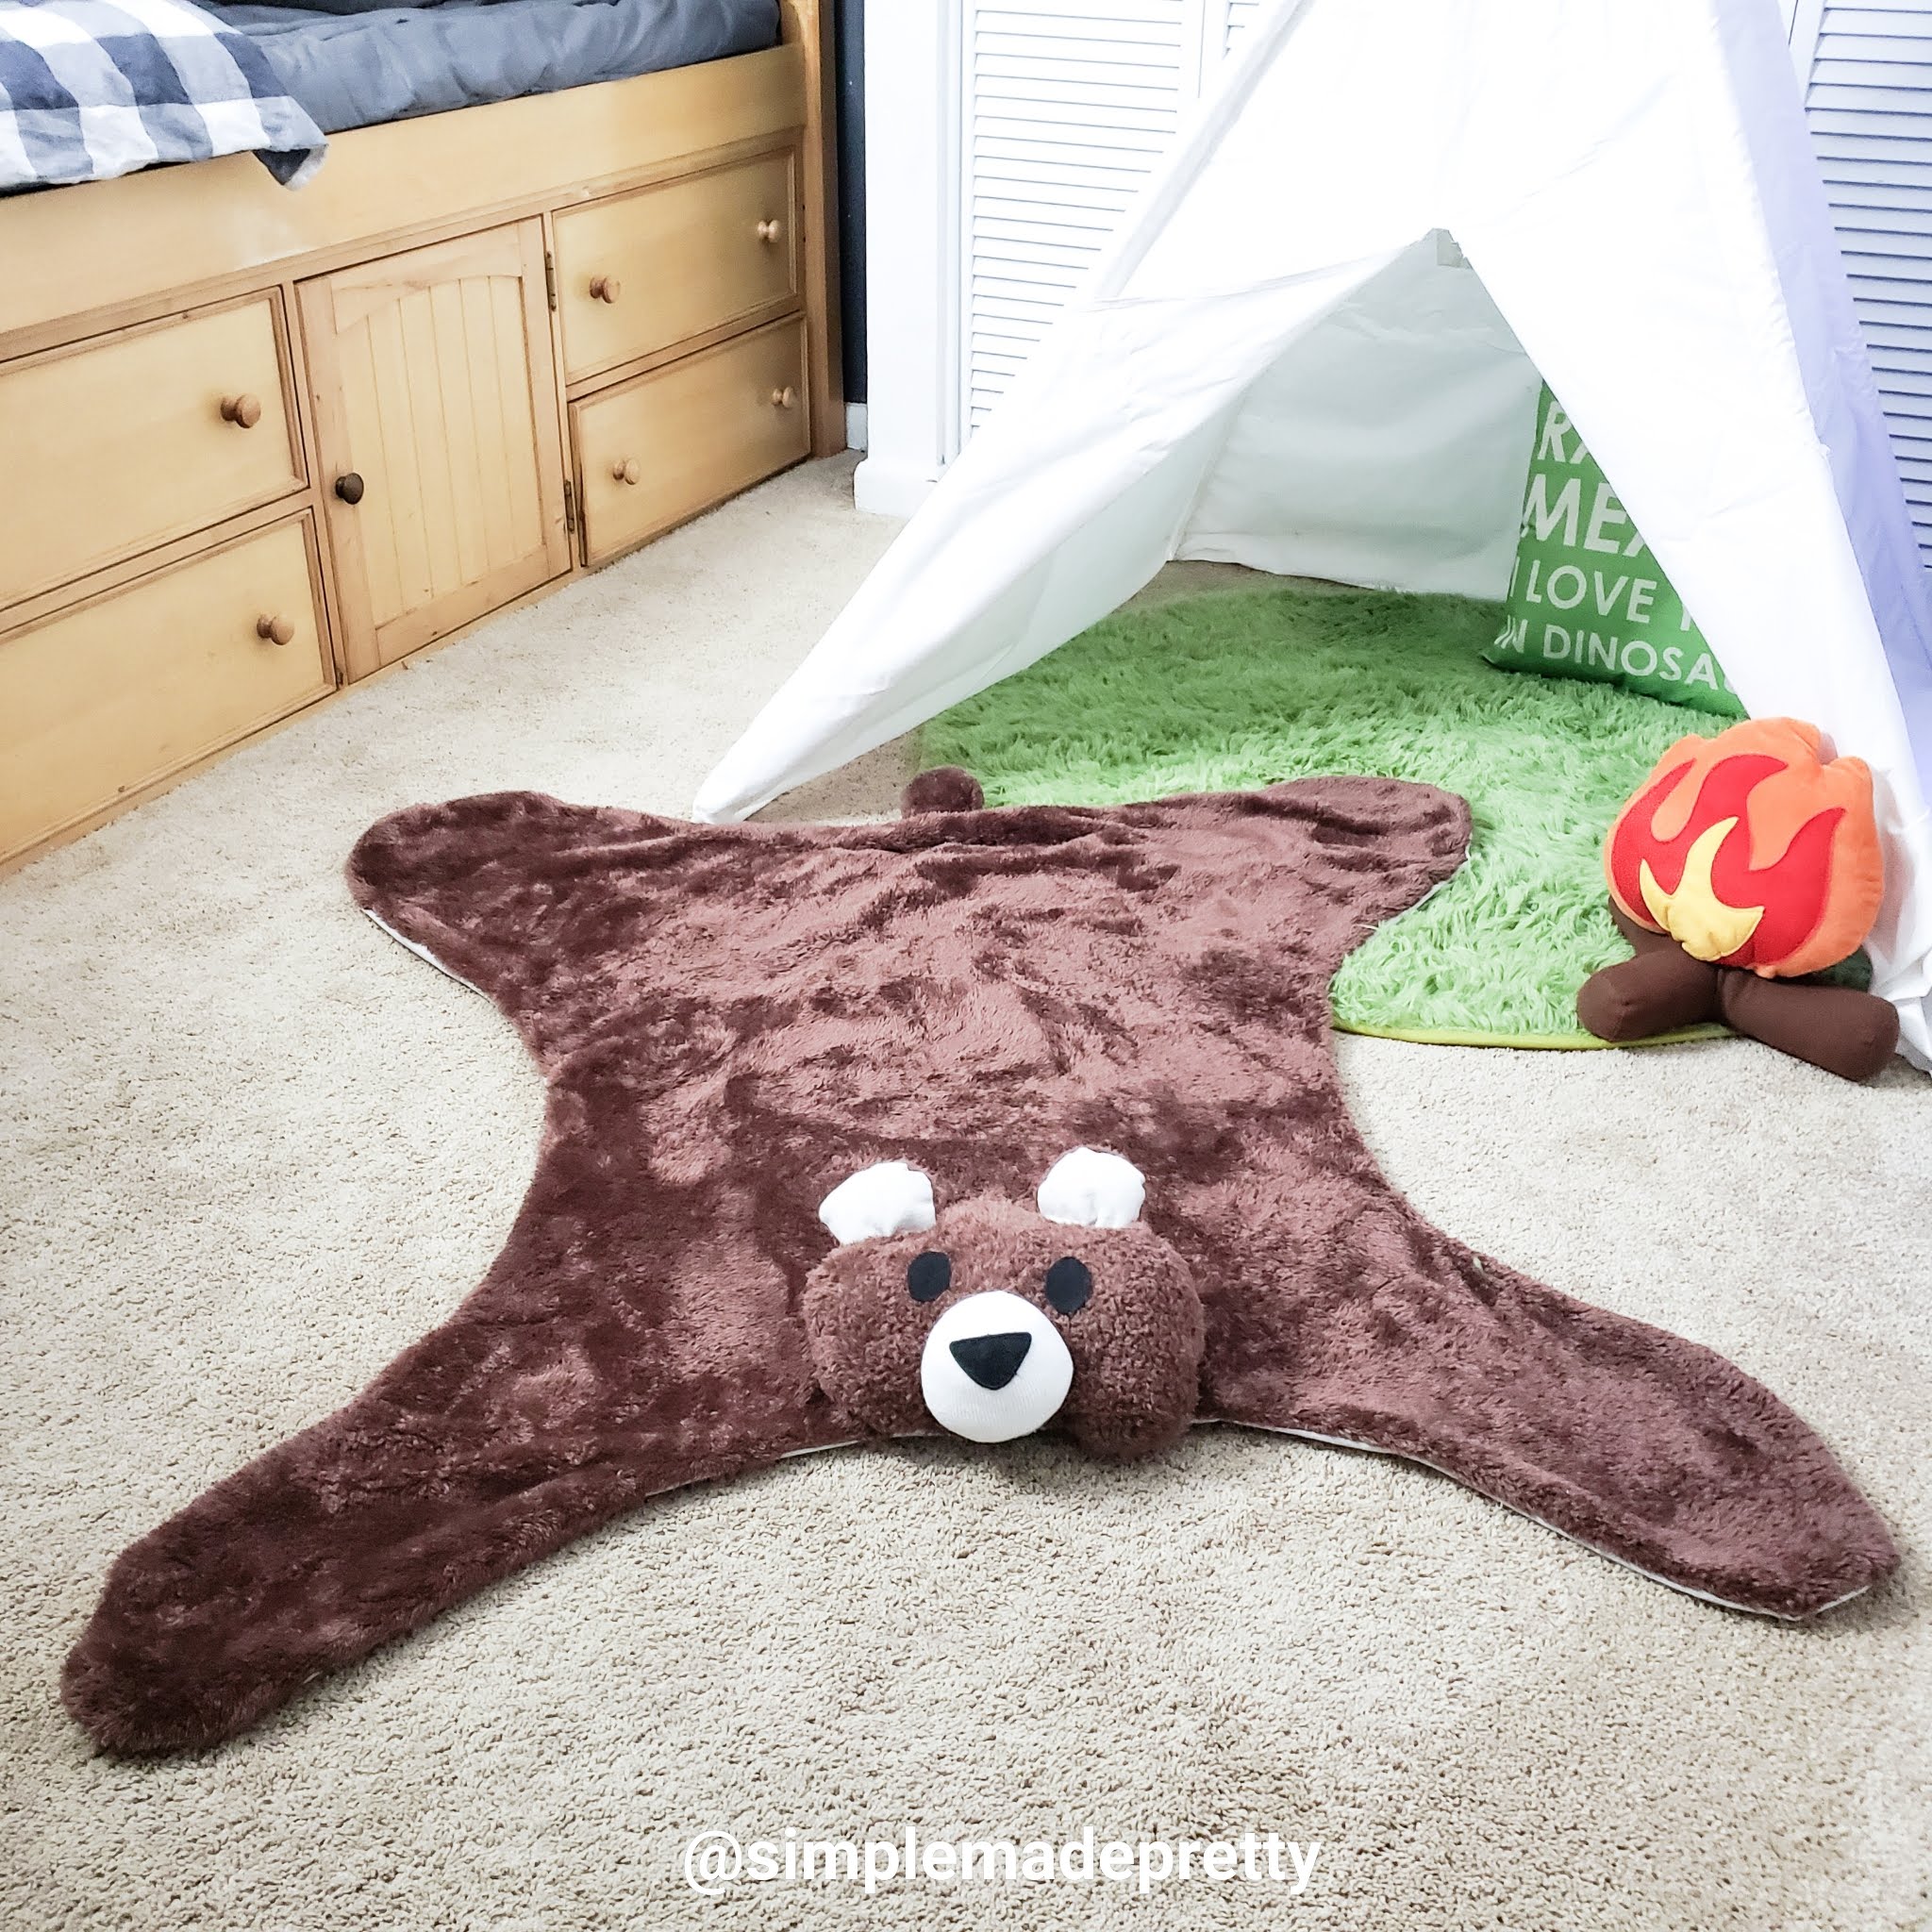 DIY Faux Bear Rug
I do not understand why anyone likes burlap. It smells and the thought of it makes my skin itch and my nose stop up lol
Hi Jo, I completely understand. The smell does go away over time and many people use it in home decor because of the rustic look and it’s inexpensive for the most part.
Where is the best & cheapest place to purchase burlap?
Hi Marie, I’ve always found it at my local fabric store during holiday sales or using a coupon.
Love the baskets! I have a space thats short also and no baskets fit! The burlap covering would fit perfectly because of my other decor! Rustic farmhouse look here we go!!!! Thank you!
Hi Alycia, Awesome! Happy to help 🙂
how did you manage the taper on the baskets? Did you cut a notch and glue down?
Hi Theresa,
I didn’t wrap the bottom of the bins, just sides so there was nothing to taper.
Ok, one thing is not clear to me. You say both you wrap the baskets and you cut strips, so are you cutting one big strip for each side or are you wrapping the whole basket? Beautiful project though! I am excited to tackle it!!!!!
Hi Nicole,
Thank you! I wrap the whole basket so I cut wide strips to fit around the whole basket.
I love this! Where did the shelving come from?
Thank you, Ginger. The bookcase was given to me. I’m not sure where it was originally from.
An old dresser makes great repurpose project for baskets, kitchen cabinet etc.